HWIHO Korean Traditional Handicraft Workshop — Ring Making Experience

Nicoleheitong
2 months ago
HWIHO Korean traditional crafts workshop—ring making experience
I'm in Seoul Station today,
Mainly it's about trying out different workshops,
So after going to the .NOTE perfume workshop at Hongdae Station that morning,
Just one stop from Hongdae Station, at Hapjeong Station.
If you want to schedule multiple workshops in a single day,
You can also take a look.
At HWIHO Korean traditional crafts workshop I had a class scheduled for 2:30 p.m.,
I had plenty of time to slowly look for a place to eat near Hapjeong Station.
After my last visit to Hapjeong Station when I went to ODT Café,
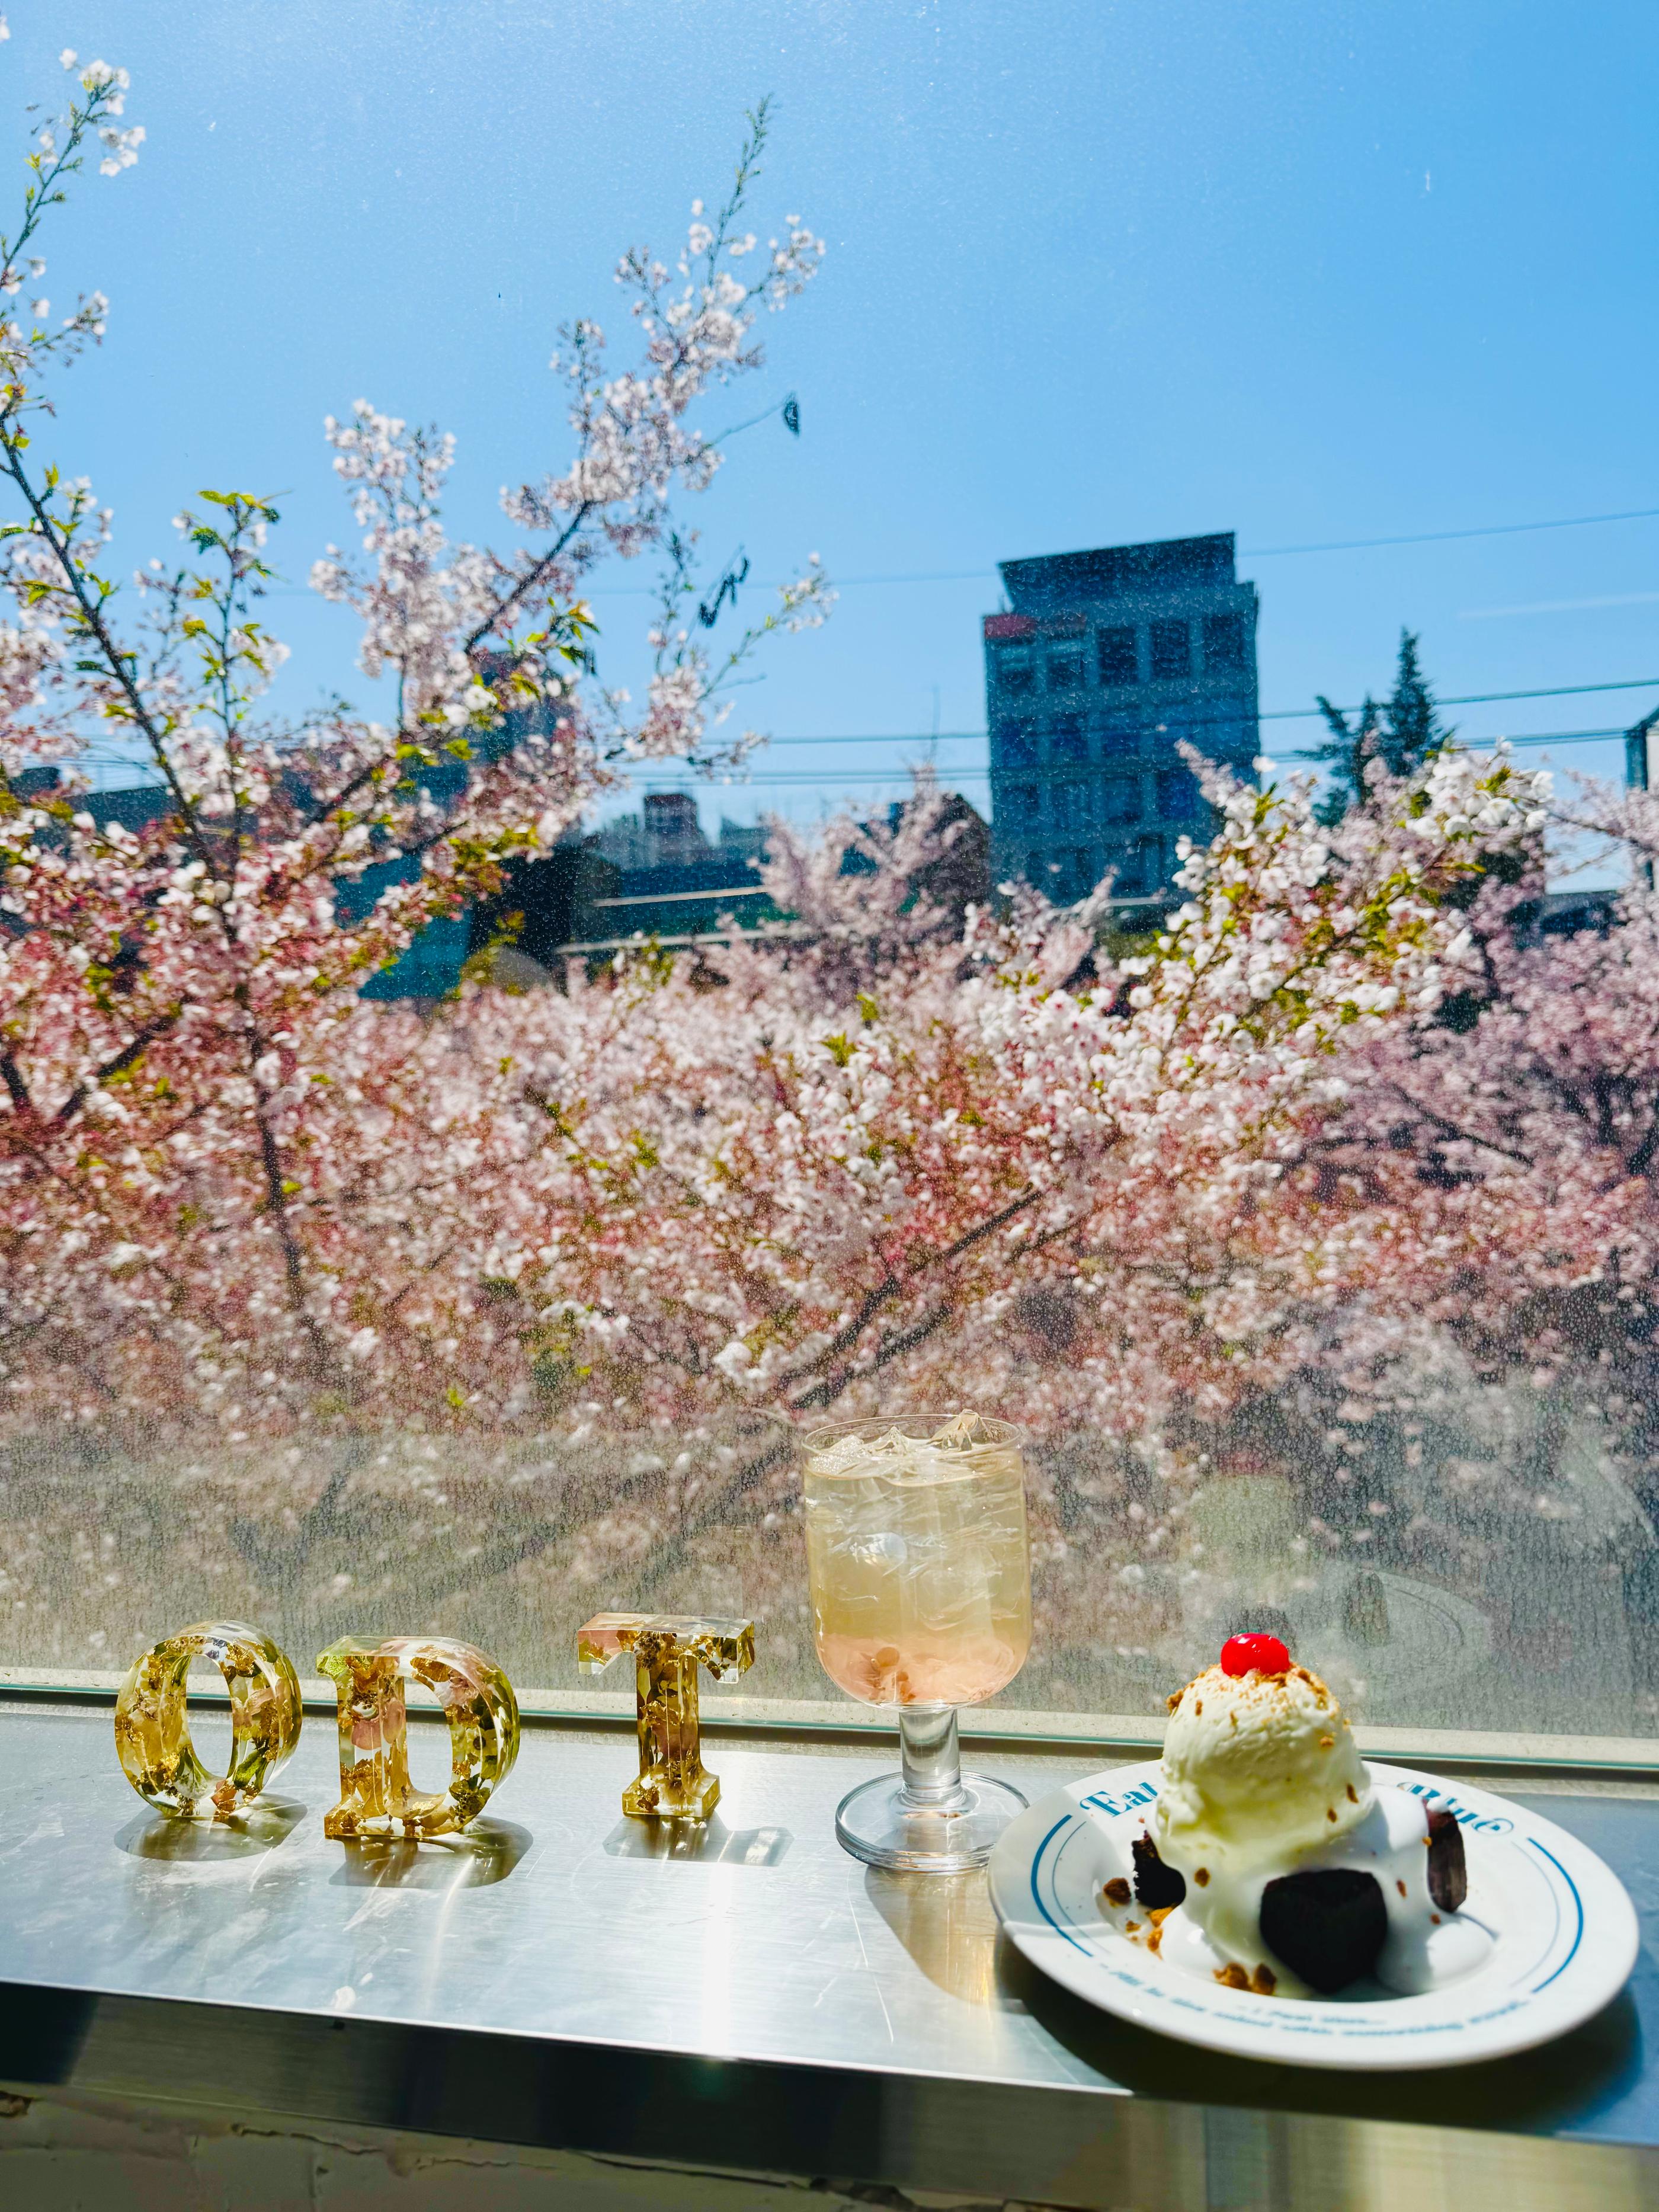
This time I picked a place for a proper meal,
After eating, of course it's time to go to class.
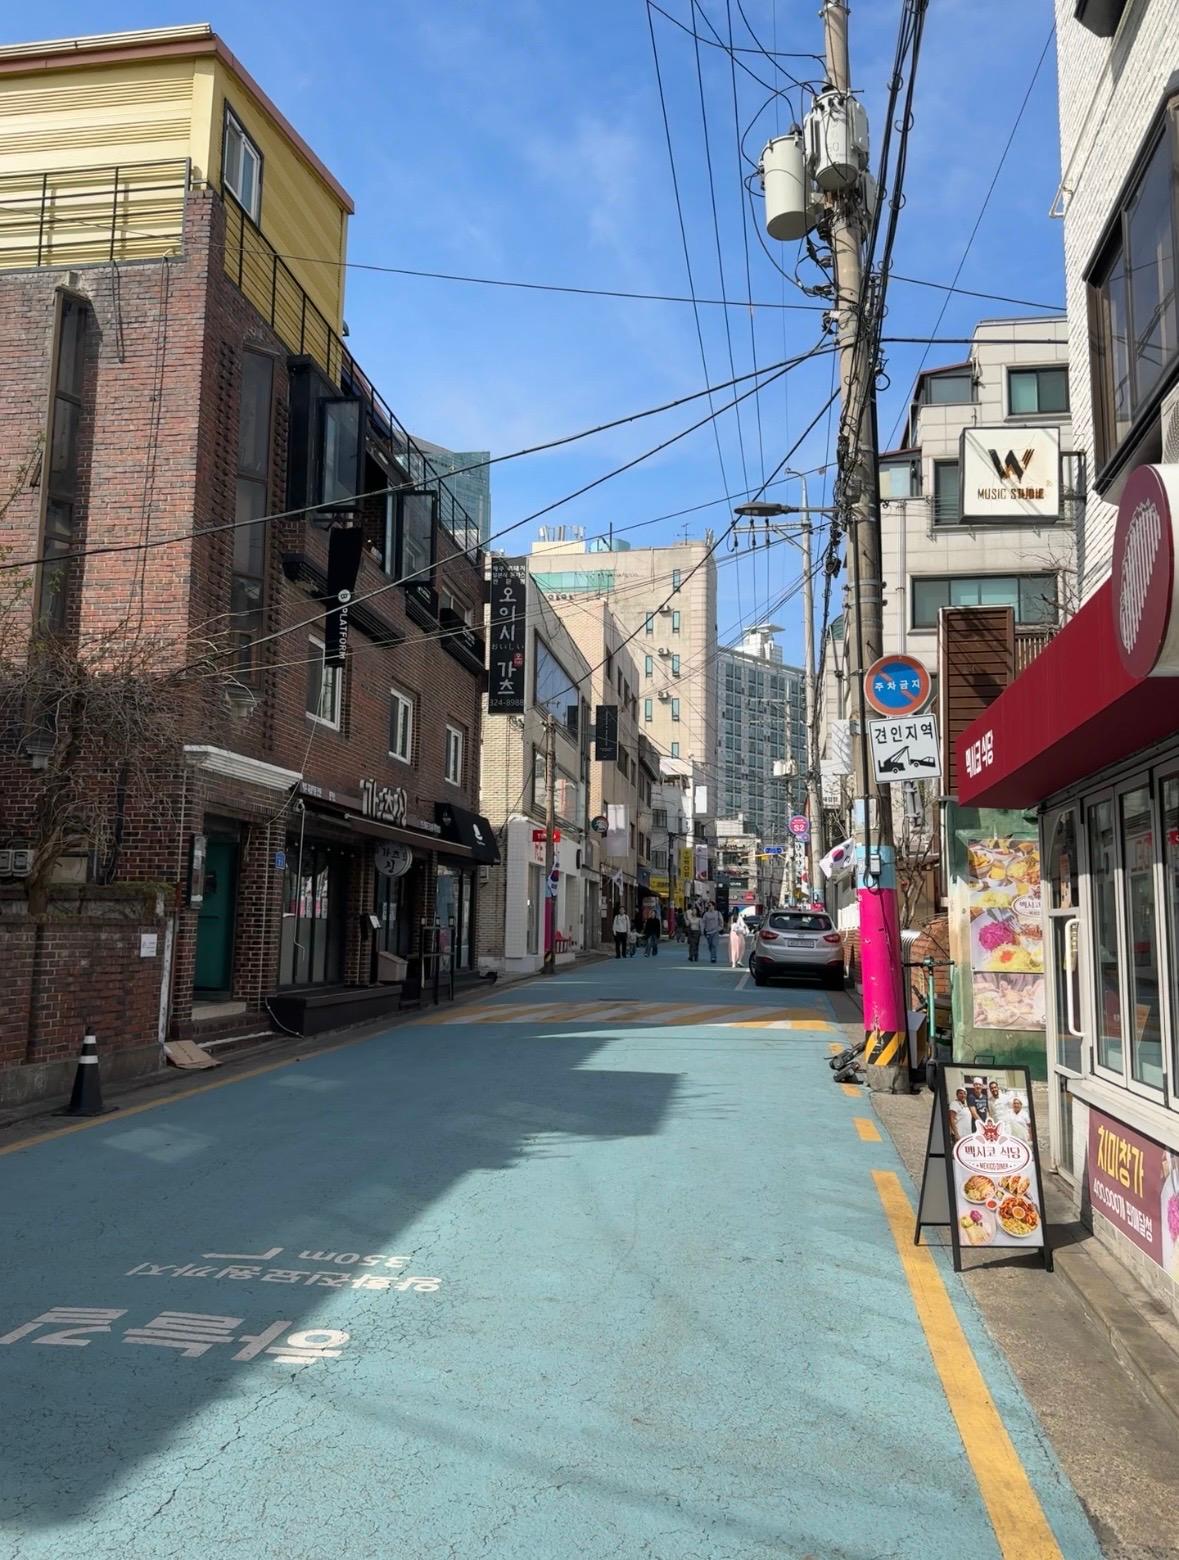
HWIHO is located near Exit 6 of Hapjeong Station,
It's about a 3-minute walk from the station exit.
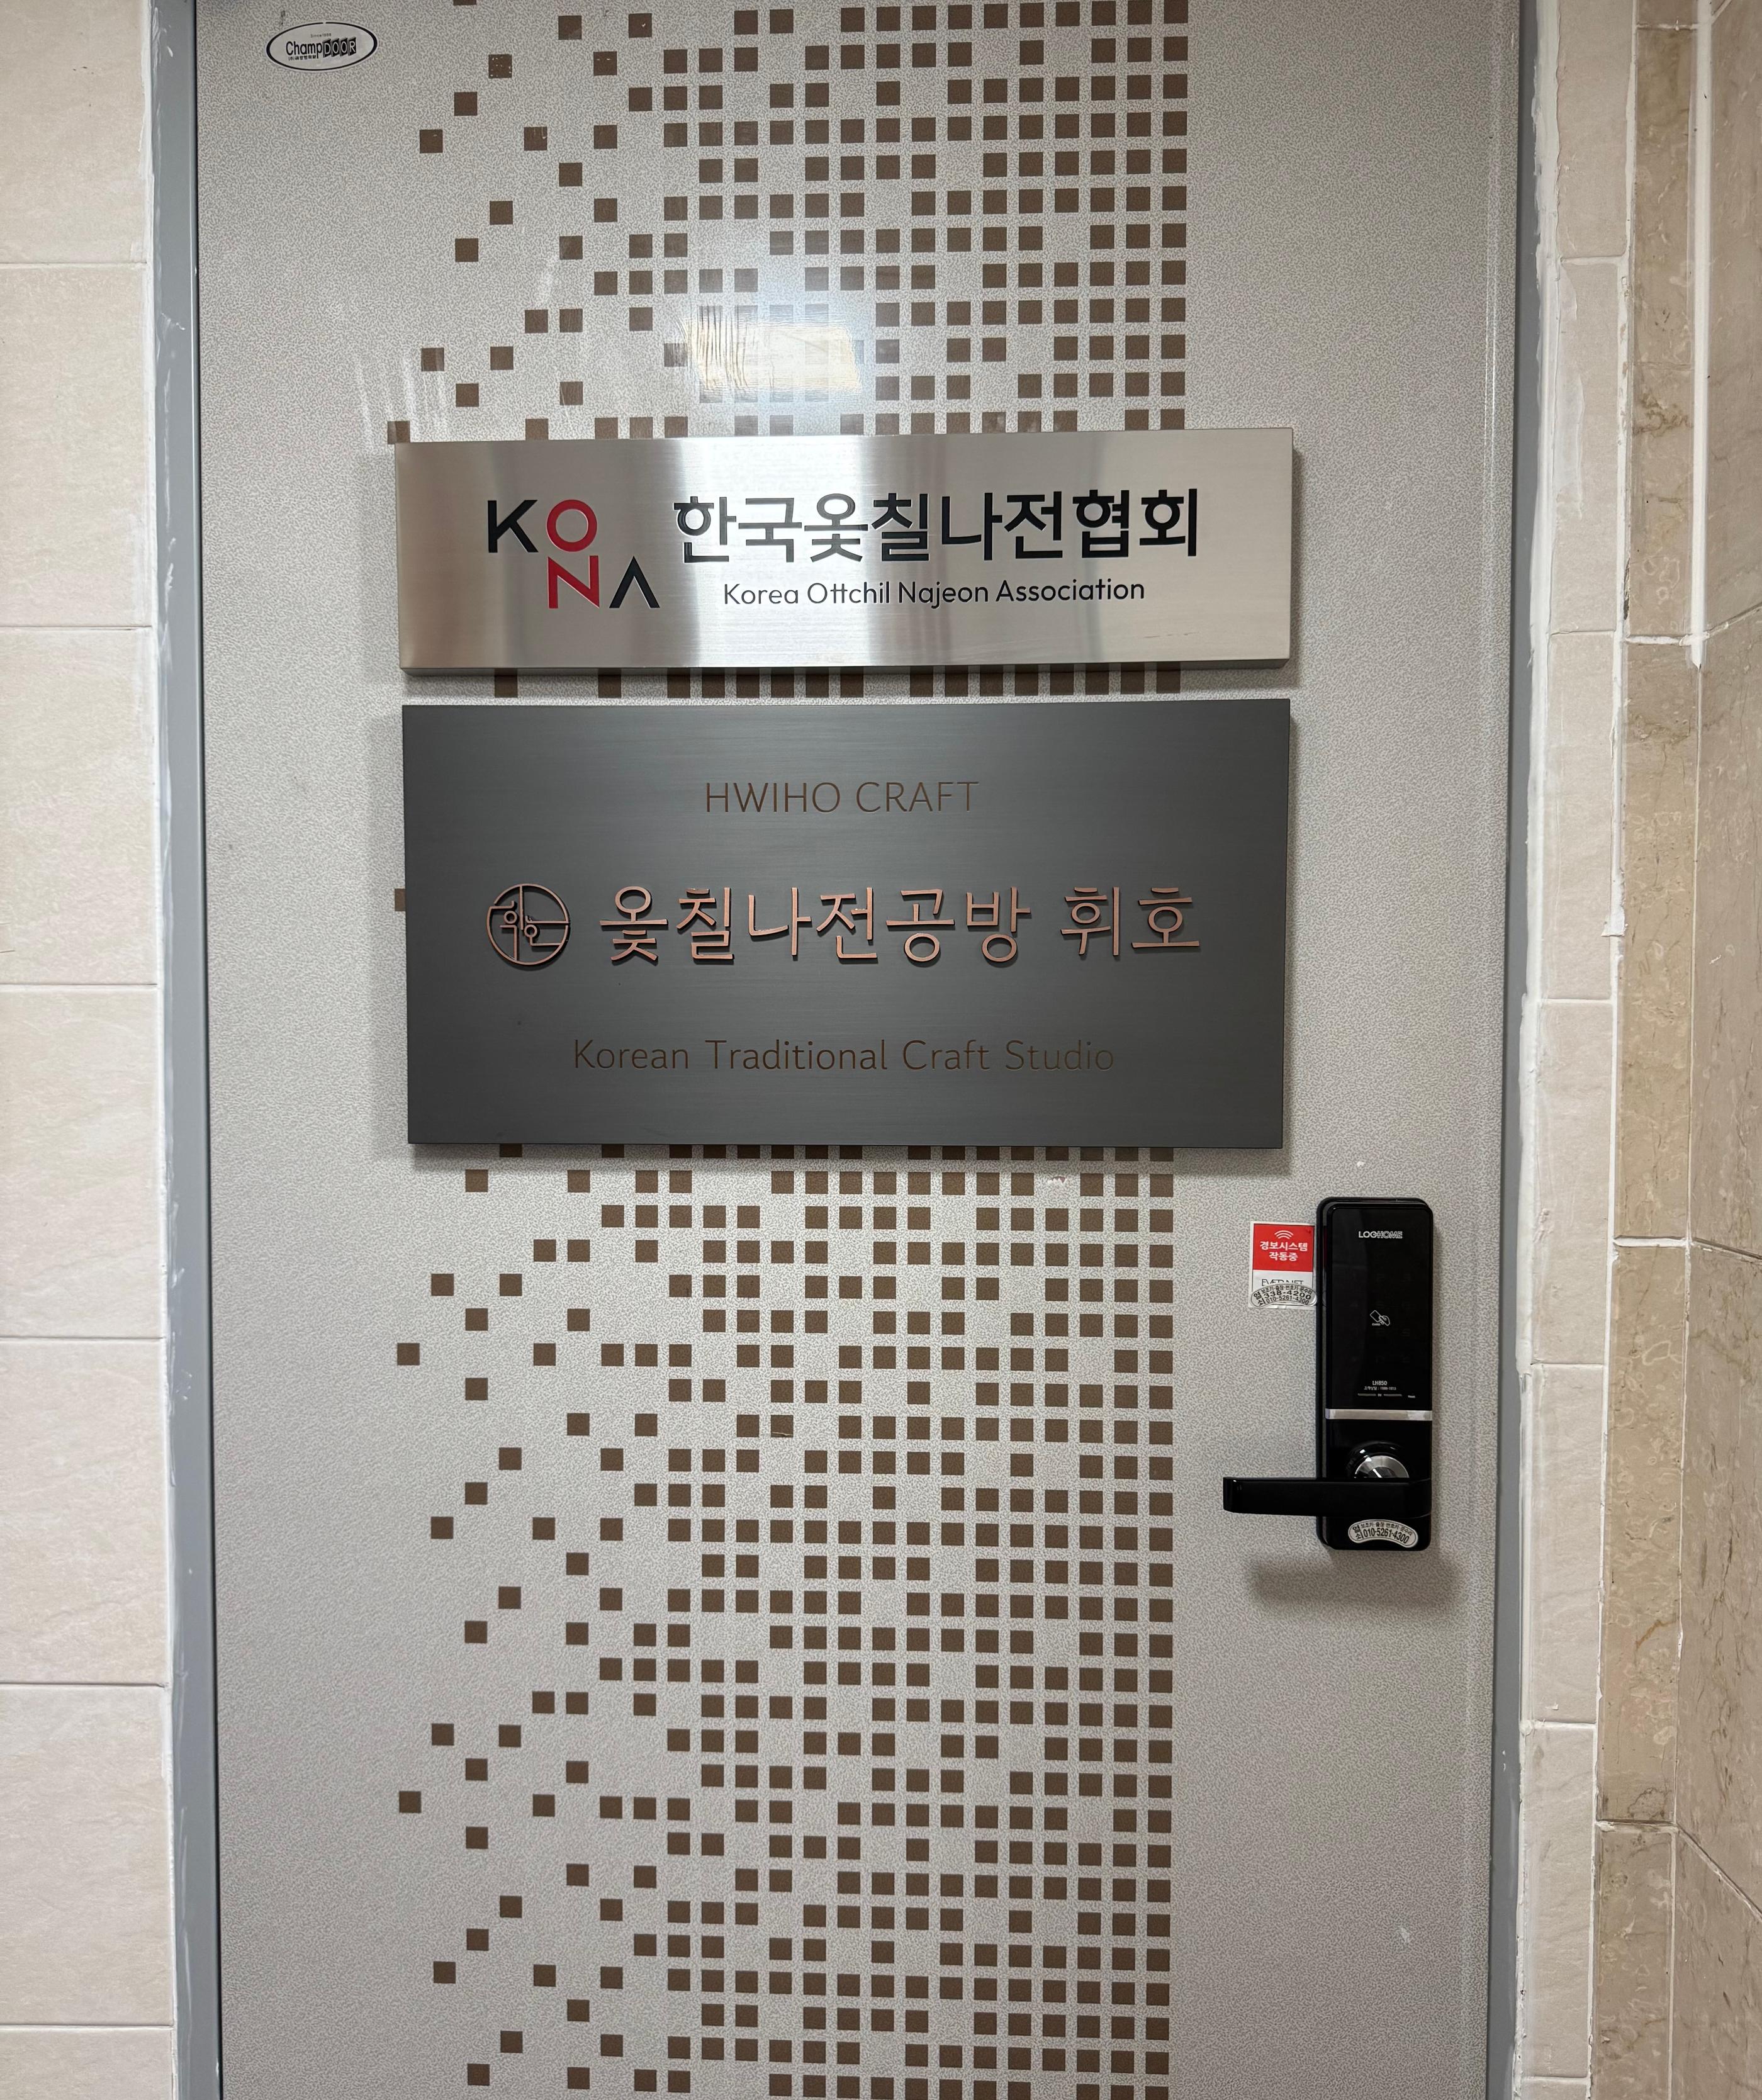
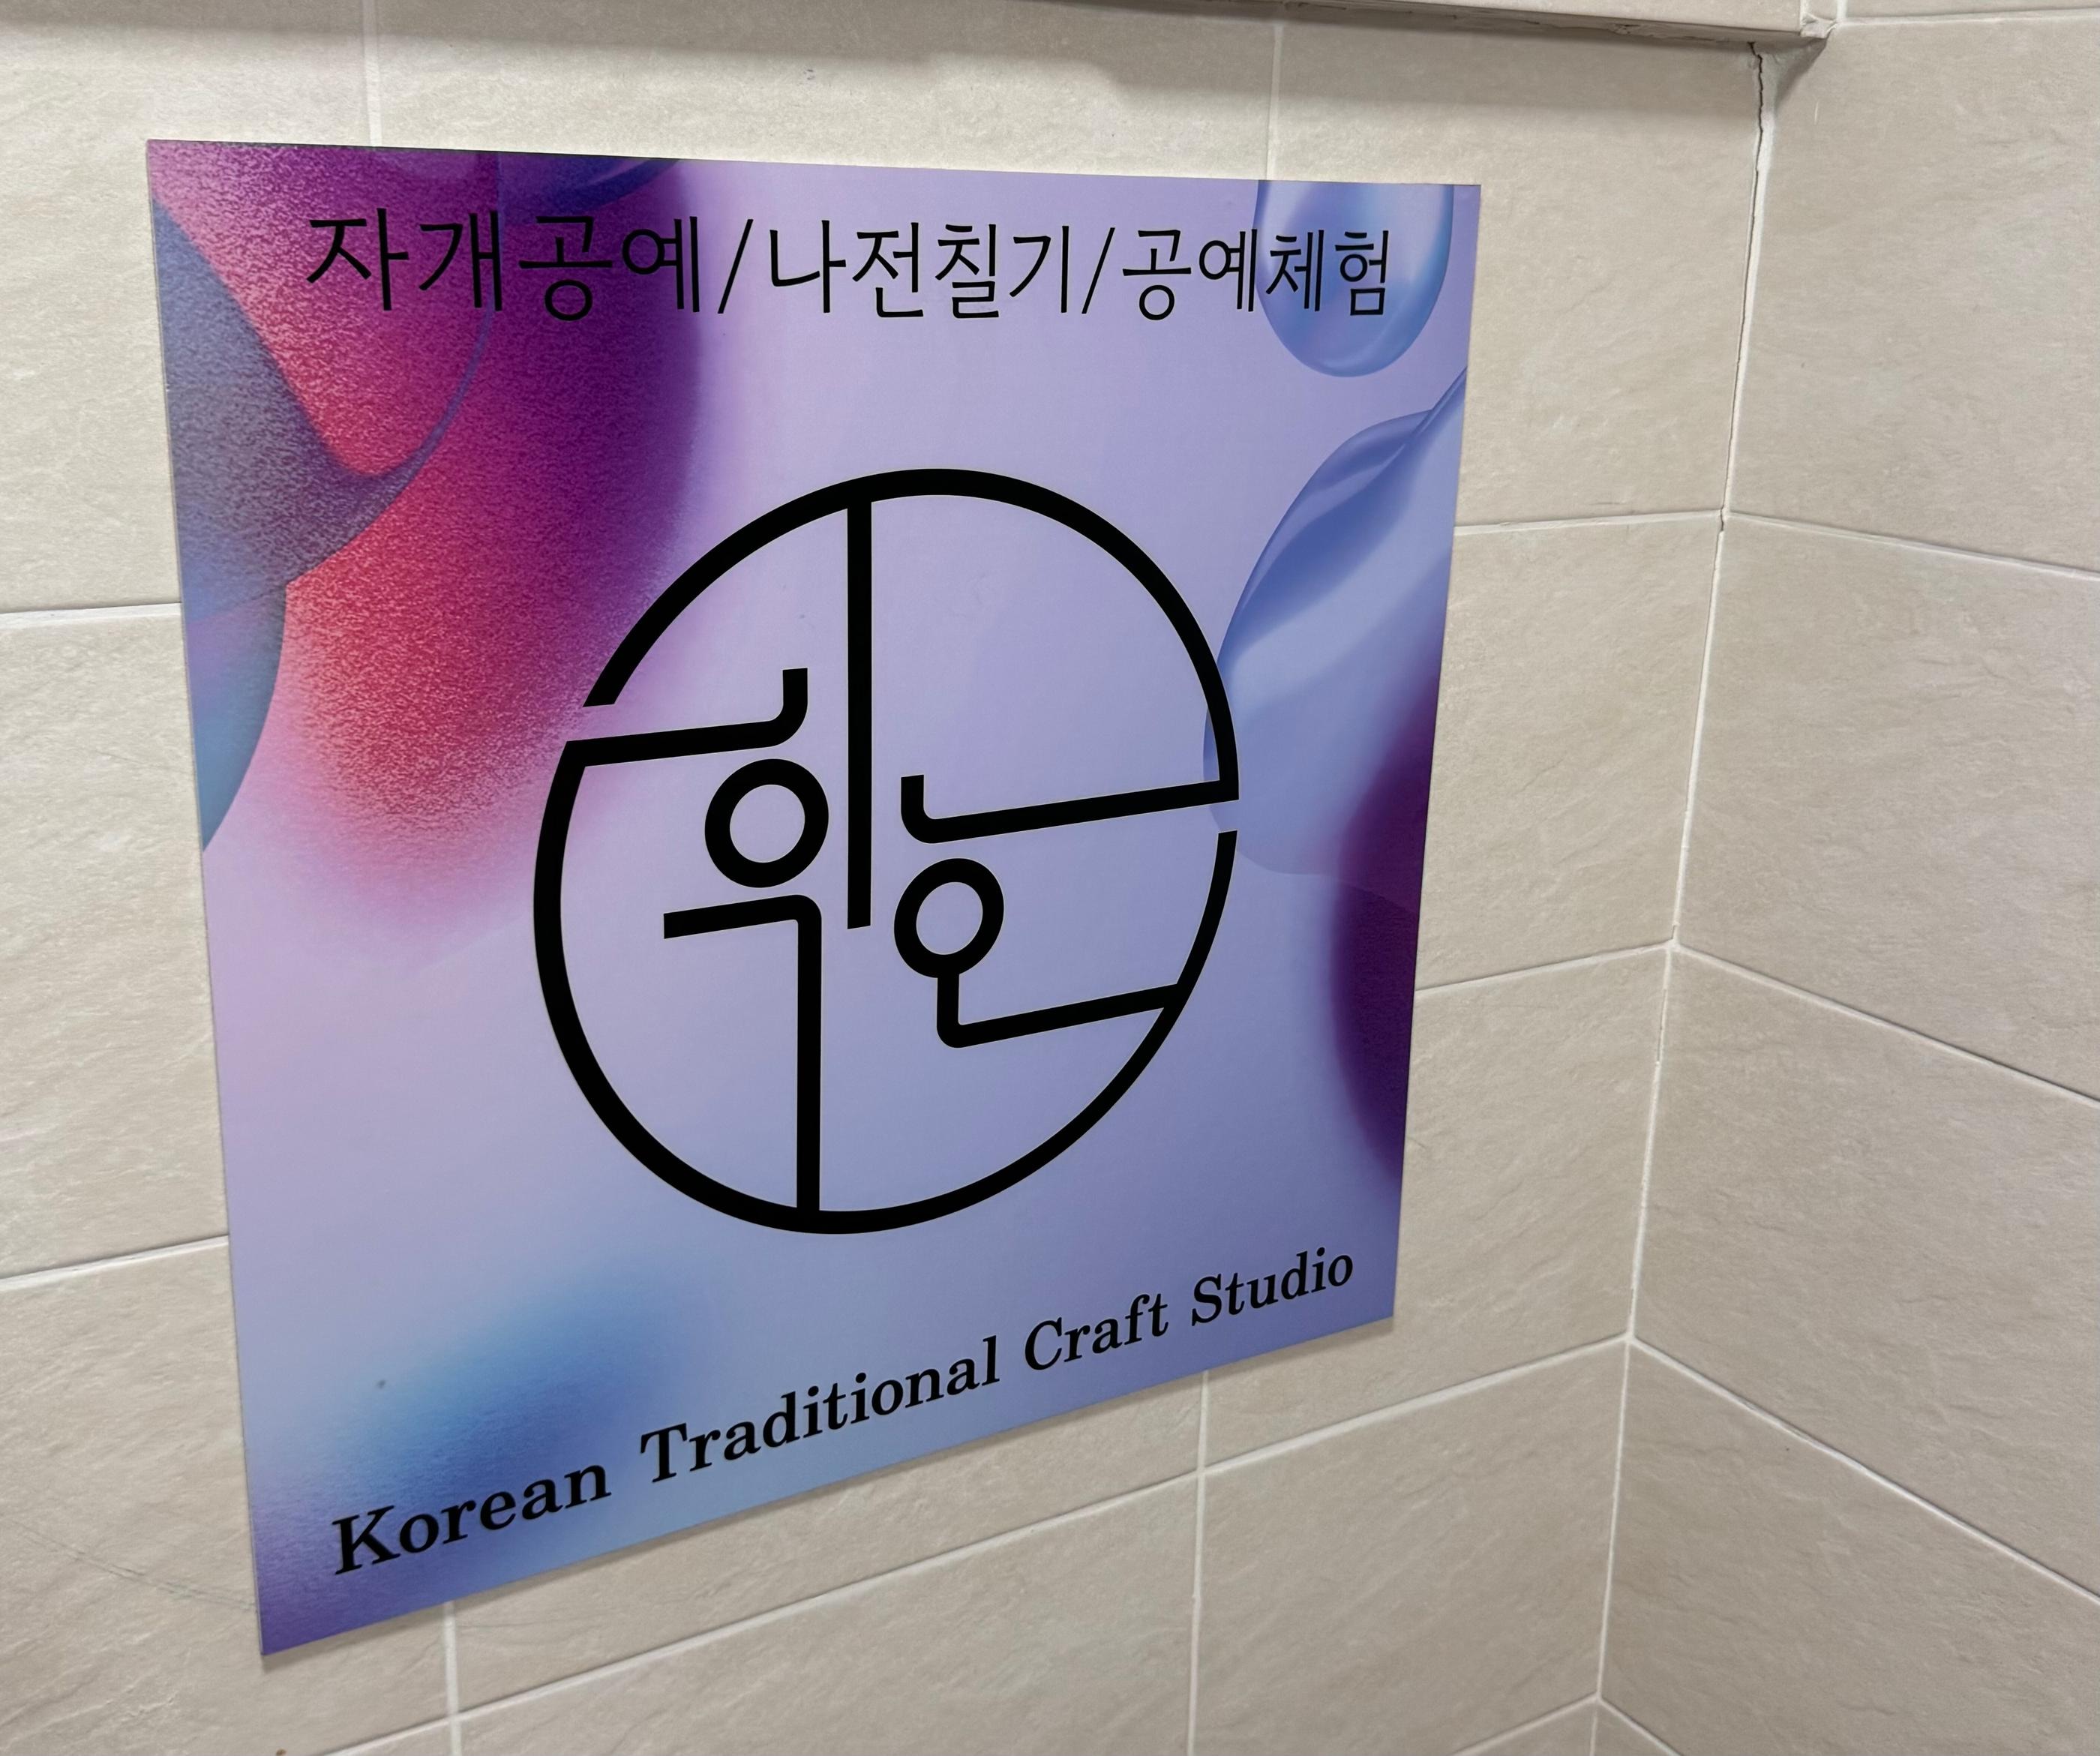
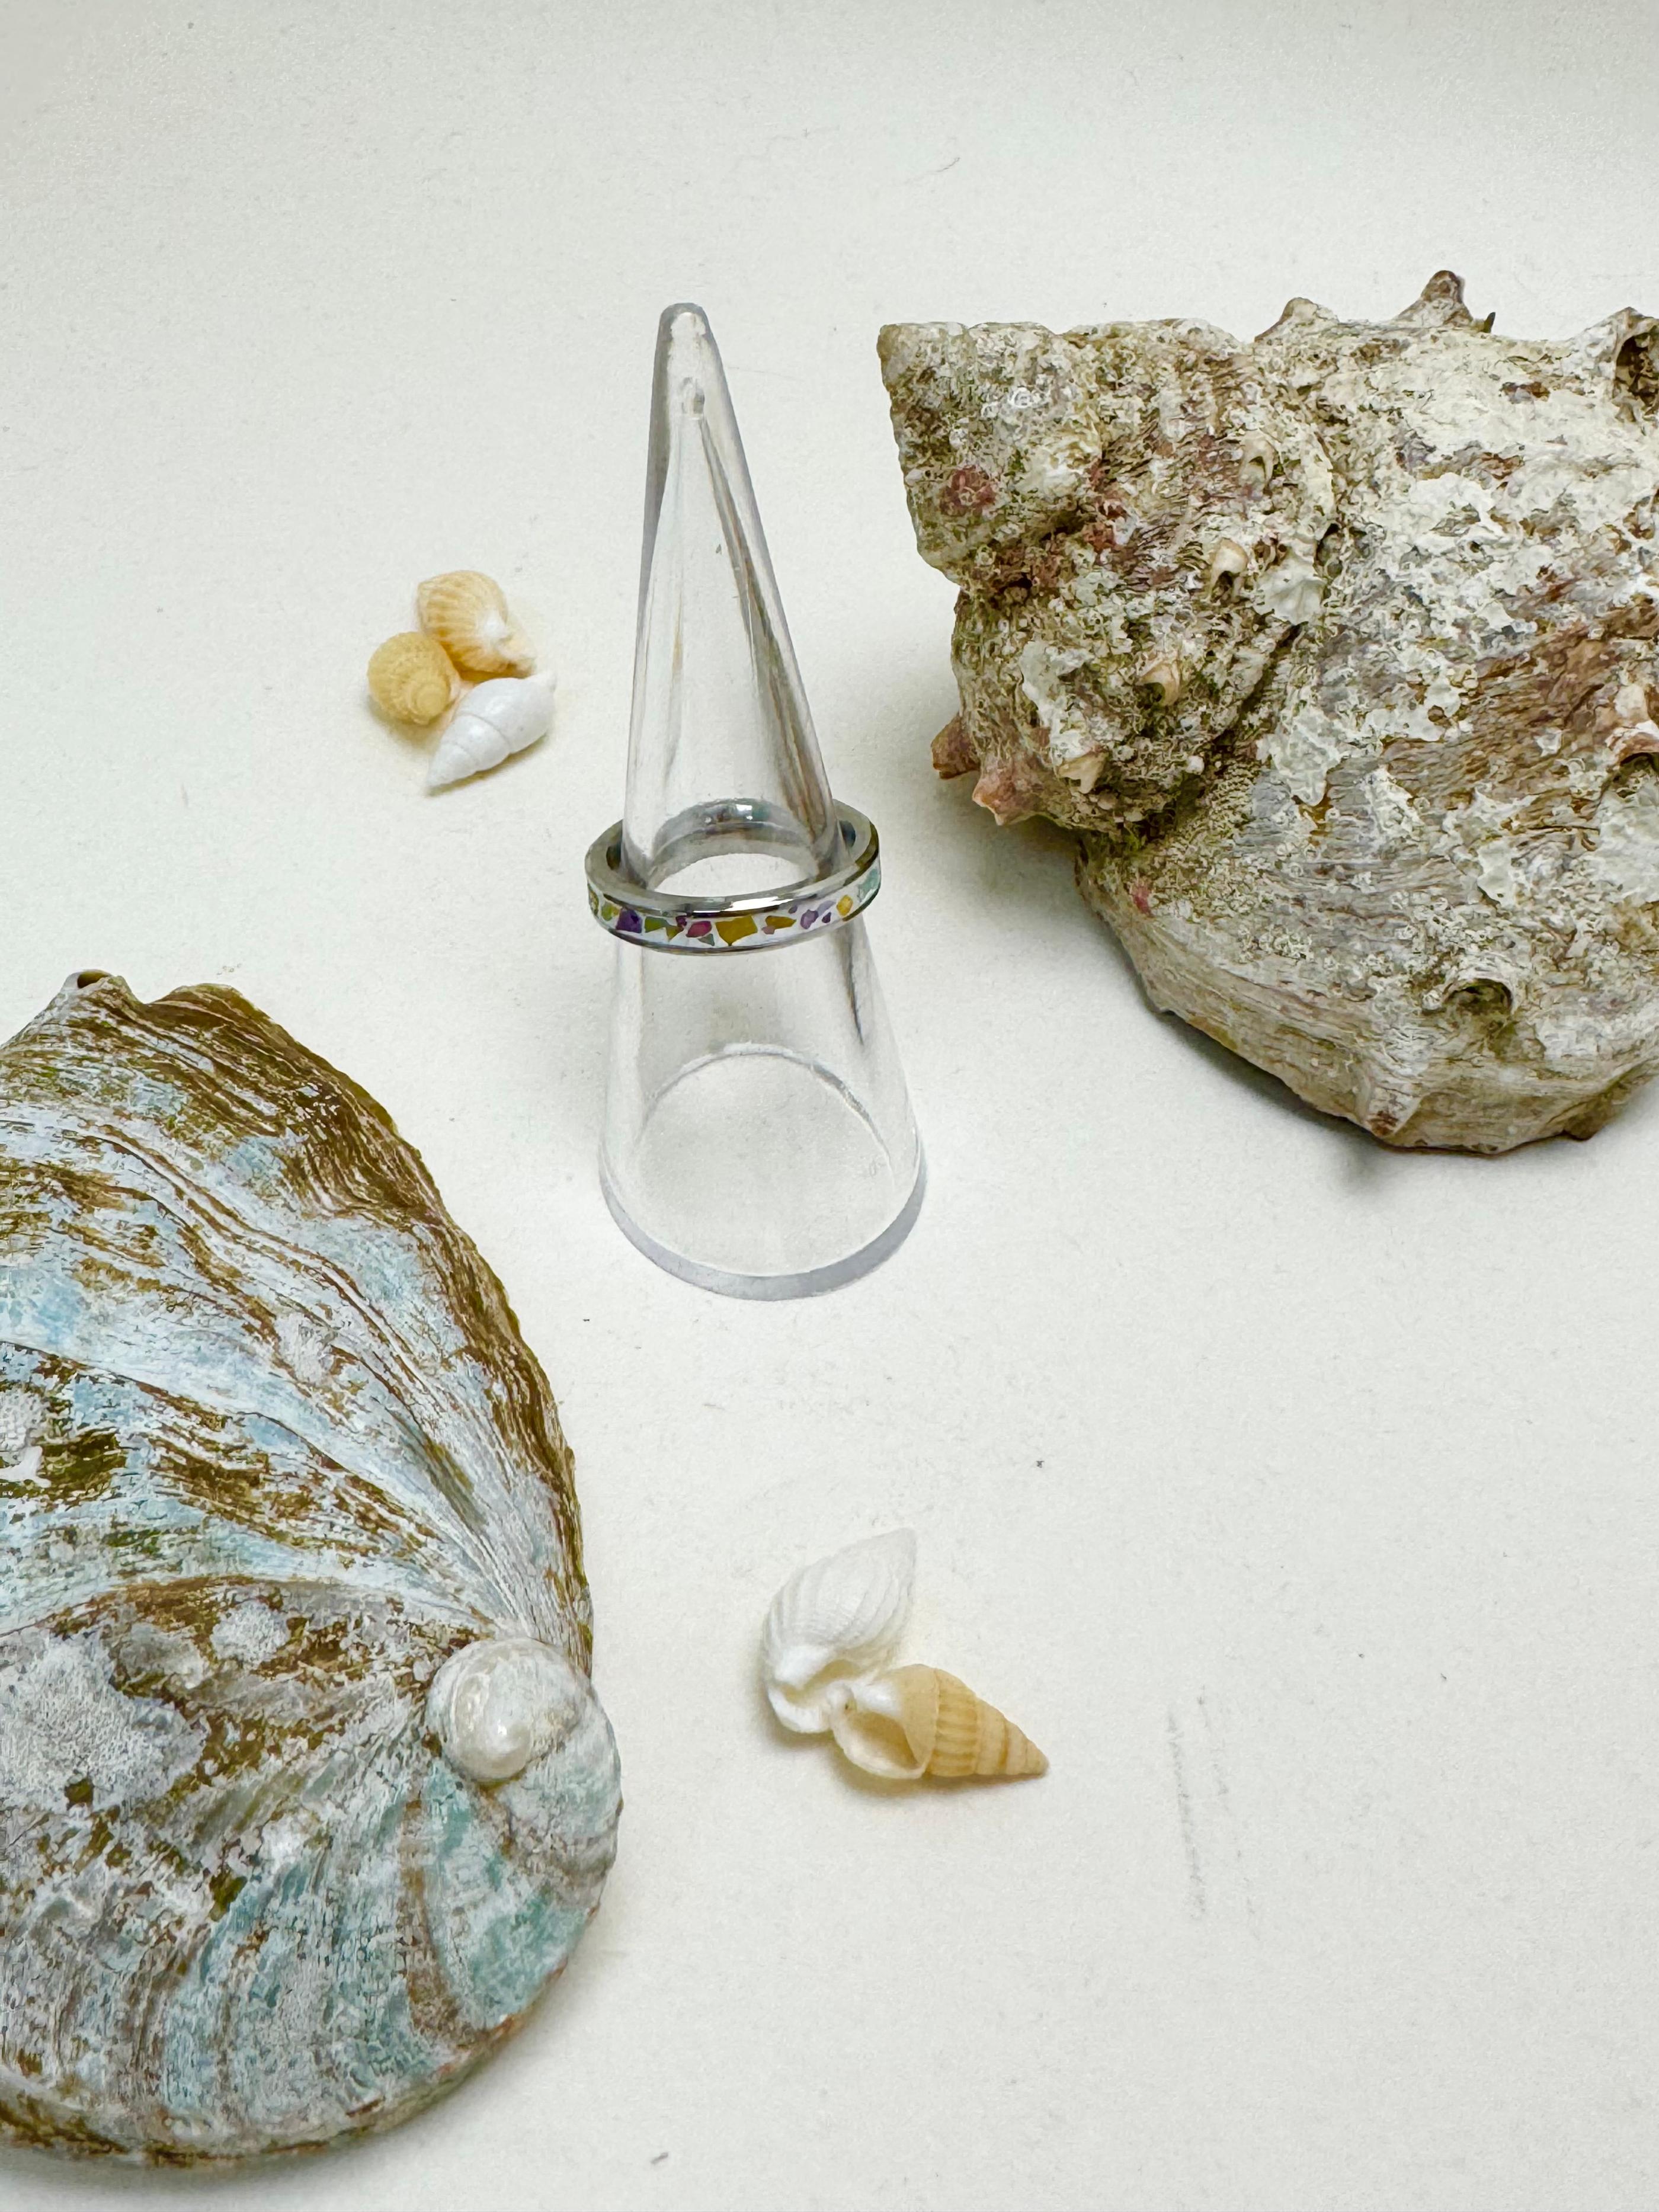
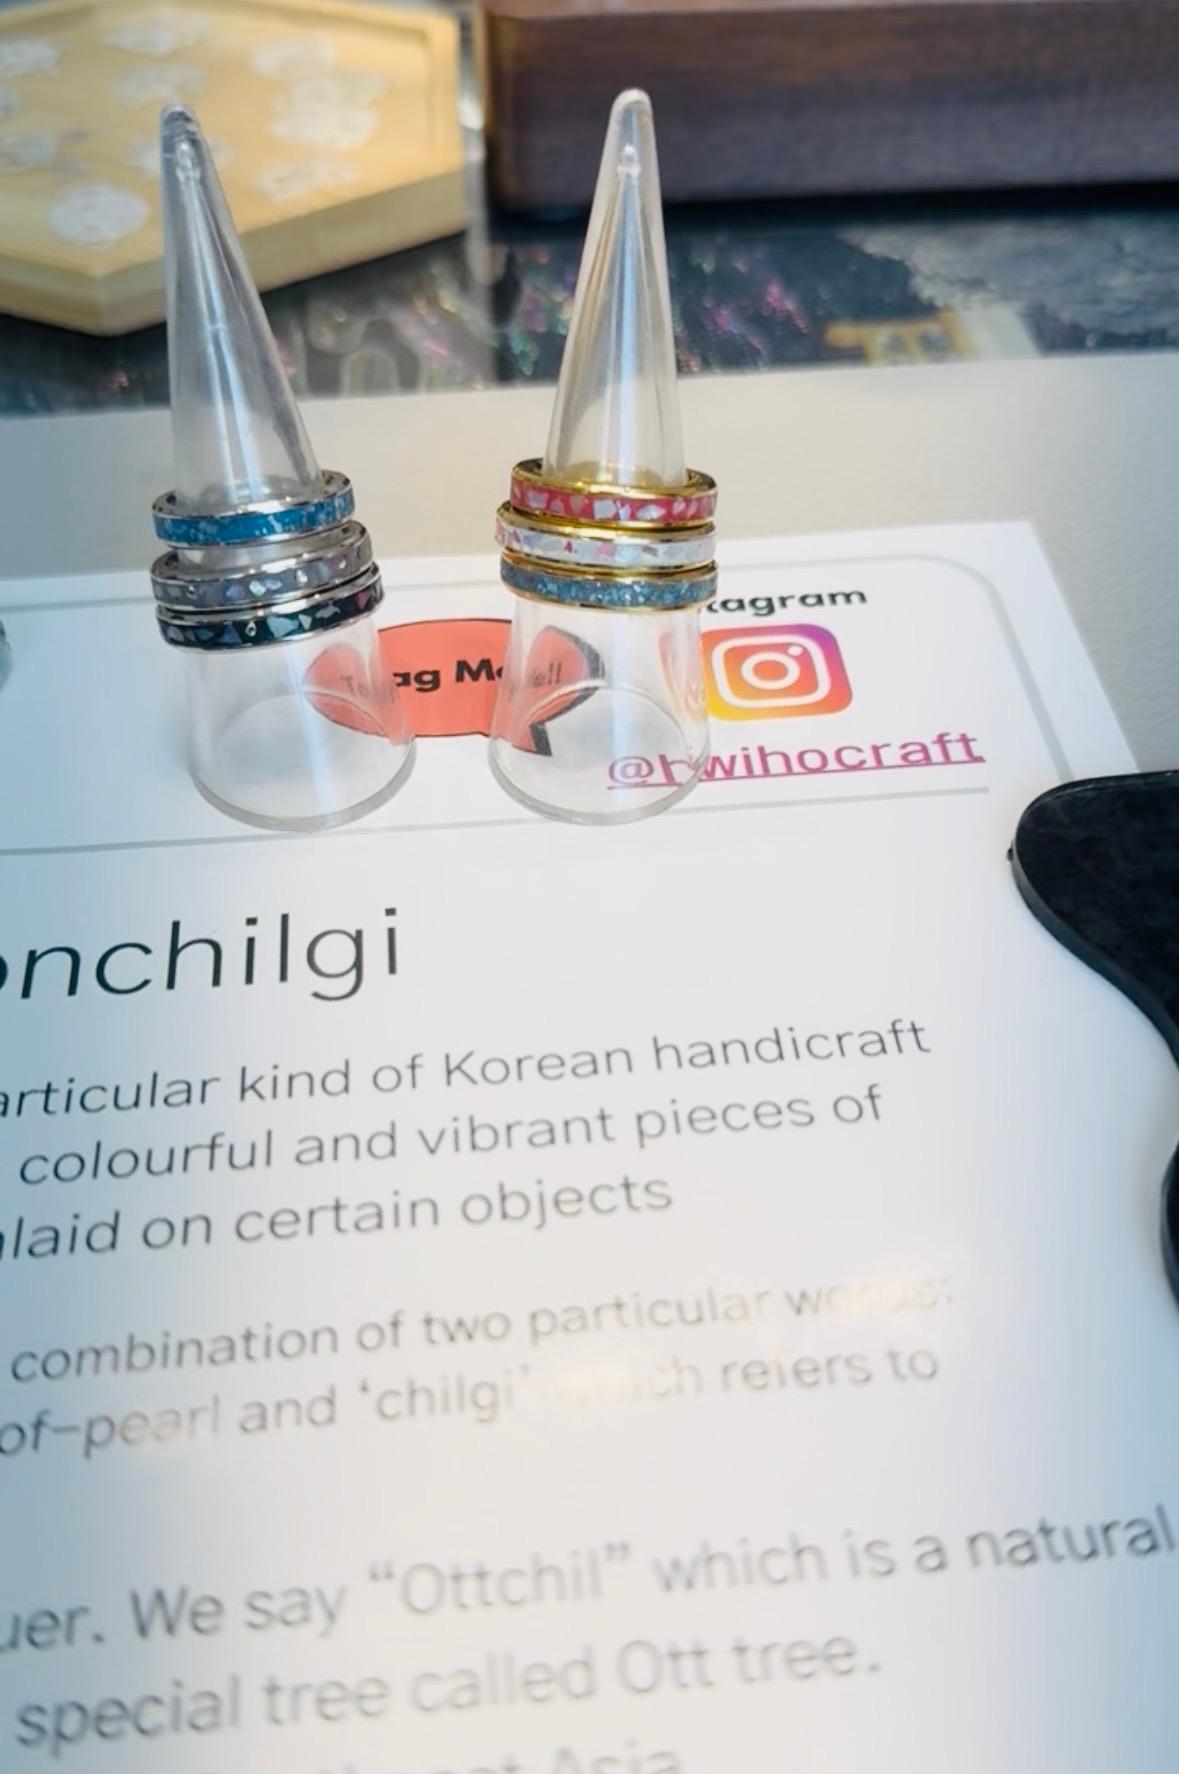
HWIHO is a Korean traditional mother-of-pearl craft workshop,
The workshop displays many of the instructor's works.
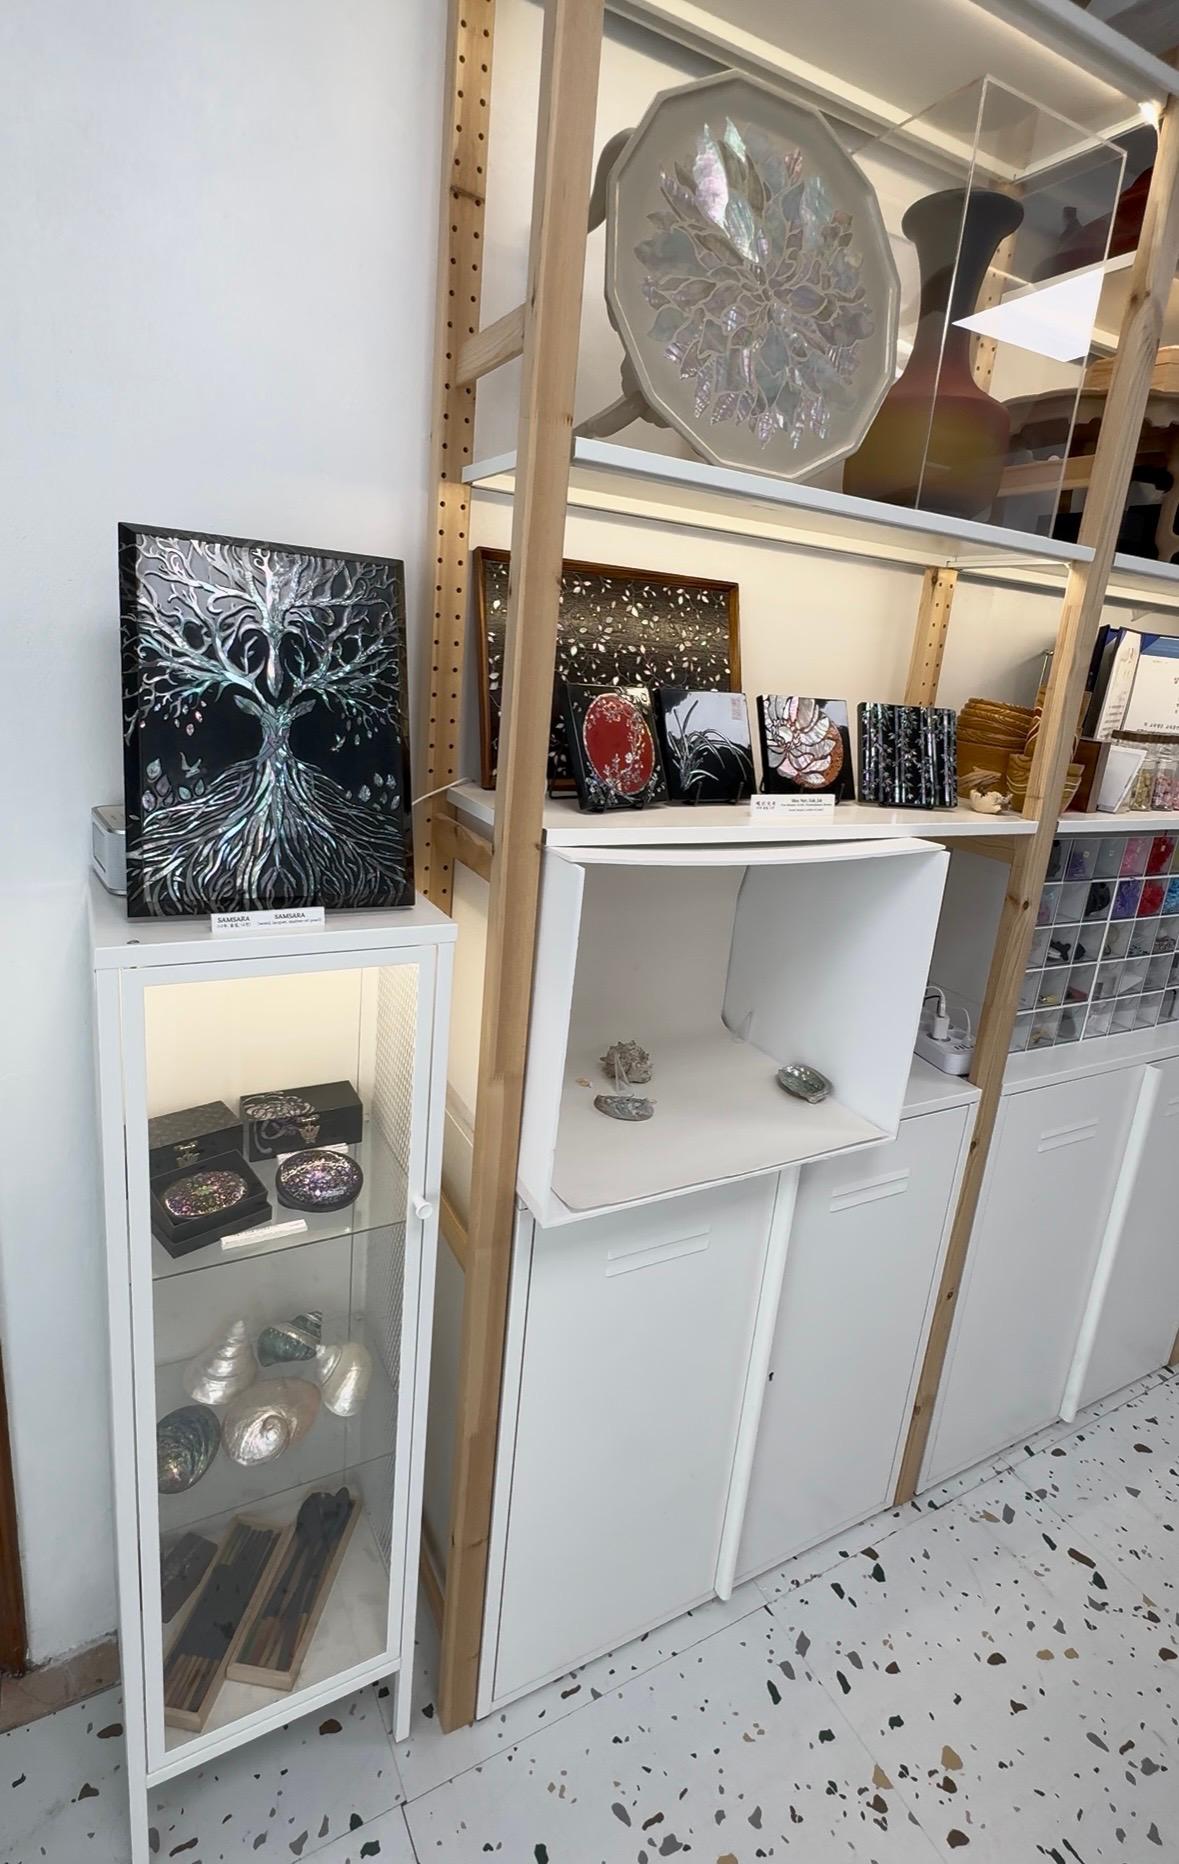
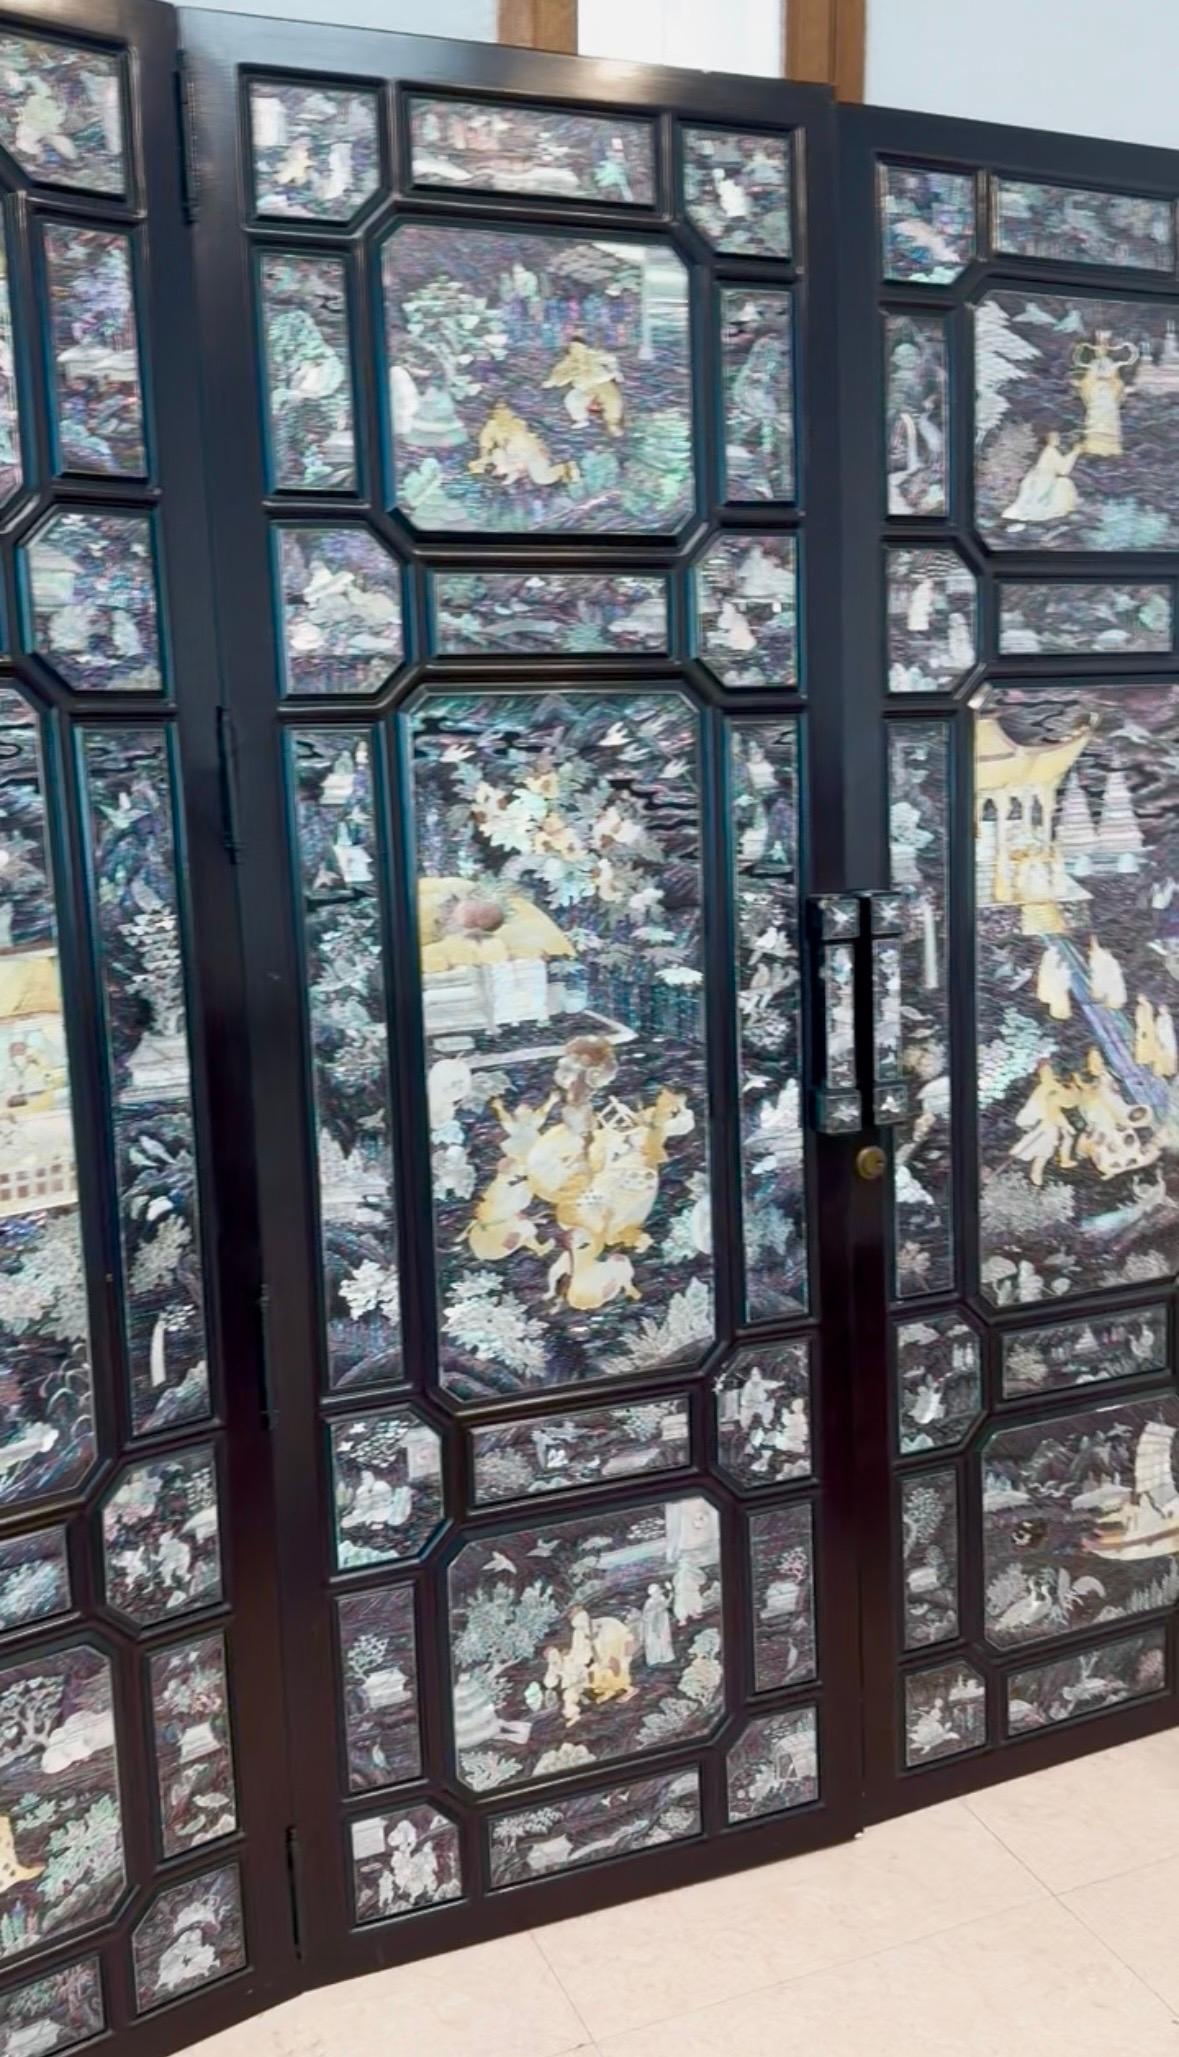
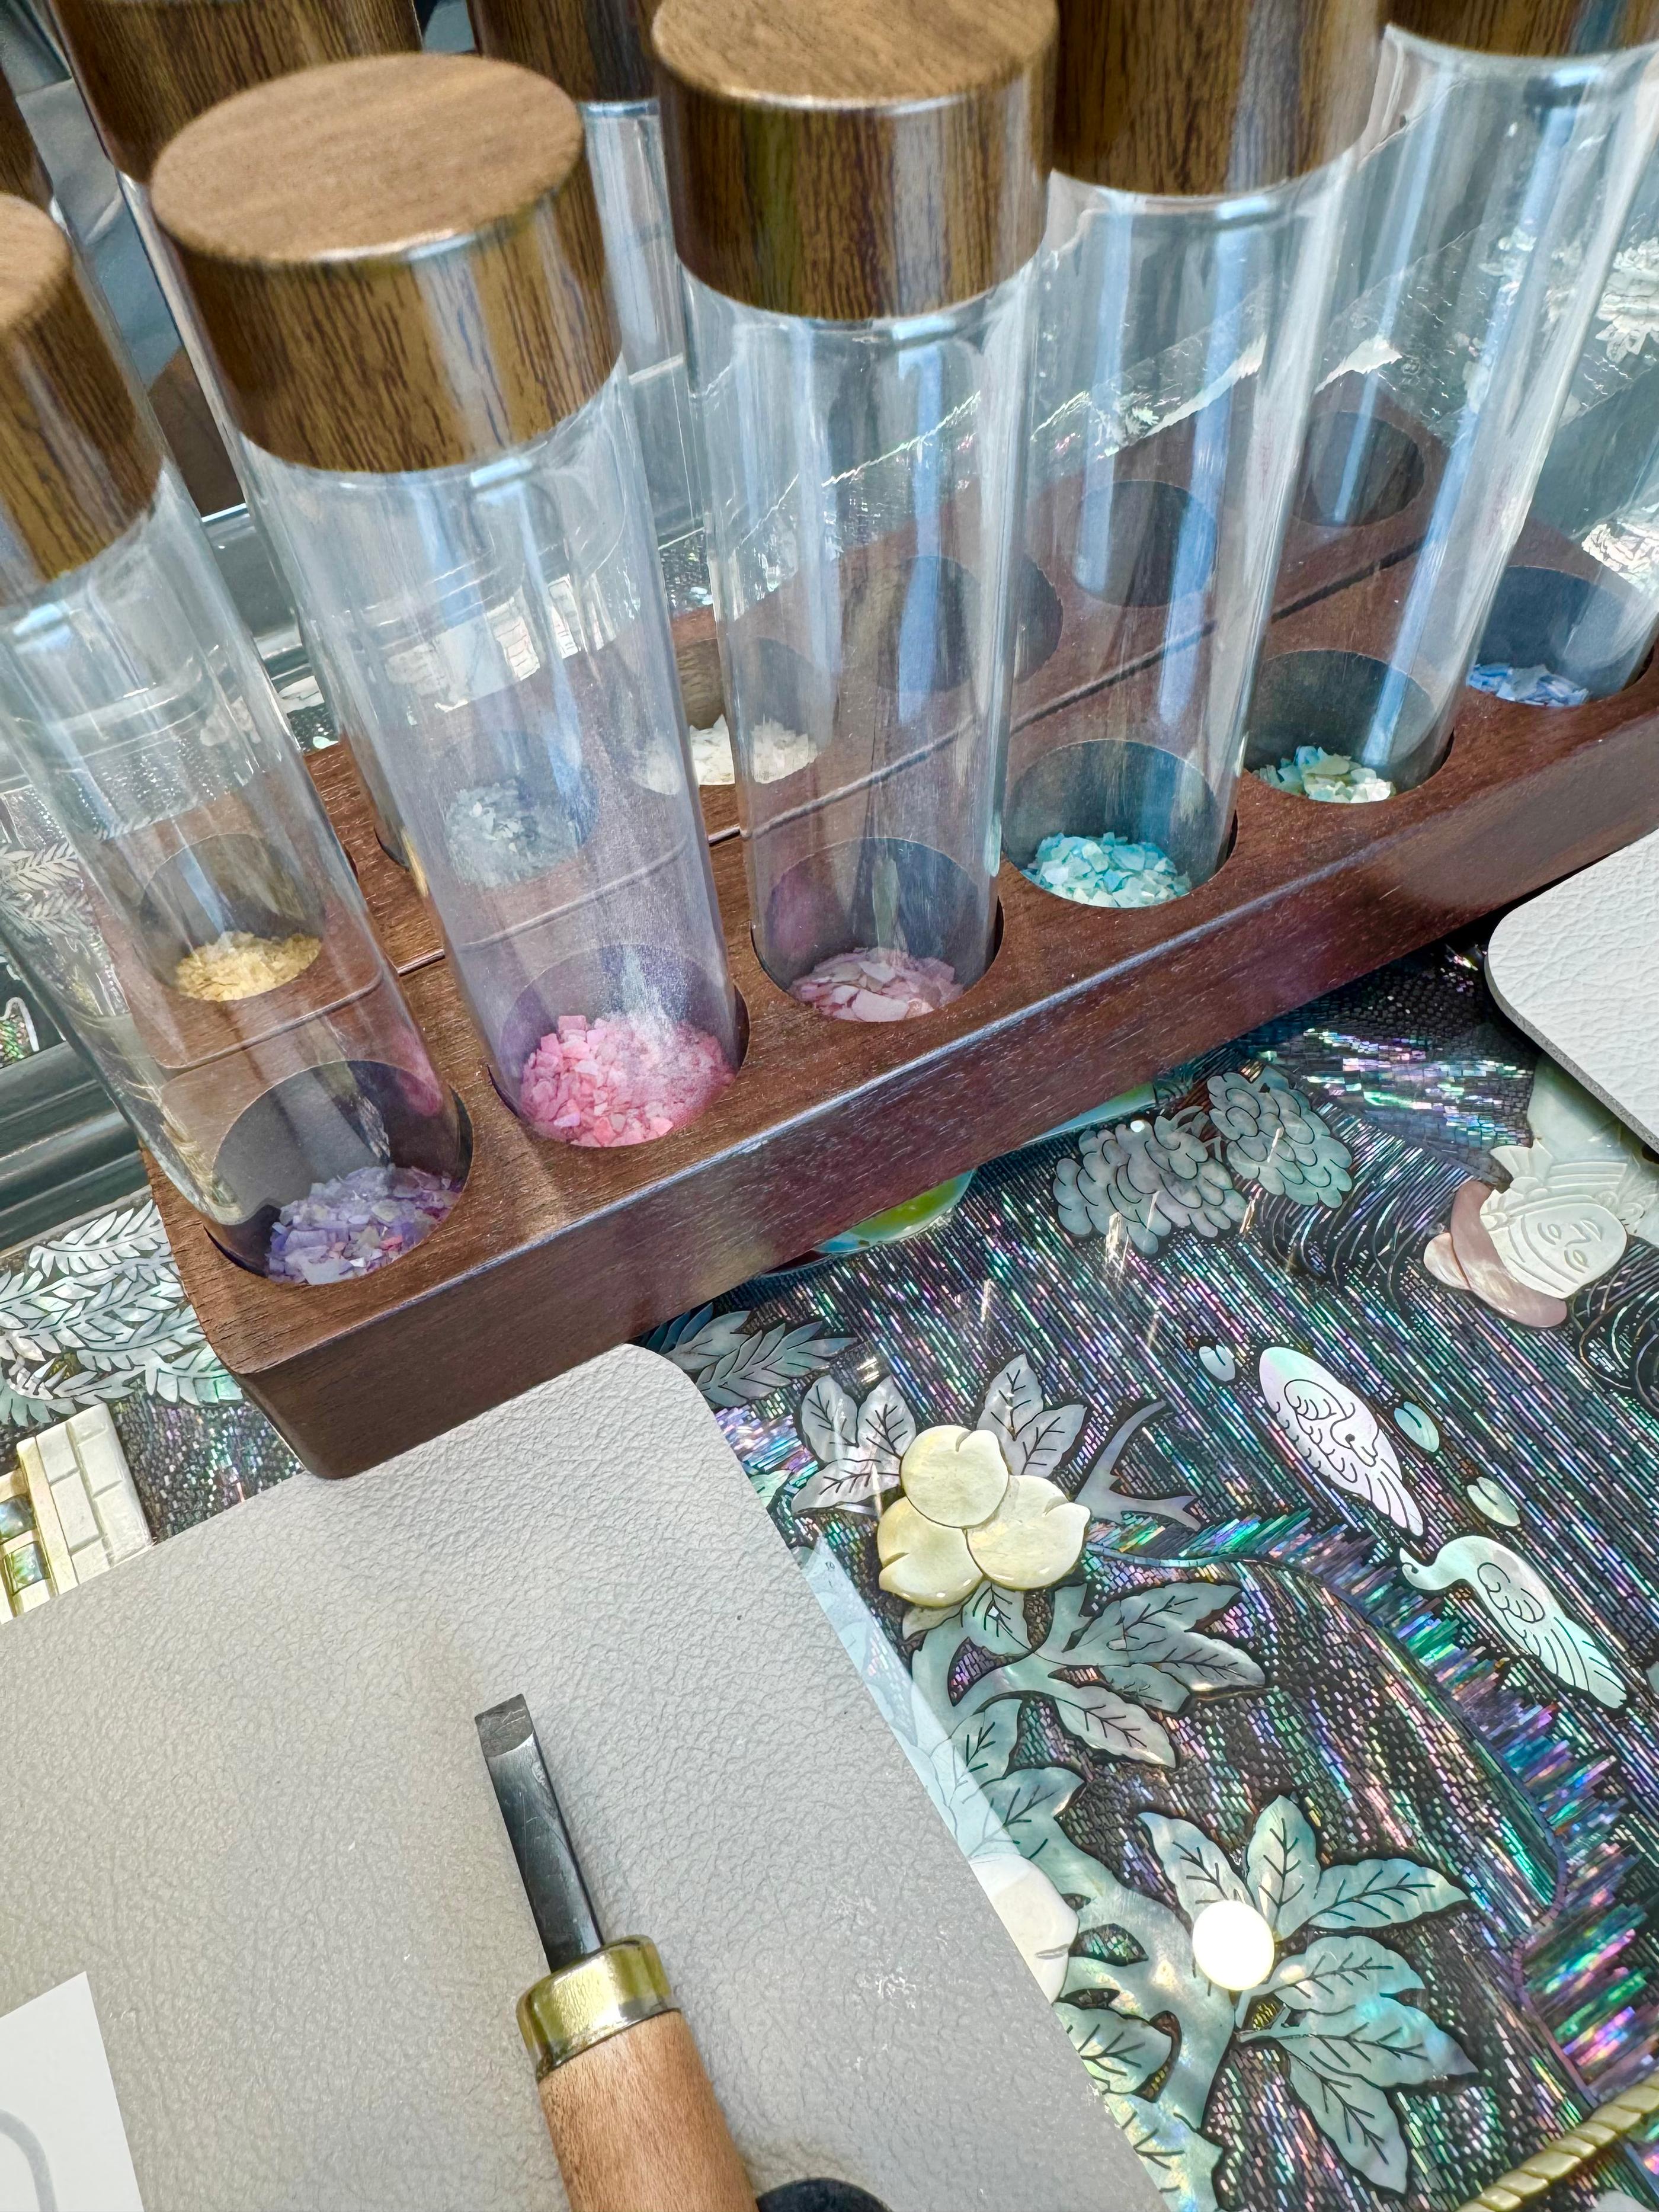
This traditional craft has a history of over a thousand years, using the mother-of-pearl layer from abalone and shells to make various items, such as for lacquerware, furniture, and accessories.
And in the Creatrip booking options,
The workshop offers six hands-on projects: keychain, phone stand, hairpin, compact mirror, ring, and jewelry box. After a long, conflicted decision I finally chose the ring-making experience.
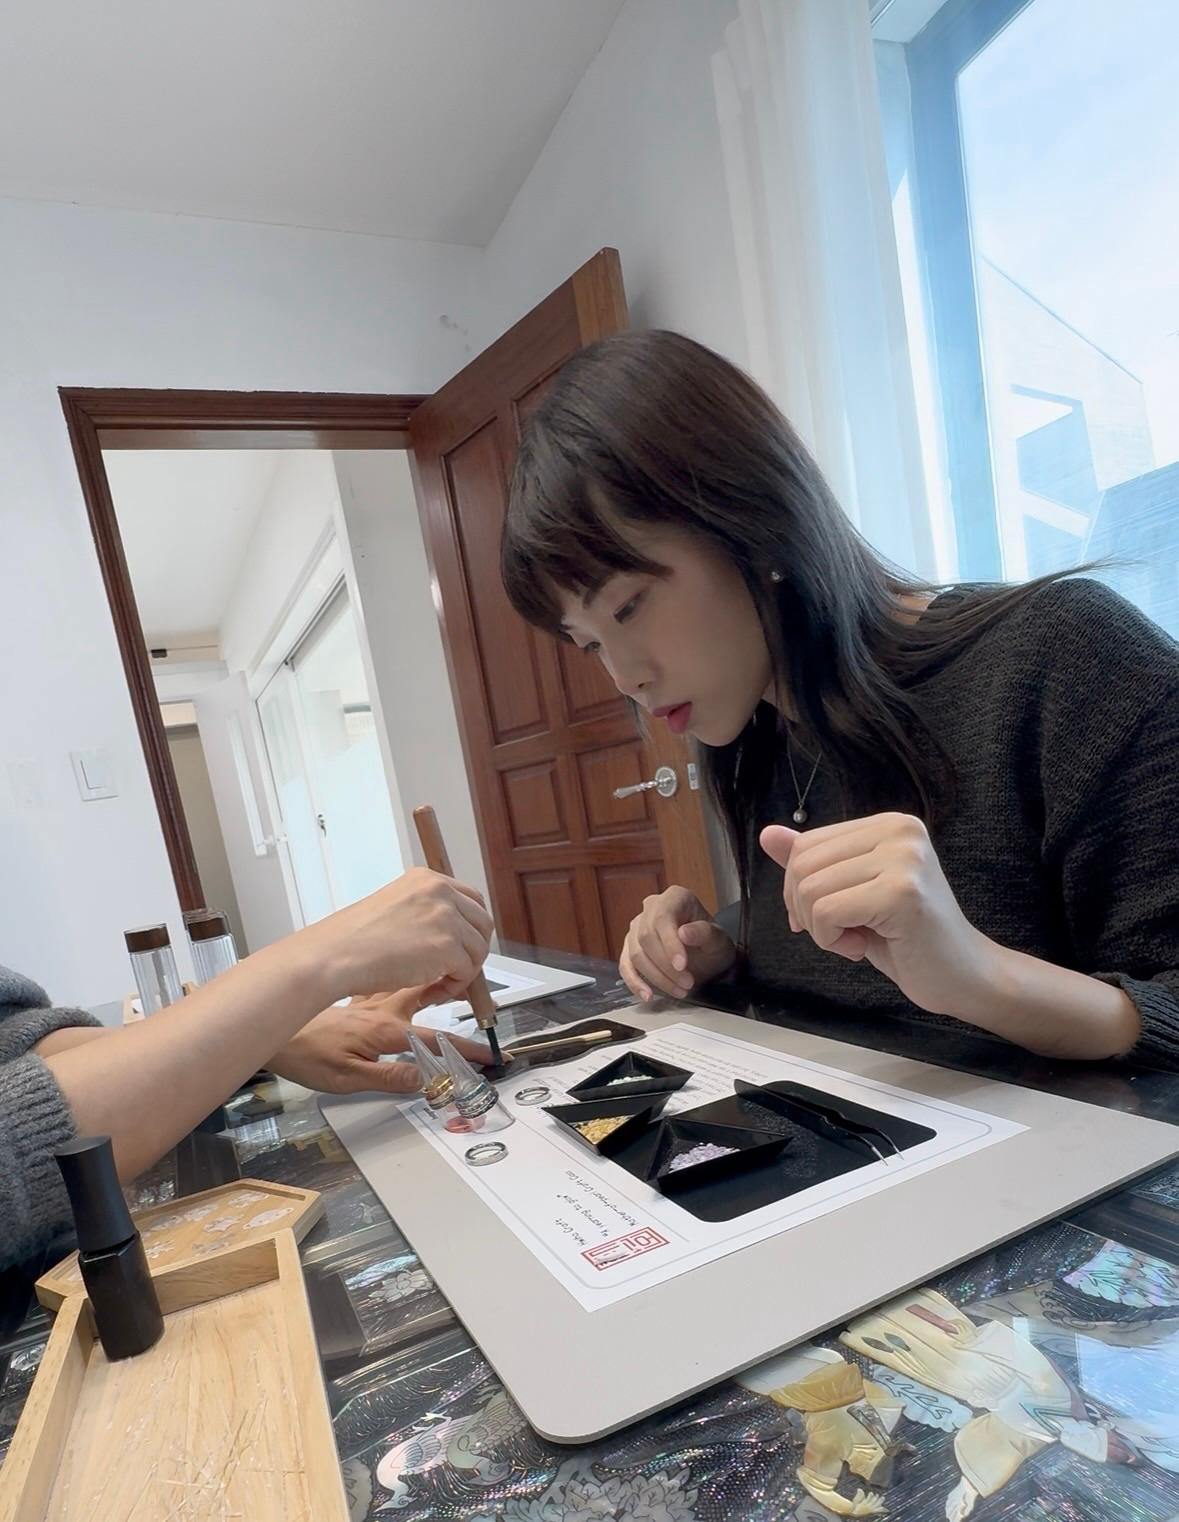
The instructor will first ask which finger you want the ring to be worn on, then choose the right size for you.
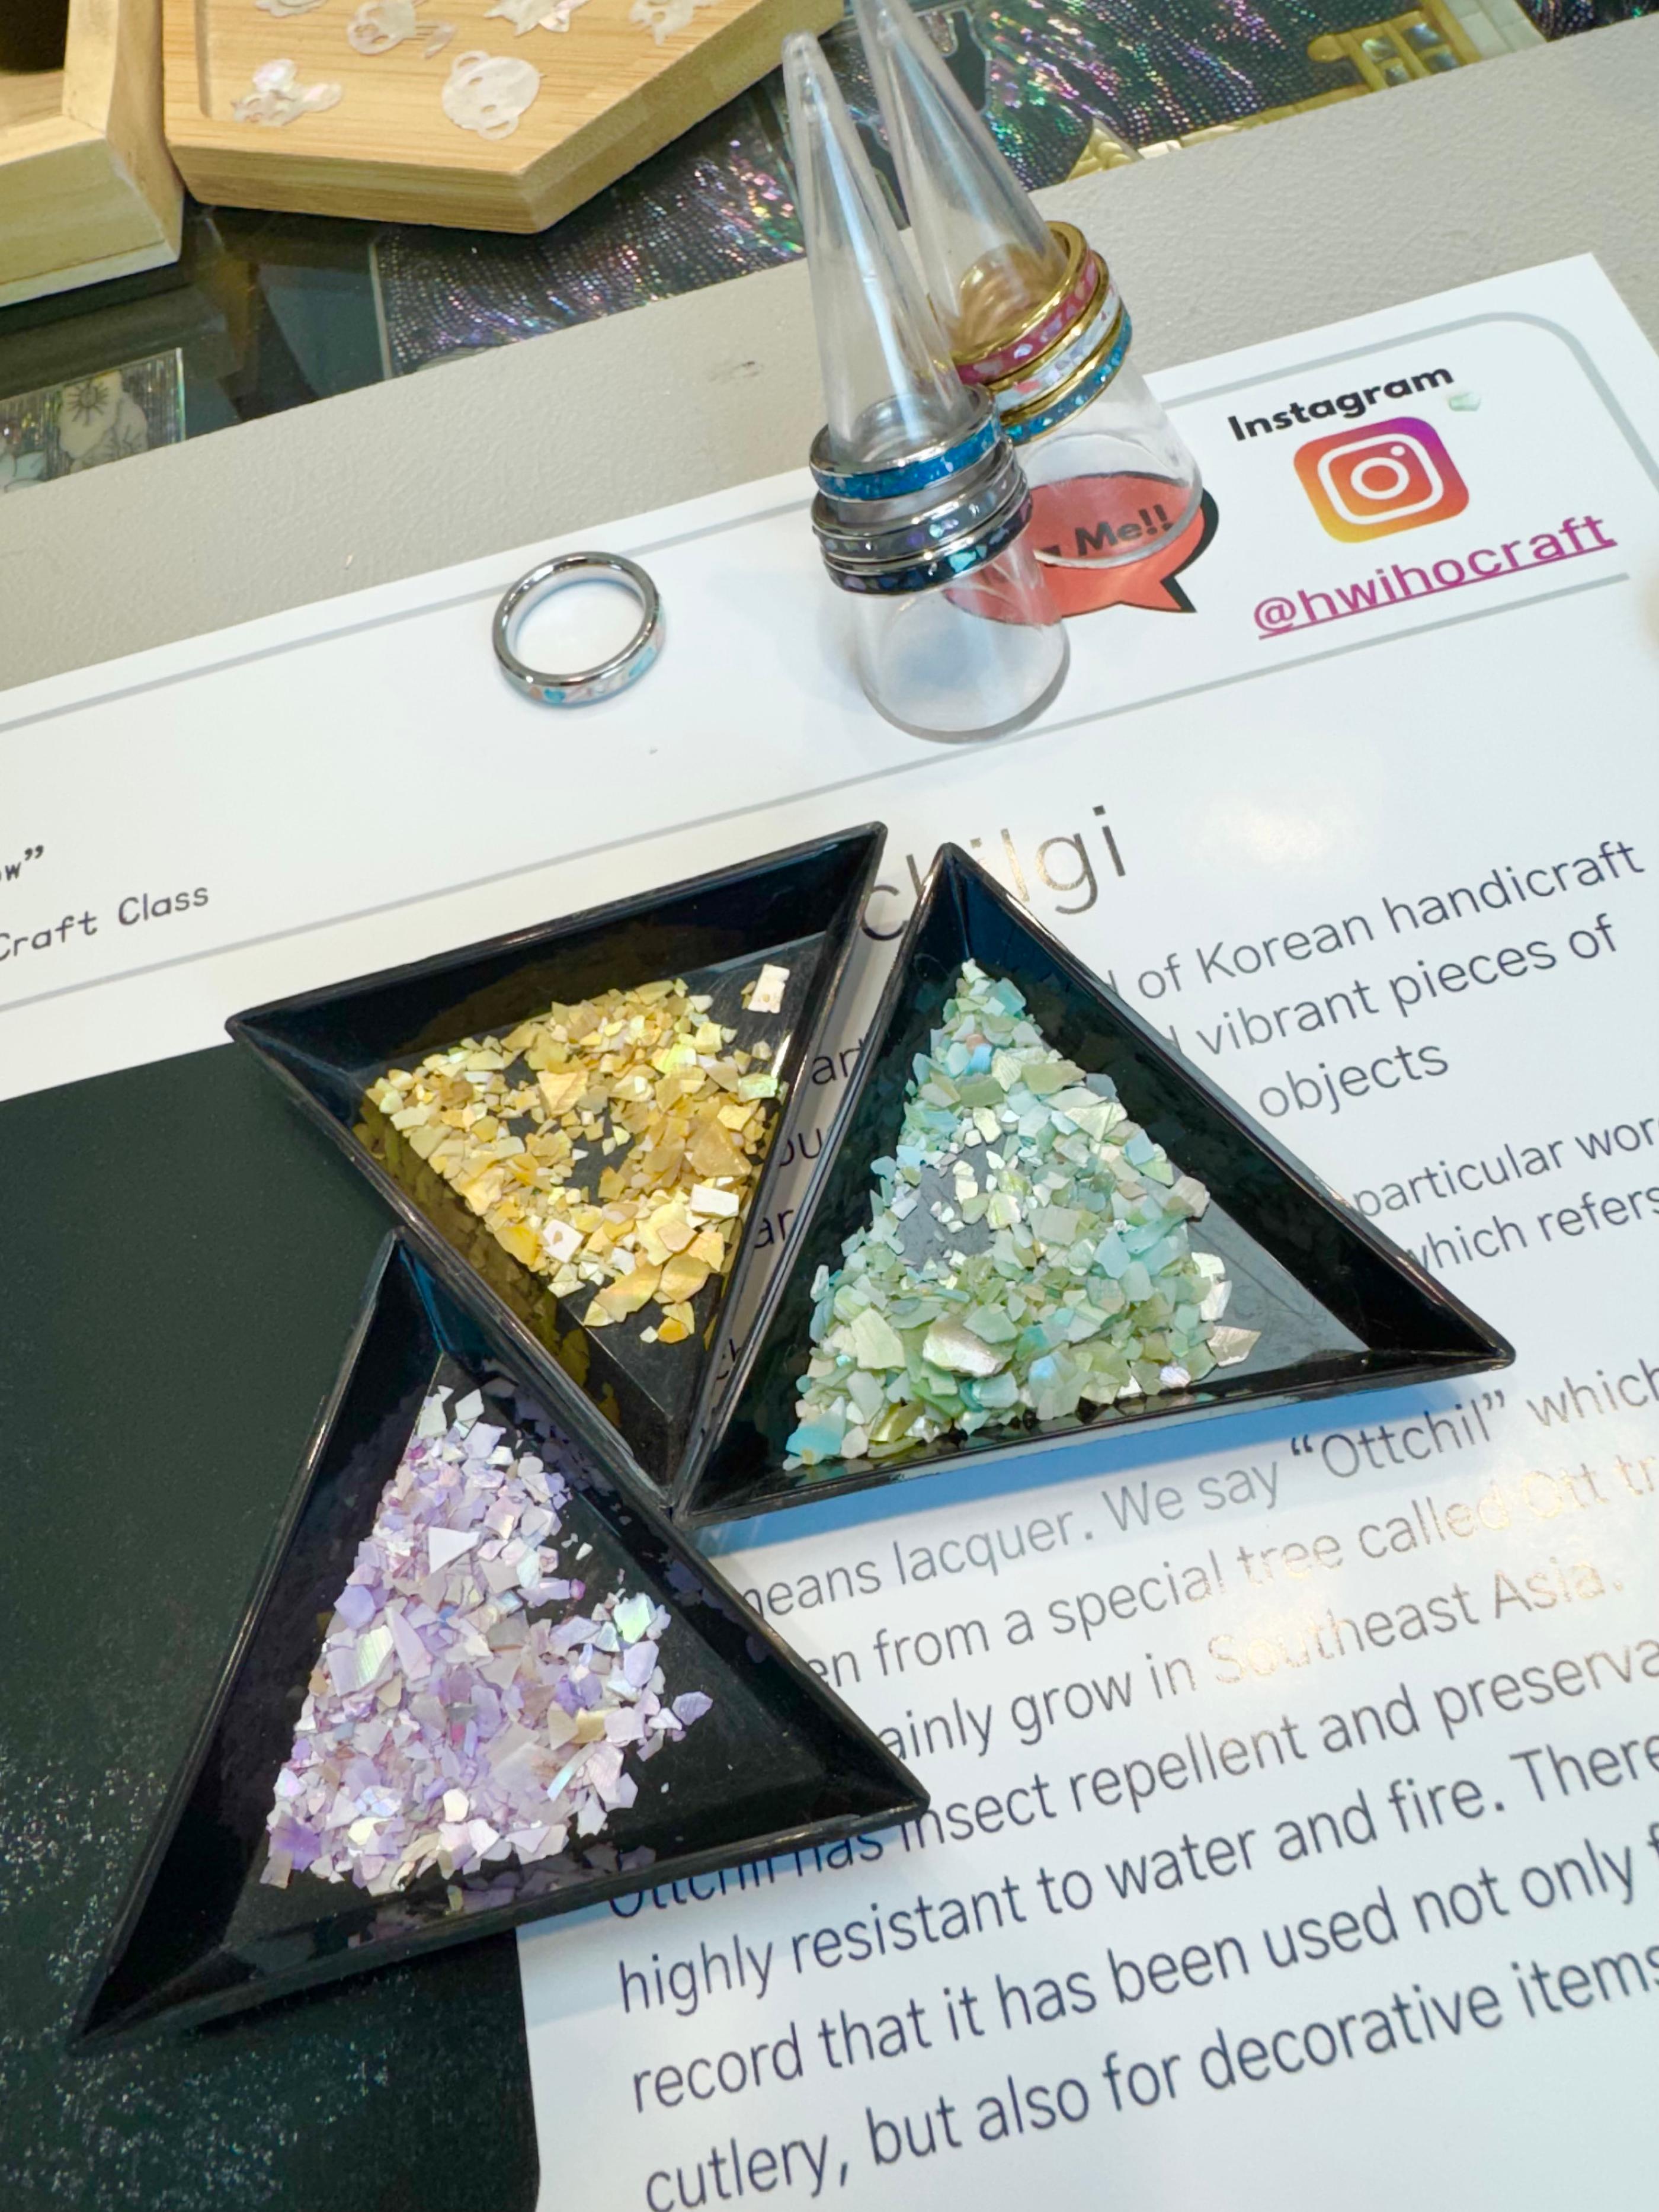
Next, they’ll show you sample finished ring designs in various base colors, and you’ll pick your three favorite shell colors.
This time I chose white as the base color, and picked shell pieces in purple, yellow, and mint green.
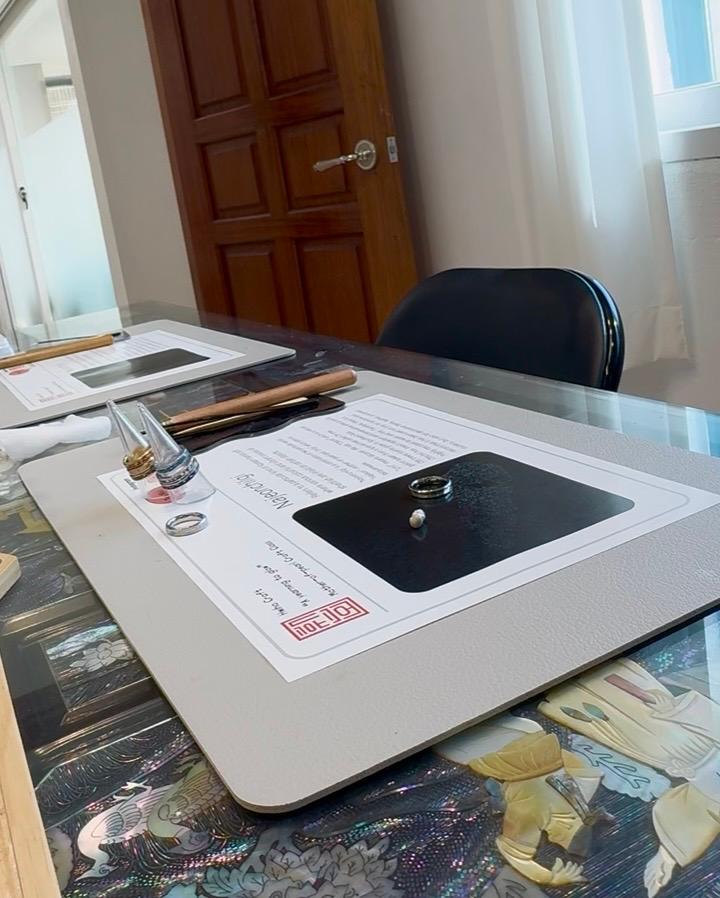
Next we started making the base color part, it turned out to be made from clay,
Mix the white and gray clay, then slowly fill the ring frame.
Don’t worry if you’re not very crafty and might not get it perfect,
If the clay doesn't fill the ring properly like it did for me,
The instructor will help fix it for you.
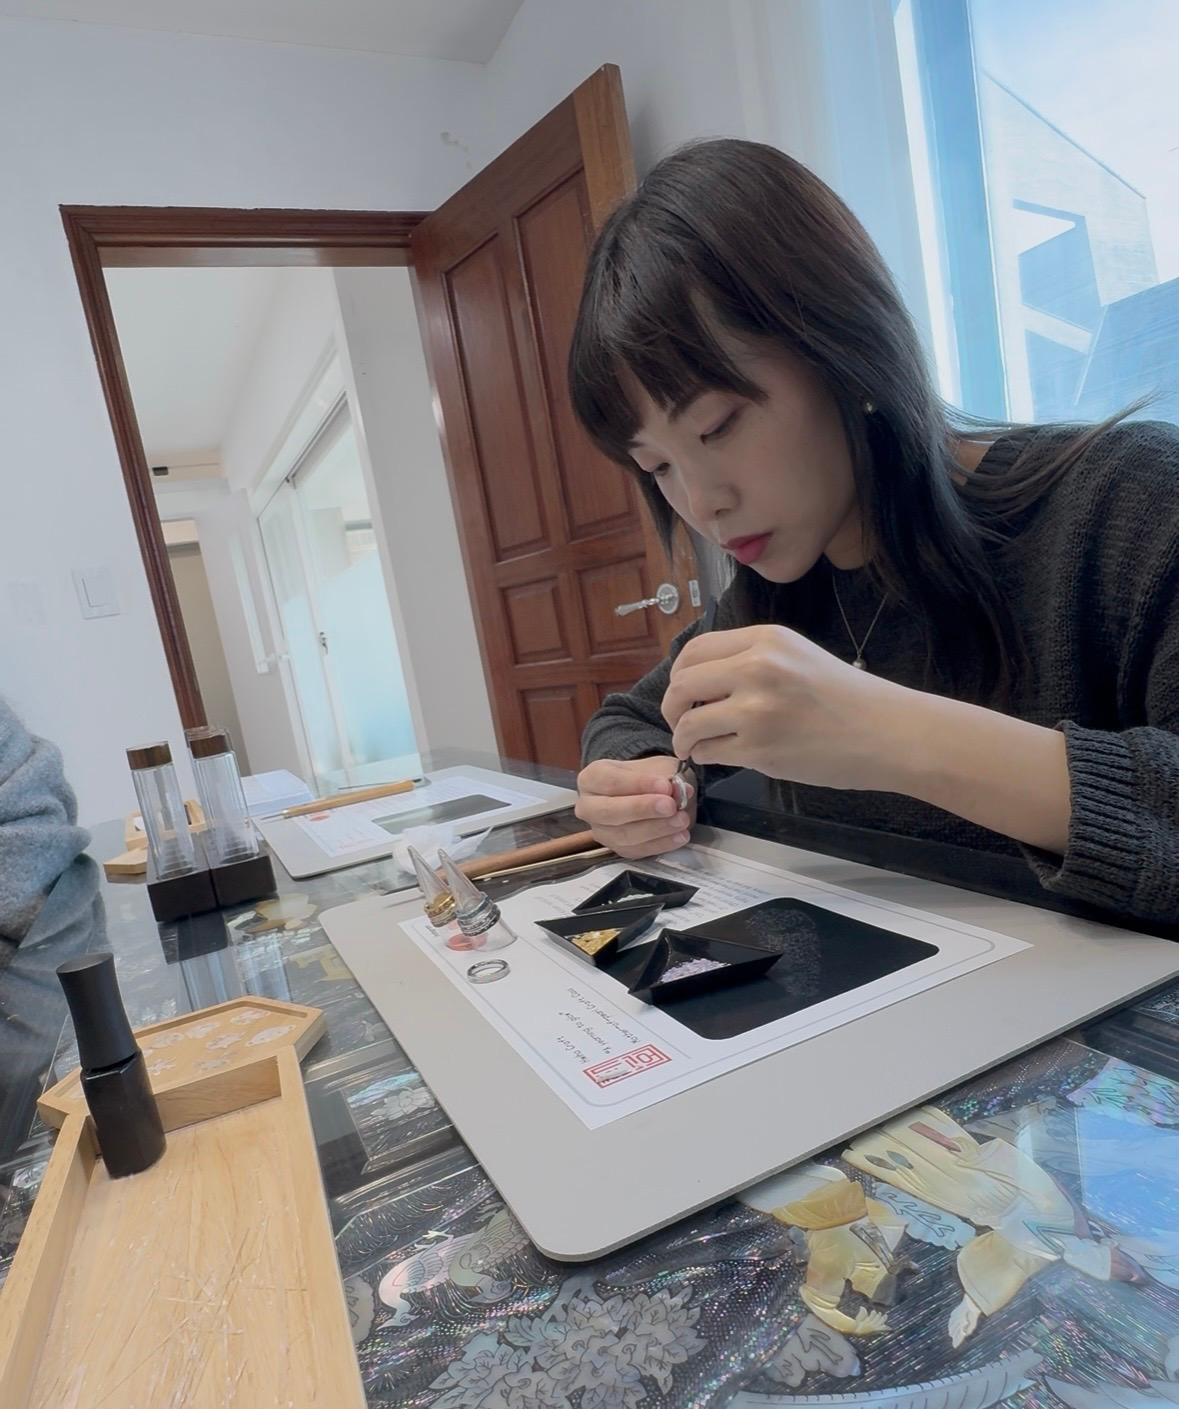
The next step is to stick the three shell pieces you just chose onto the clay,
The instructor will remind you to press each shell piece again with your thumb after sticking it on,
Make sure it’s pressed firmly into the clay.
The shell pieces may look like just tiny little bits,
But many times the ring setting is still too large,
So the instructor also taught us to use another tool and technique,
Make them into smaller, more broken pieces.
Next up is my favorite part,
Because this step is what makes each ring truly one of a kind.
The key to this step is that each tiny shell chip is a different size, shape, and color.
That's right! You read it correctly, each little shard is a different color!
If you’ve ever picked up shells on the beach or eaten shellfish, you’ll know what I mean,
Besides having different patterns, shells also vary in how their luster is distributed,
So when the same color shell is broken into small pieces,
Each piece has different shades, textures, and lusters.
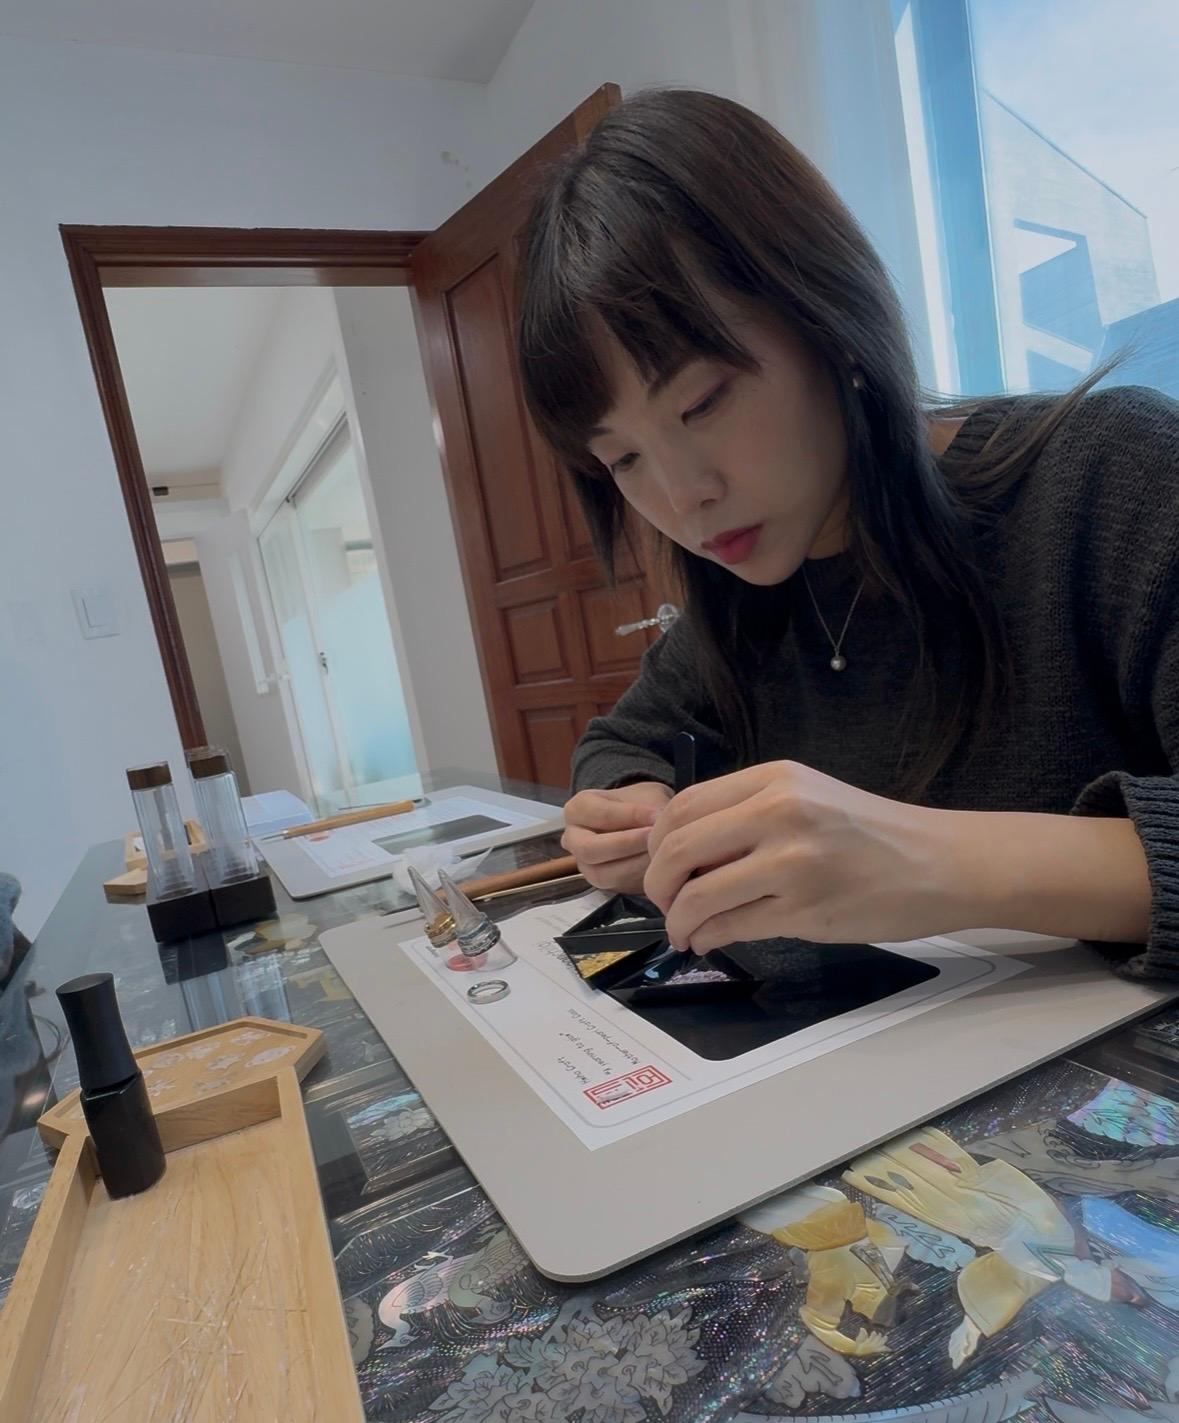
The key in this step, of course, is how you arrange the different colors,
For my own one, at first I tried placing some larger pieces with gaps between them,
After filling about a quarter, I felt it might look too plain if I left it like that,
So I looked for even smaller pieces, fragments so tiny they were like a single dot,
Arrange them on the same horizontal line,
Leave spacing not only horizontally, but vertically as well.
The whole making process takes about half an hour to complete,
So I really recommend everyone who’s going to Hapjeong Station try it out.
After finishing, the instructor will take you to the decorated set next door so you can take photos of your piece,
But remember to wait 24 hours for the clay to fully dry before putting the ring on!