5
8K+

✨Creatrip exclusive booking benefits
💇🏼♀️ Expert Color & Custom Styling
🌎 A hair salon that's convenient for foreign customers
Details
cold perm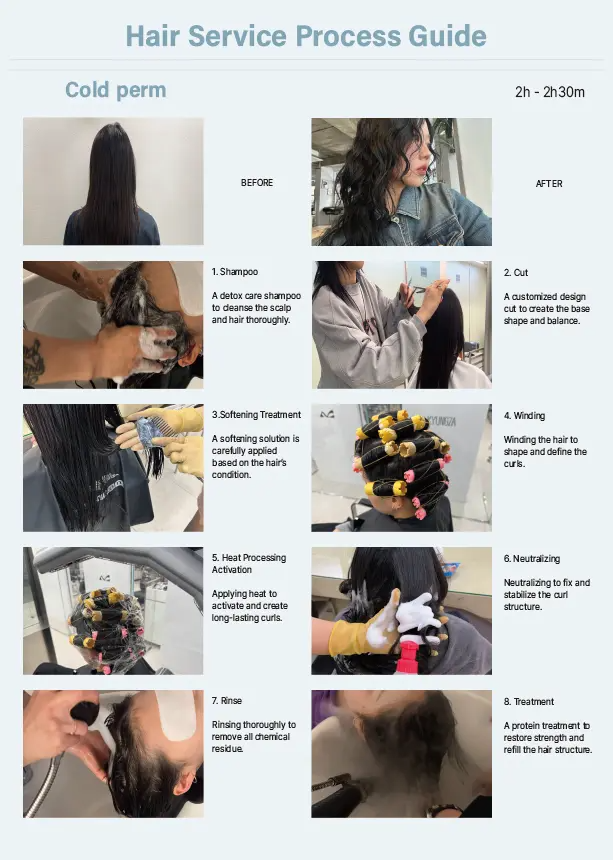
[Step 1] shampoo | Use a detox care shampoo to thoroughly cleanse the scalp and hair |
[Step 2] Cut | Customized design cut to create the overall shape and balance |
[Step 3] Softening treatment | Carefully apply a softening agent according to the hair’s condition |
[Step 4] Winding | Secure the hair on rods to shape the curls and make them defined |
[Step 5] Heat activation | Apply heat to activate the curls and form long-lasting waves |
[Step 6] Neutralization | A neutralizing process to fix and stabilize the curl structure |
[Step 7] Rinse | Thoroughly remove all remaining chemical residues |
[Step 8] treatment | Protein treatment to restore hair strength and reinforce structure |
straight perm
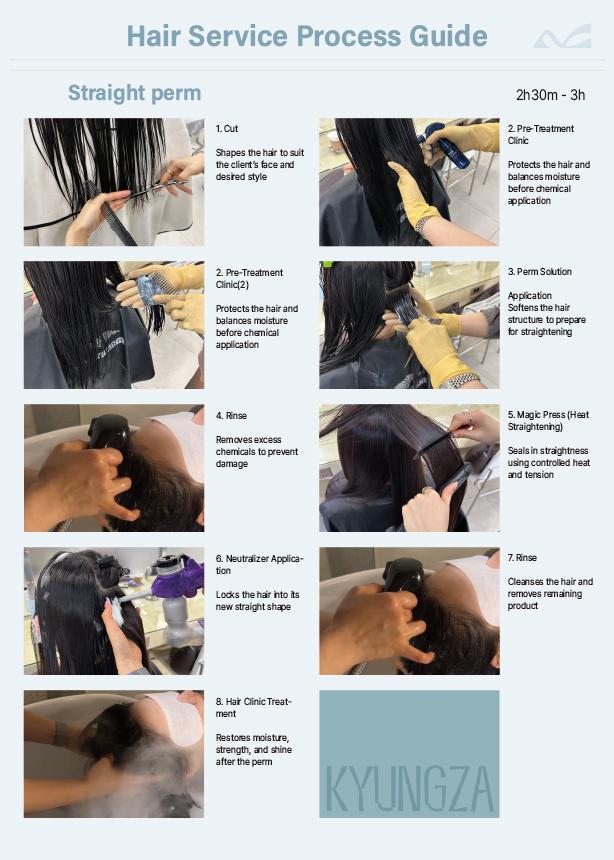
[Step 1] Cut | Shape the overall hair according to the client's face shape and desired style |
[Step 2] Pre-treatment Clinic | Protect the hair and balance moisture before applying solutions to prepare for the procedure |
[Step 3] Apply perm Solution | Soften the hair structure to prepare it for straightening treatments |
[Step 4] Rinse | Remove excess solution to minimize hair damage |
[Step 5] Magic Press (Heat Straightening) | Use controlled heat and tension to create a smooth straight hair form |
[Step 6] Neutralization | Fix and stabilize the newly formed straight structure |
[Step 7] Rinse | Cleanse the hair and scalp thoroughly to remove remaining products |
[Step 8] Hair Clinic Treatment | Restore moisture, strength, and shine after the procedure to maintain healthy hair condition |
Keratin Magic
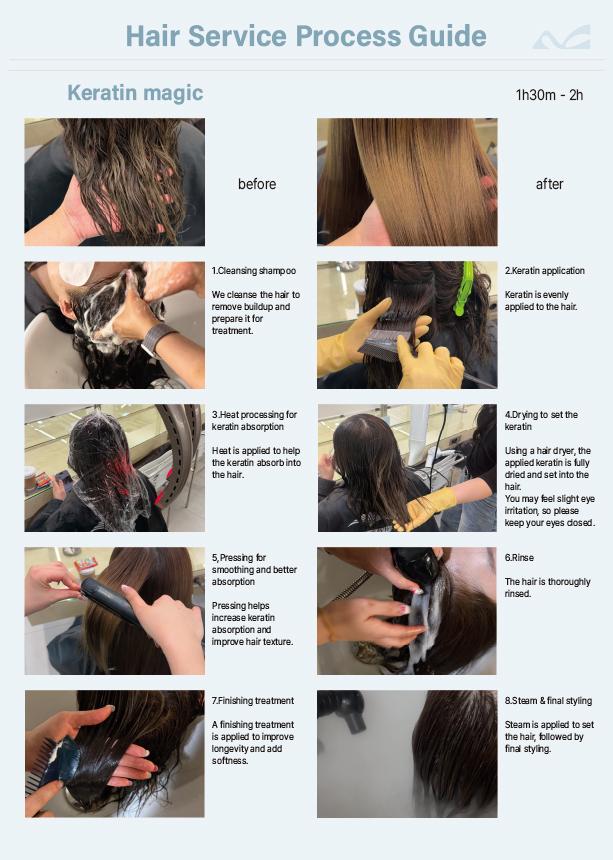
[Step 1] Cleansing shampoo | Thoroughly cleanses the hair to remove buildup and prepare it for the treatment |
[Step 2] Keratin application | Evenly apply keratin across the entire hair so the nourishing ingredients penetrate deeply |
[Step 3] Heat treatment absorption | Apply heat to activate the keratin so it’s effectively absorbed into the hair shaft |
[Step 4] Drying (keratin setting) | Completely dry the applied keratin with a hairdryer to securely set it into the hair *You may feel eye irritation during the procedure, so keep your eyes closed |
[Step 5] Pressing (smoothness & absorption boost) | Use pressing to increase keratin absorption and smooth the hair fiber for a sleeker finish |
[Step 6] Rinse | Rinse the hair thoroughly to remove any remaining product |
[Step 7] Finishing treatment | Apply a finishing treatment to enhance softness and prolong the effects |
[Step 8] Steam & final styling | Use steam to set the hair, then complete the final styling |
Coloring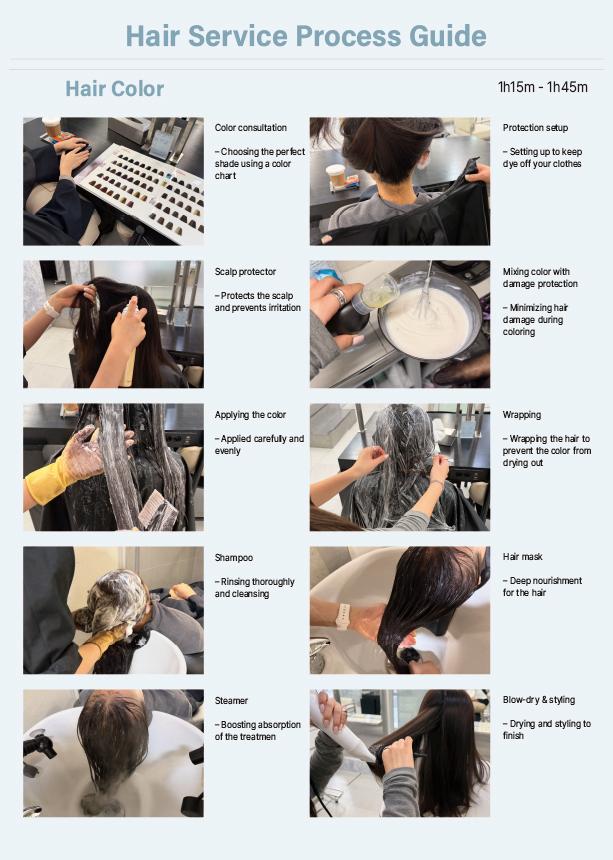
[Step 1] color consultation | Use a color chart to choose the shade that suits the client best together |
[Step 2] protective setup | Set up protection so the dye won’t stain clothing |
[Step 3] apply scalp protector | Apply a scalp protector to shield the scalp and minimize irritation |
[Step 4] damage-protecting color mixing | Mix color with protective ingredients to reduce hair damage during dyeing |
[Step 5] color application | Apply the dye evenly throughout the hair |
[Step 6] wrapping | Wrap the hair to keep the color stable and prevent it from drying out |
[Step 7] shampoo | Rinse hair thoroughly, then cleanse |
[Step 8] hair mask | Deeply nourish the hair to add shine and softness |
[Step 9] steamer | Use steam care to boost treatment absorption |
[Step 10] blow-dry, styling | Finish with final styling after blow-drying |
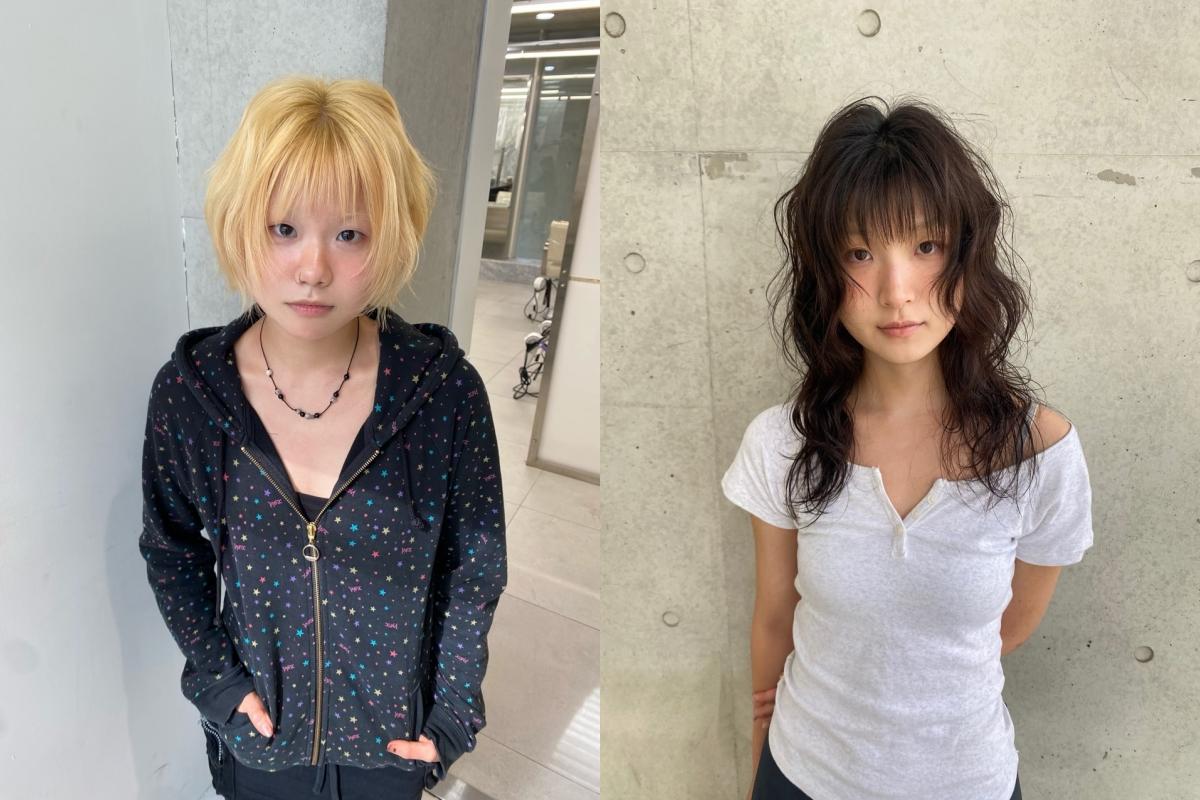
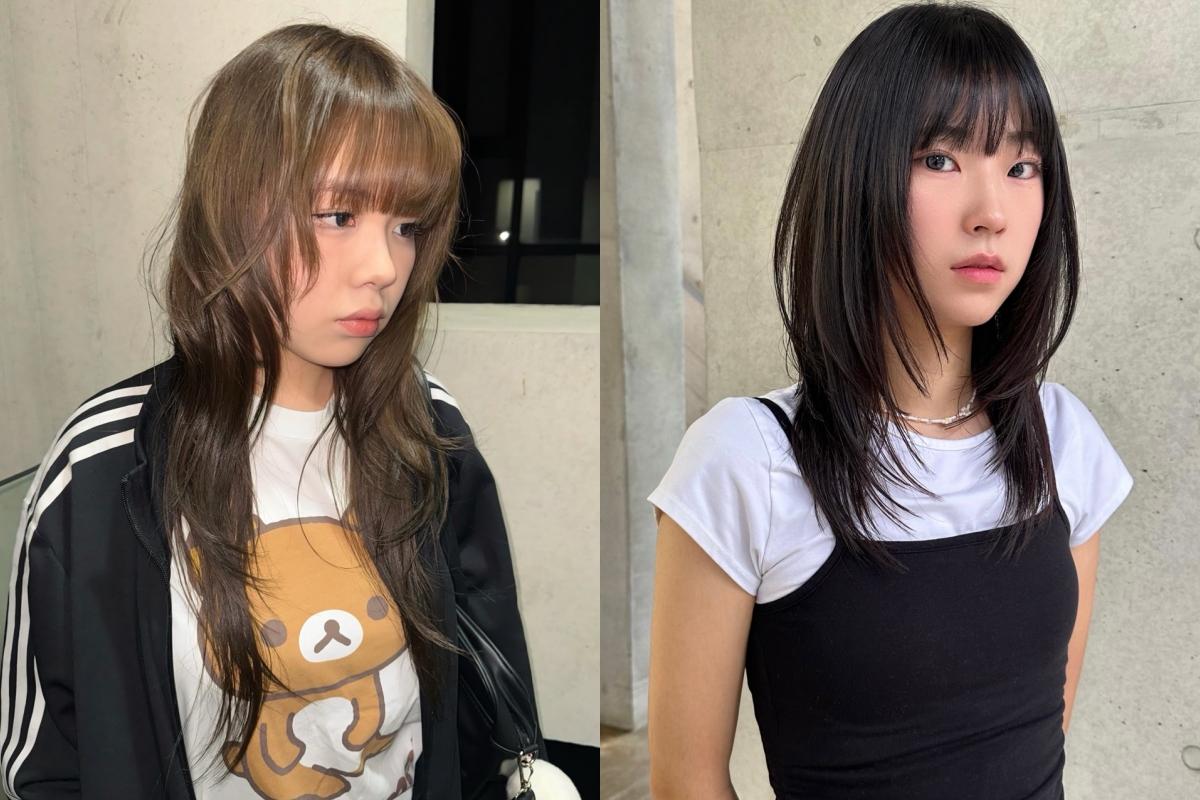
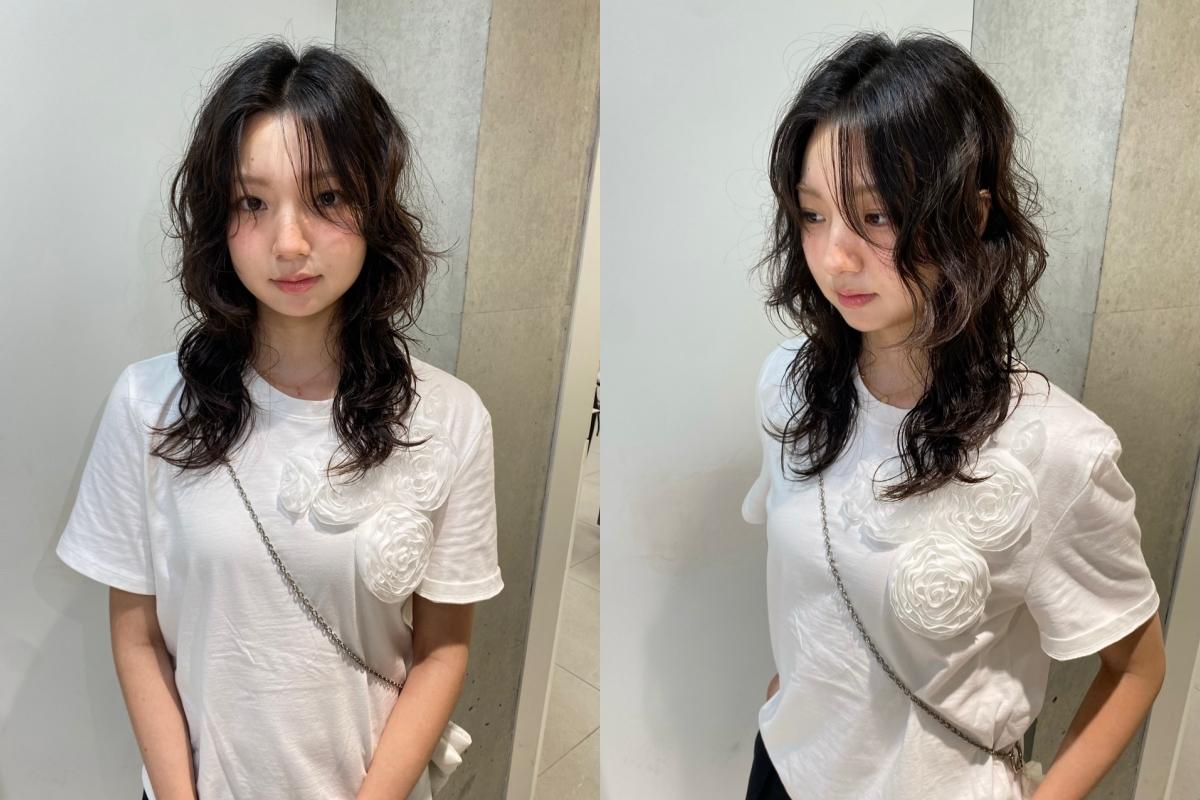
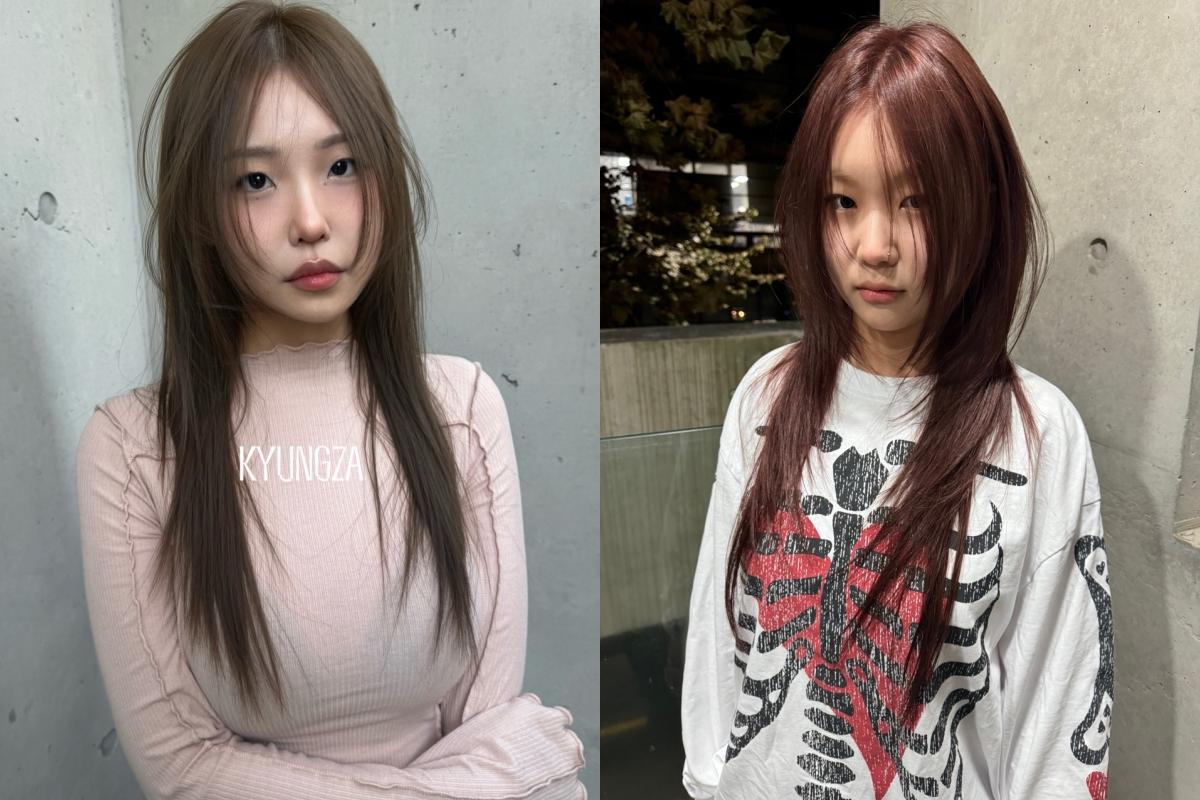
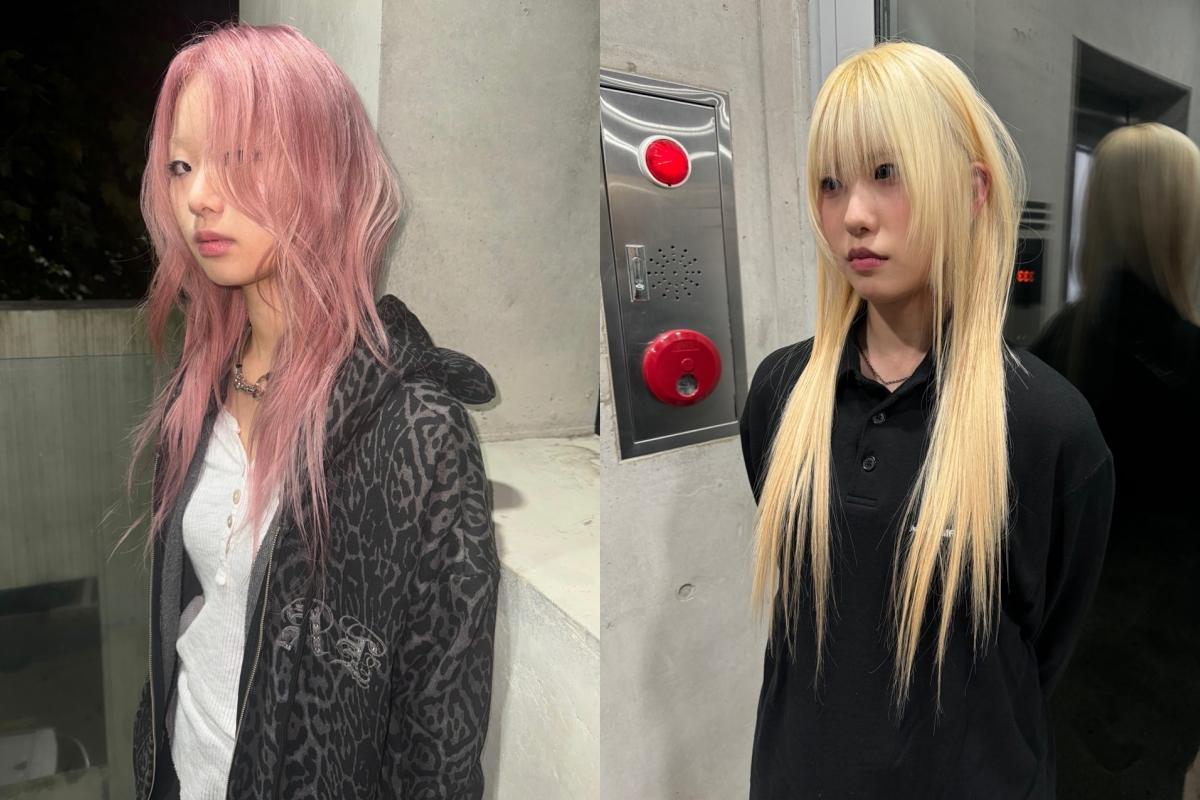
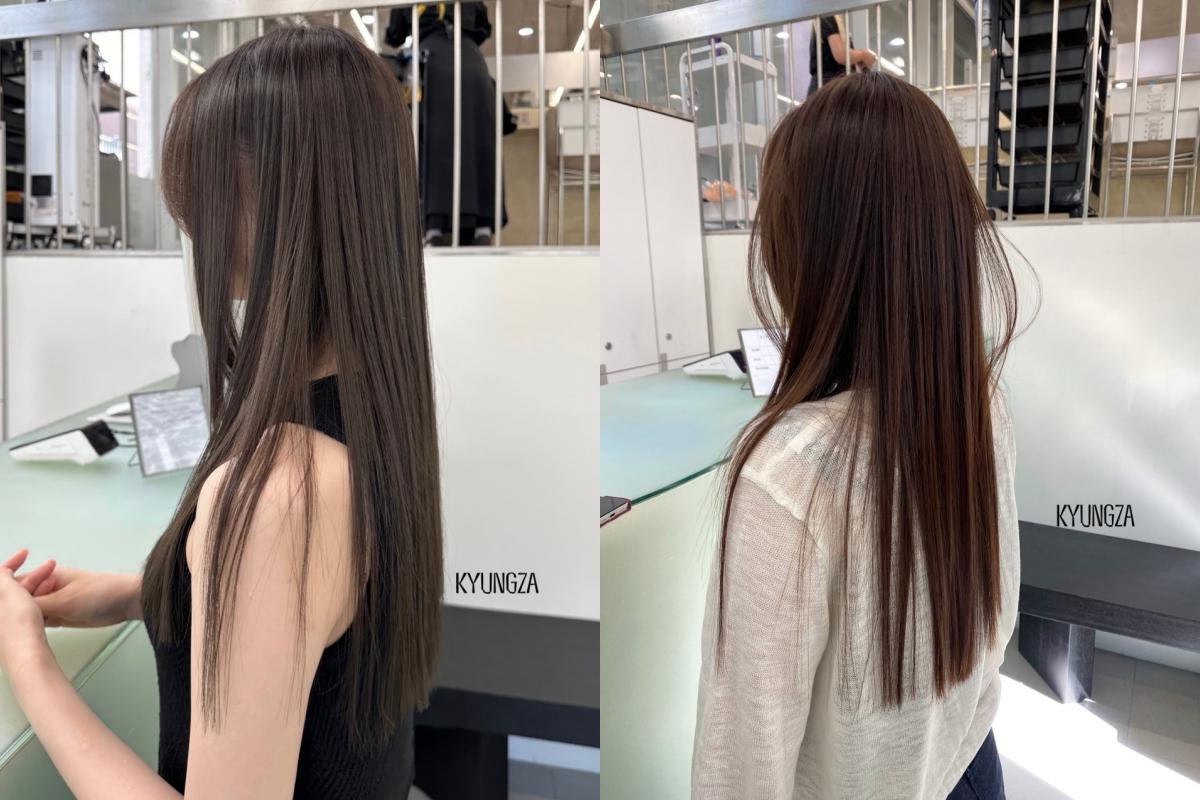
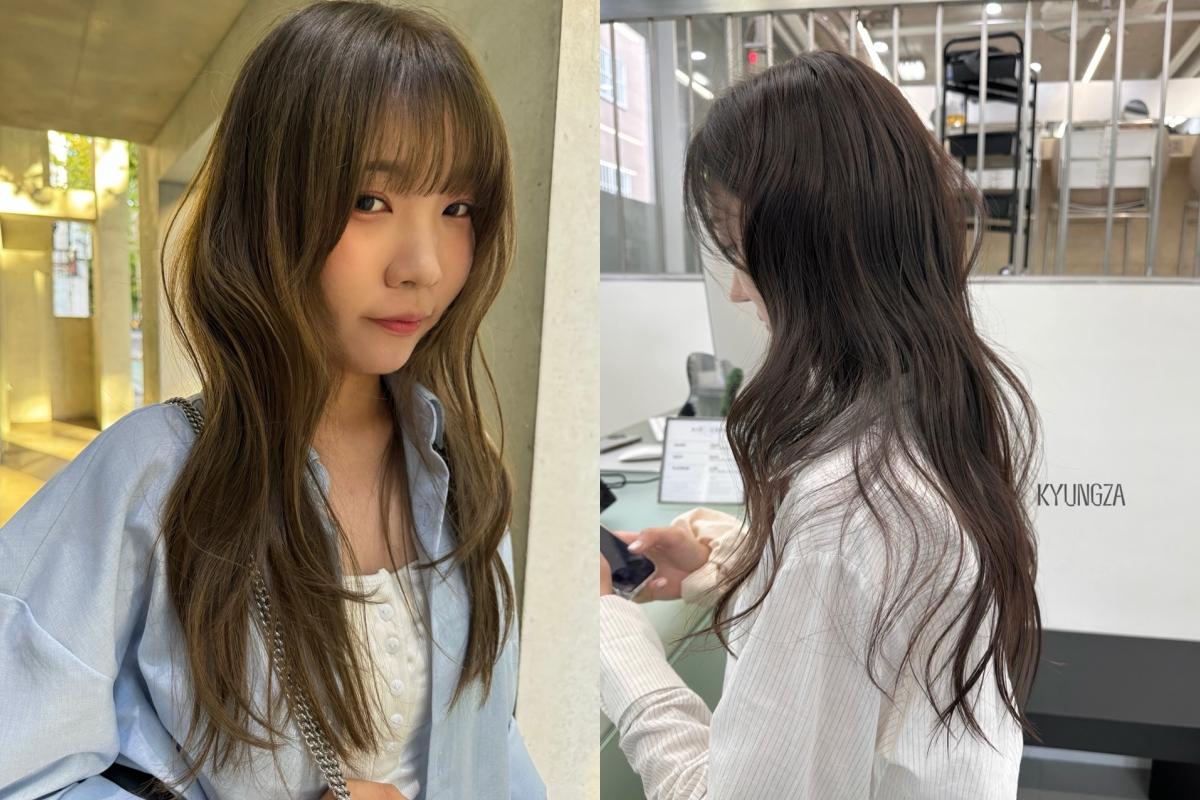
Procedure Photos
[Image slider] 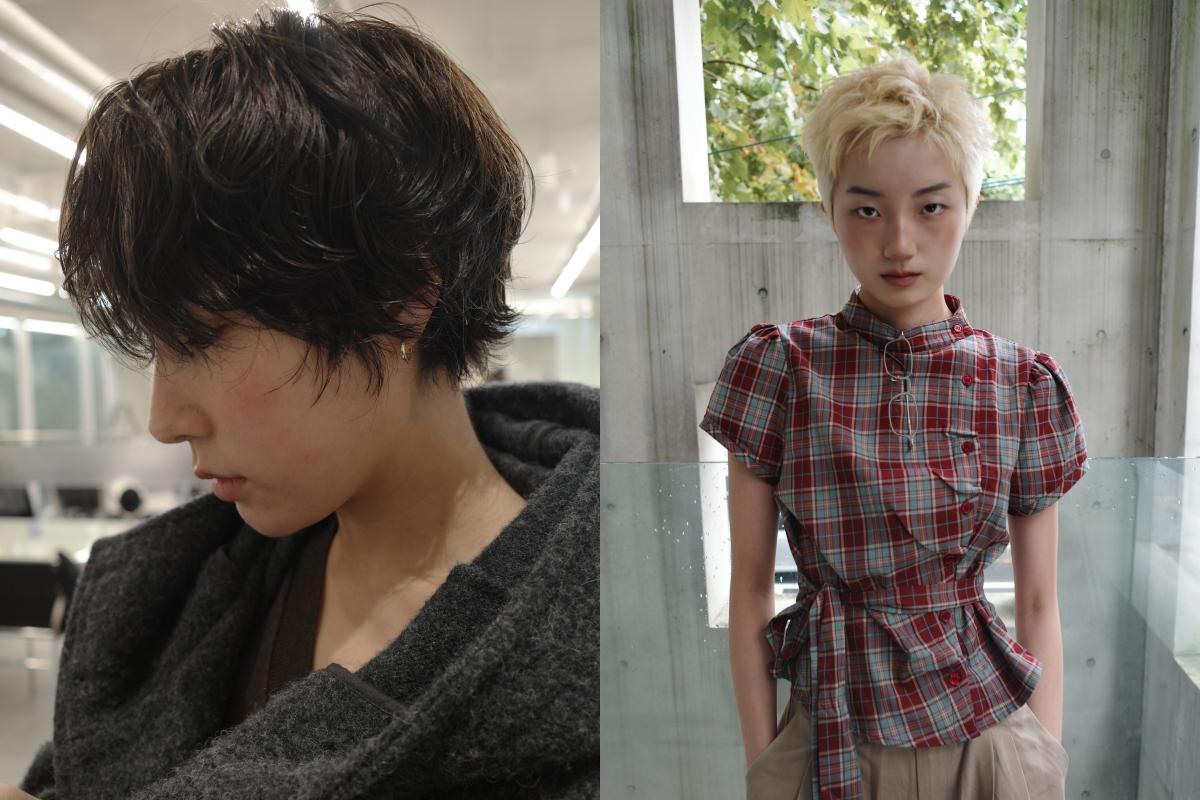
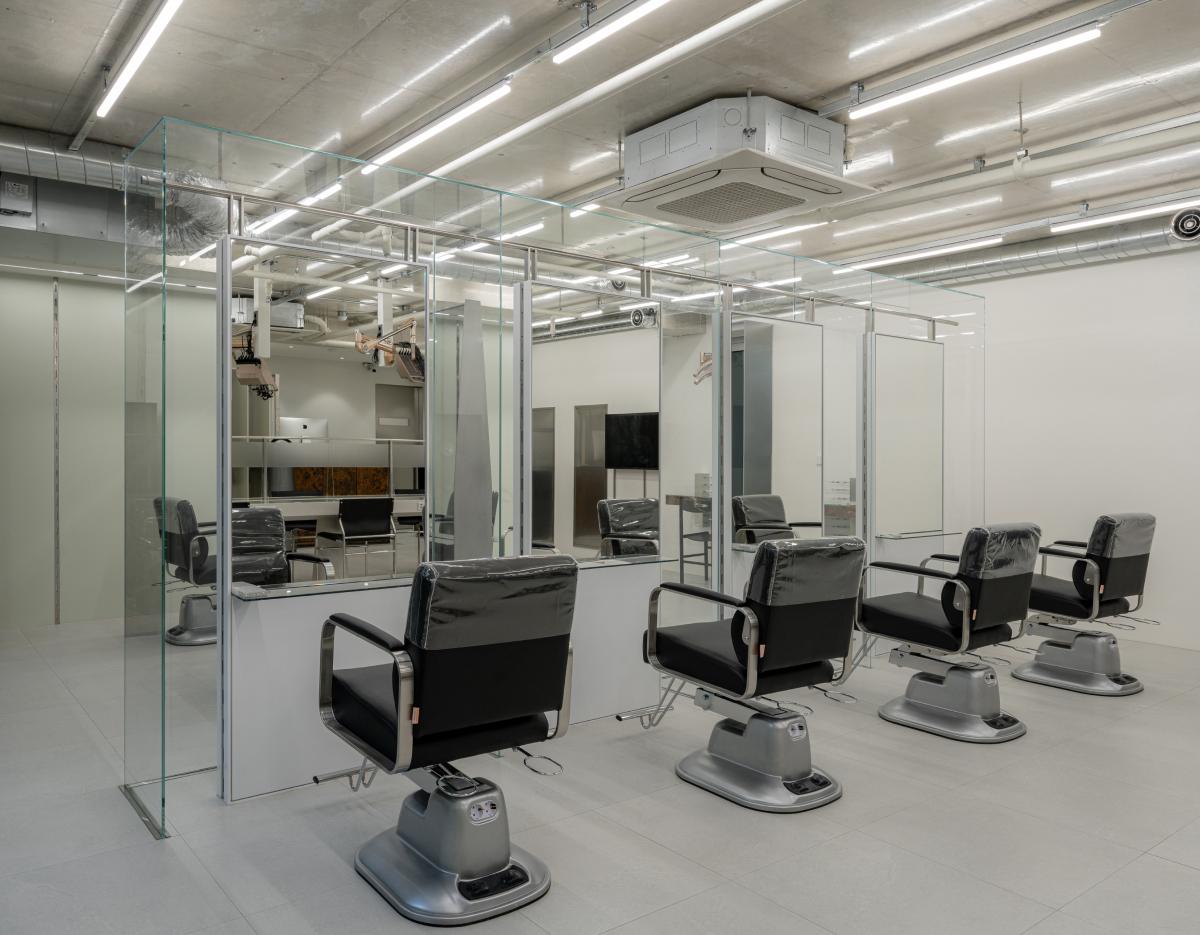
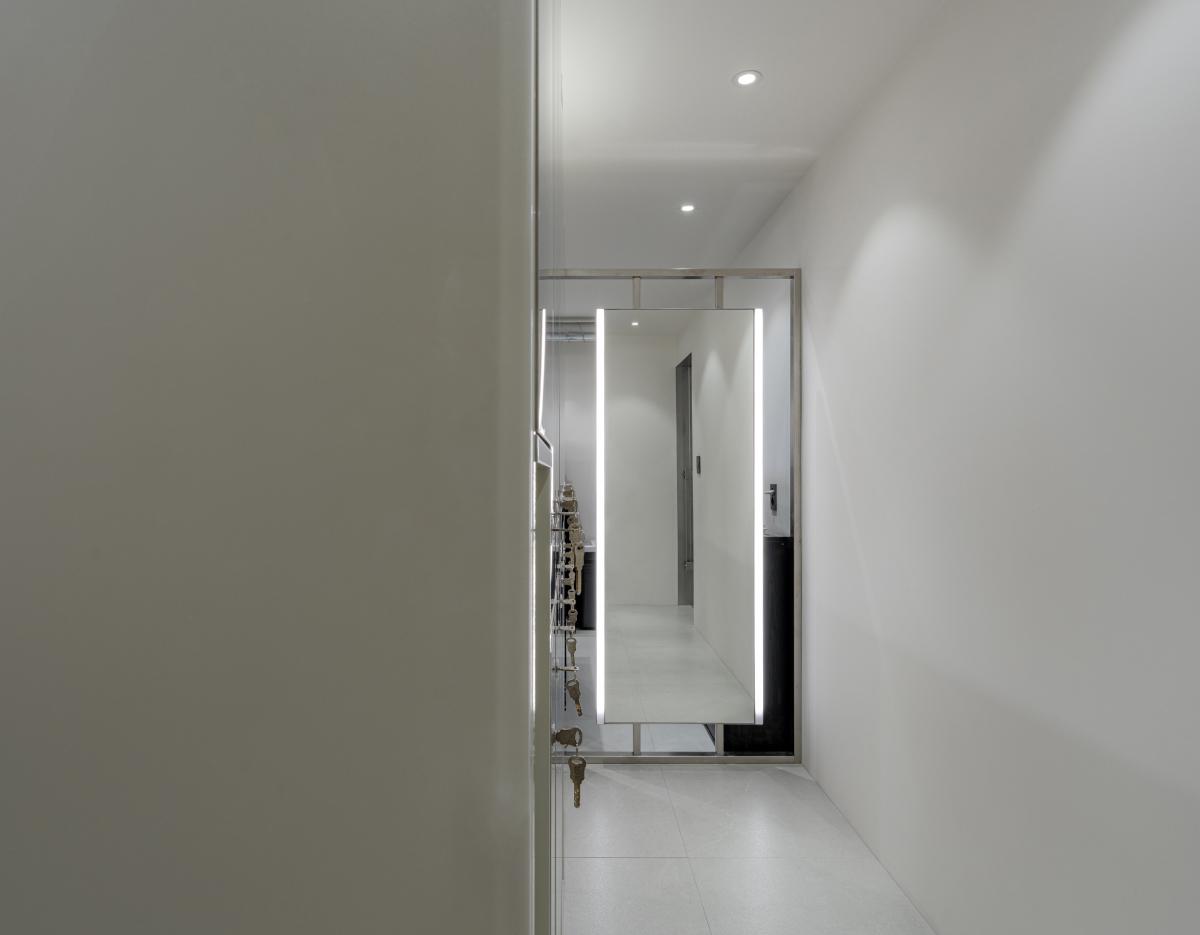
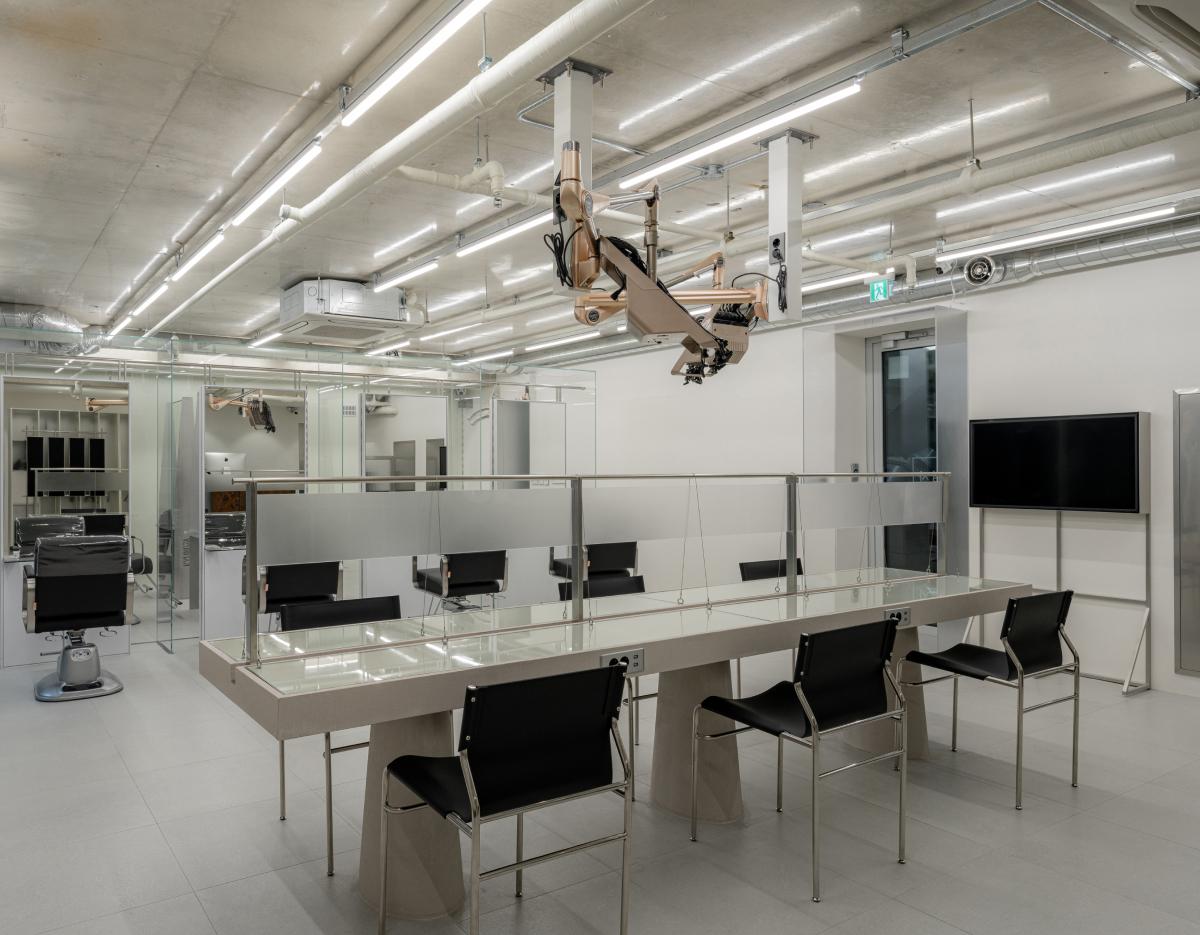
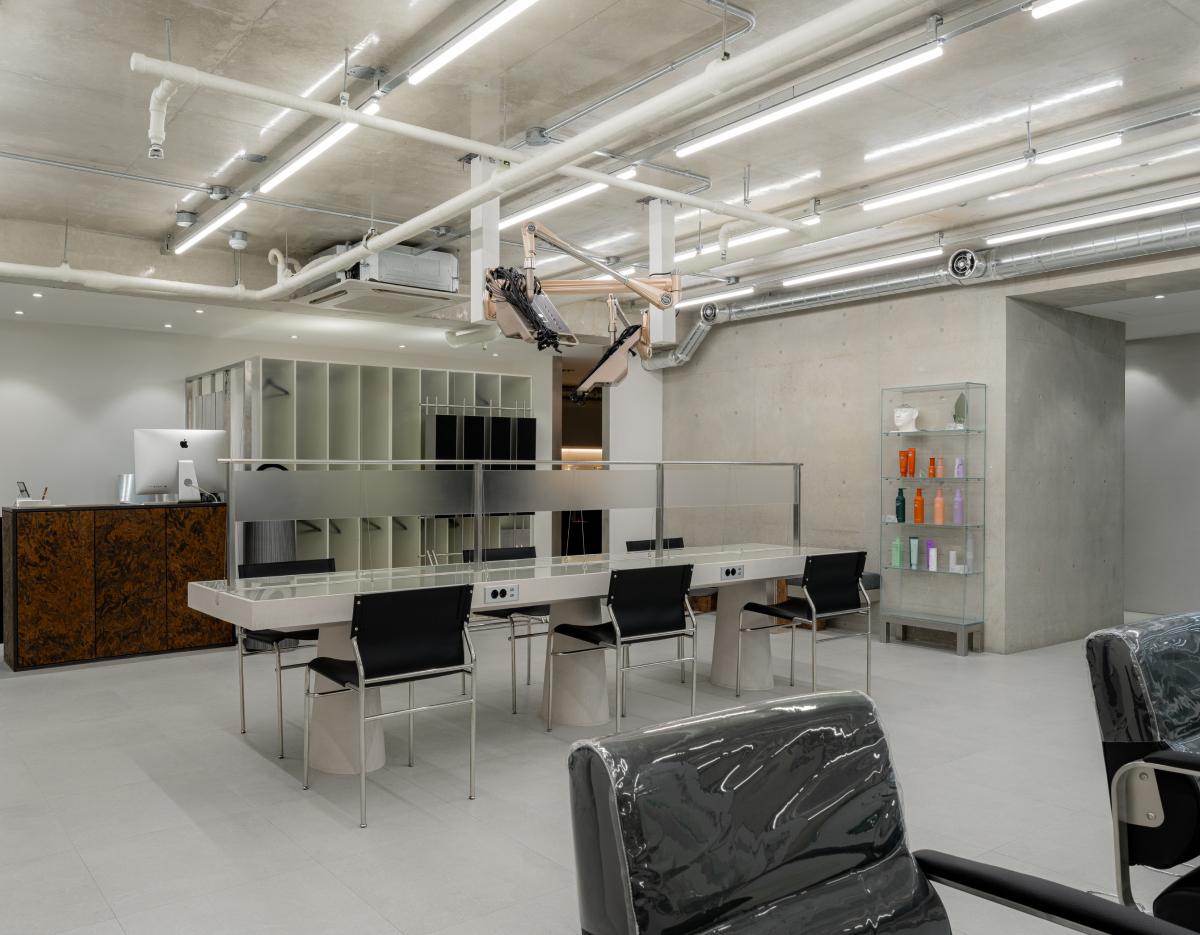
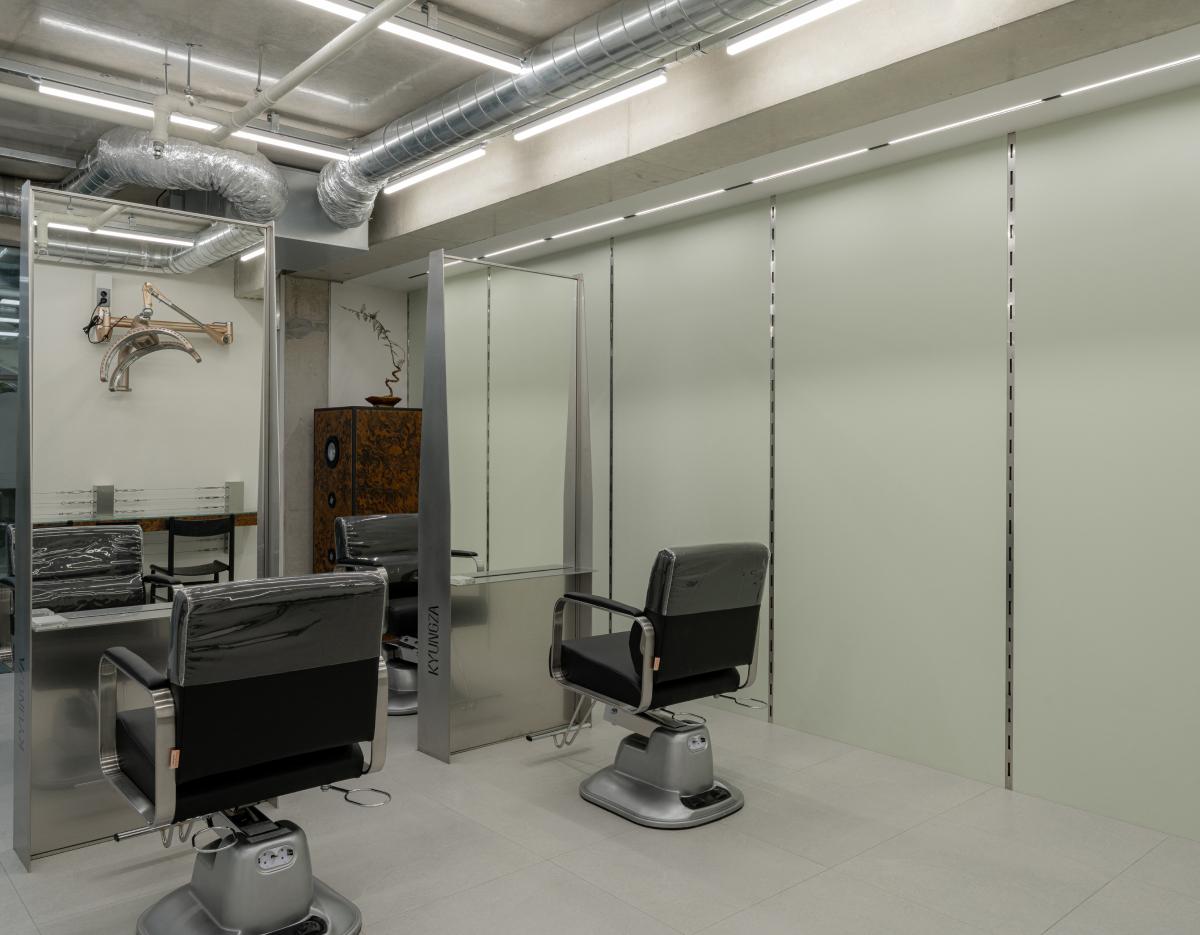
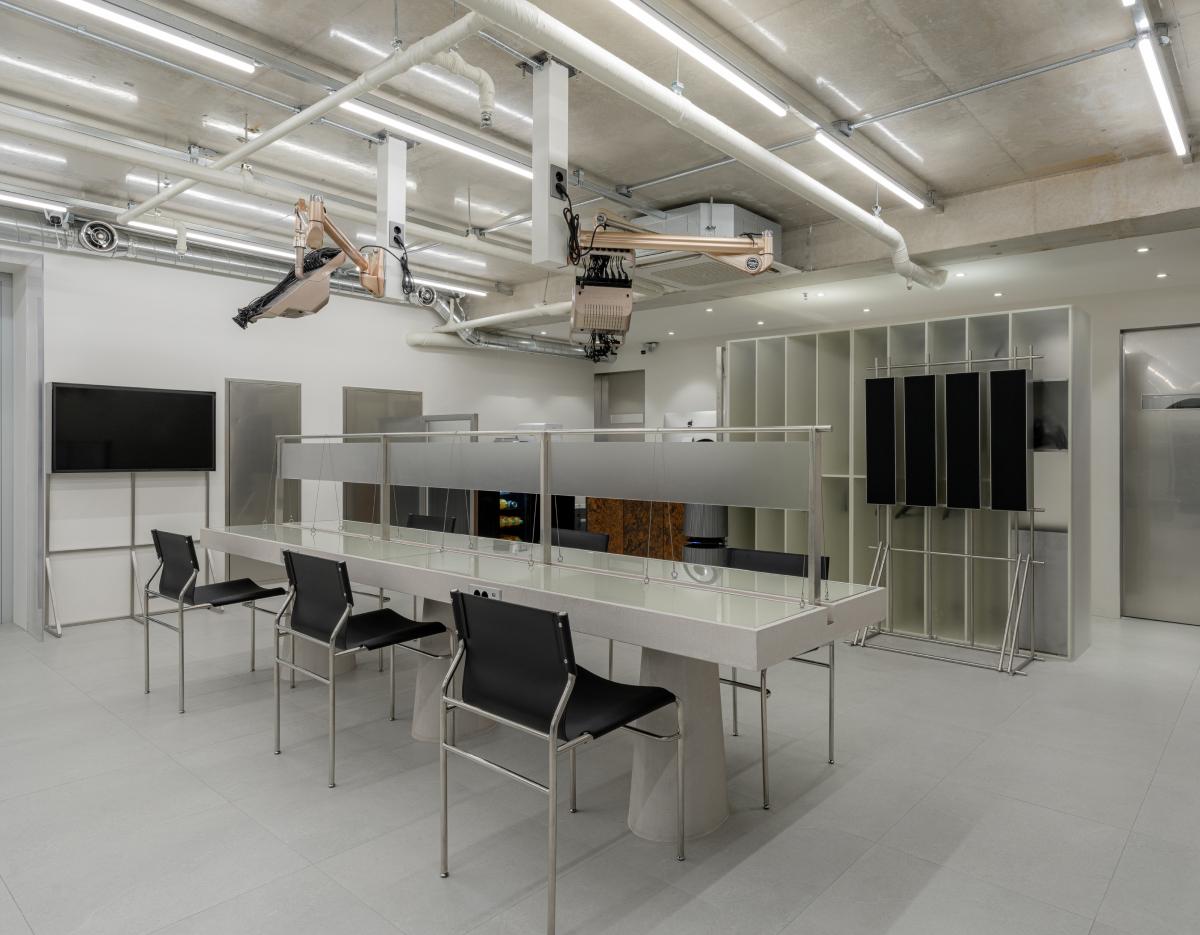
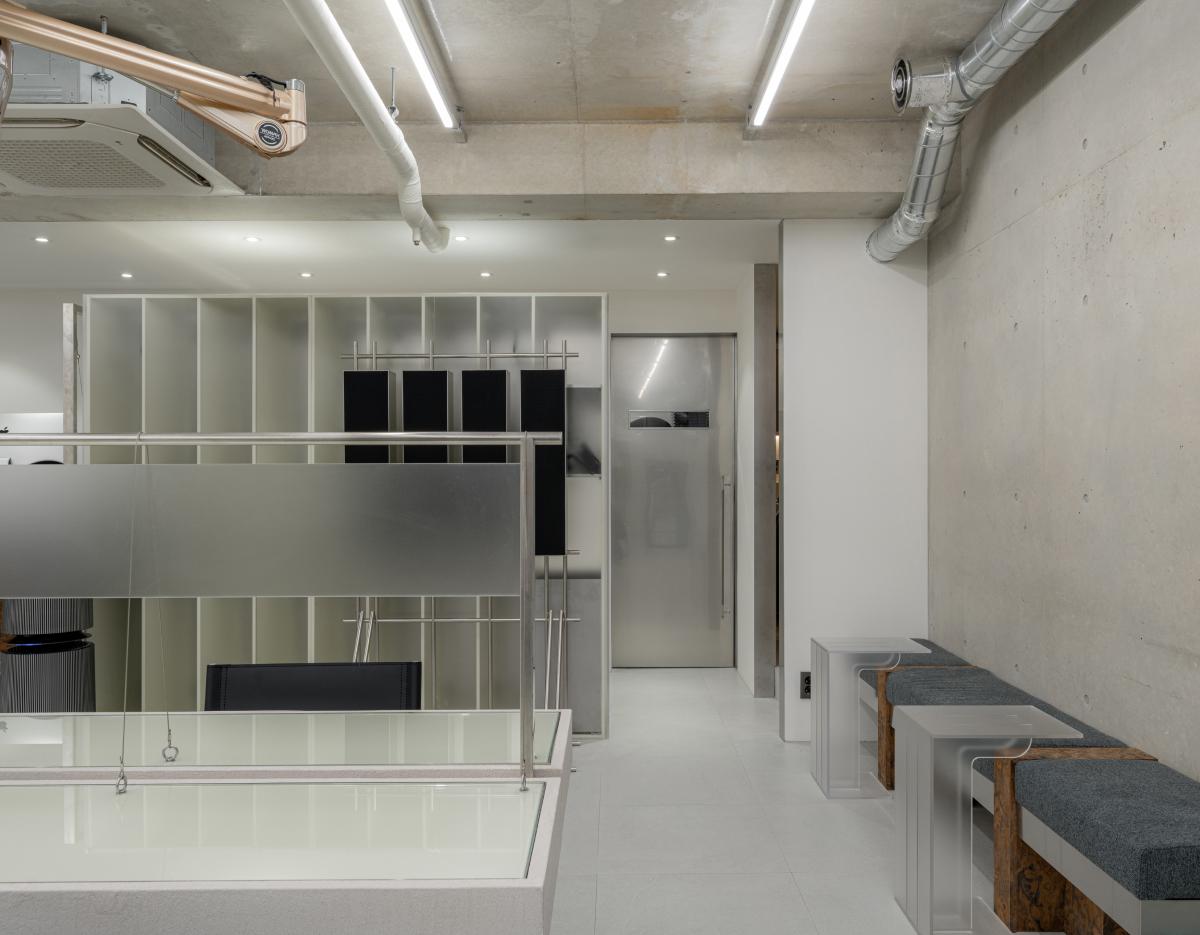
Store Photos
[Image Slider]