PN Studio | Hongdae Branch
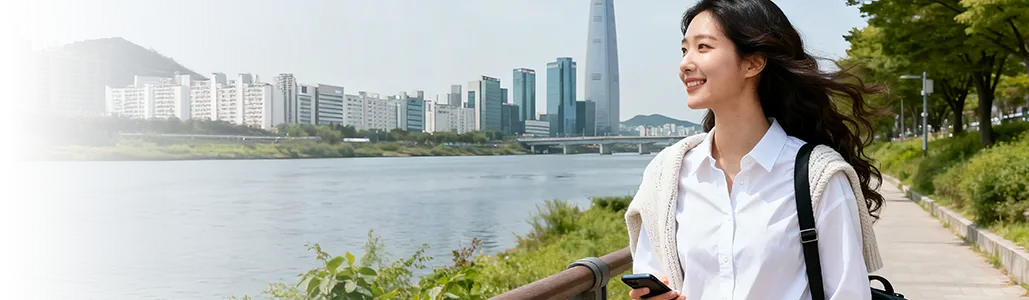
Capture your own unique style at P.N Studio, one of the trendiest spots in Hongdae!


We introduce 'PN Studio Hongdae' for those who want to capture special moments in the trendy atmosphere of Hongdae!
At Hongdae, the Street of Youth, you can take a profile photo that captures your own style. Here, you can choose the background color that suits your face,
and leave behind a perfect photo with a free pose.
If you want to record your travel memories in a special way or are looking for the perfect shot to upload on social media, this will be an excellent choice.
If you want to capture special photos, pay attention to this blog!
👇 Check below for more details! 👇
[Spot] PN Studio Hongdae Branch
Why We Recommend It
Take photos that captures your unique style.
Get professional editing of your photos to match the look you want.
Located at Hongdae, explore the area after your shoot.
The photographer gives friendly guidance.
Also get your makeup done at the studio.
Our Visit
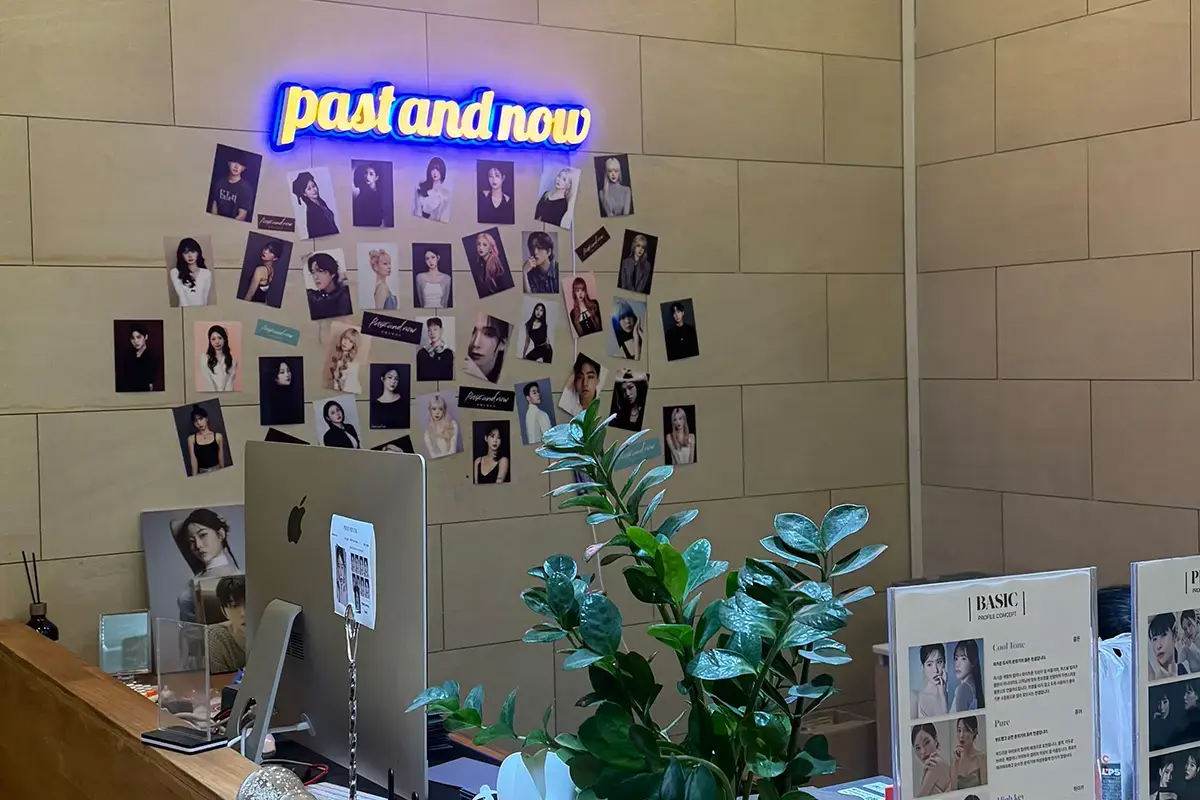
Today, I visited 'PN Studio Hongdae' to take a color ID photo.
The name ‘PN Studio’ means ‘Past And Now’, that is, it holds the meaning of capturing both the past and the present,
This is a photo studio where you can capture yourself at your most beautiful in this very moment, creating precious memories you can look back on even as time goes by.
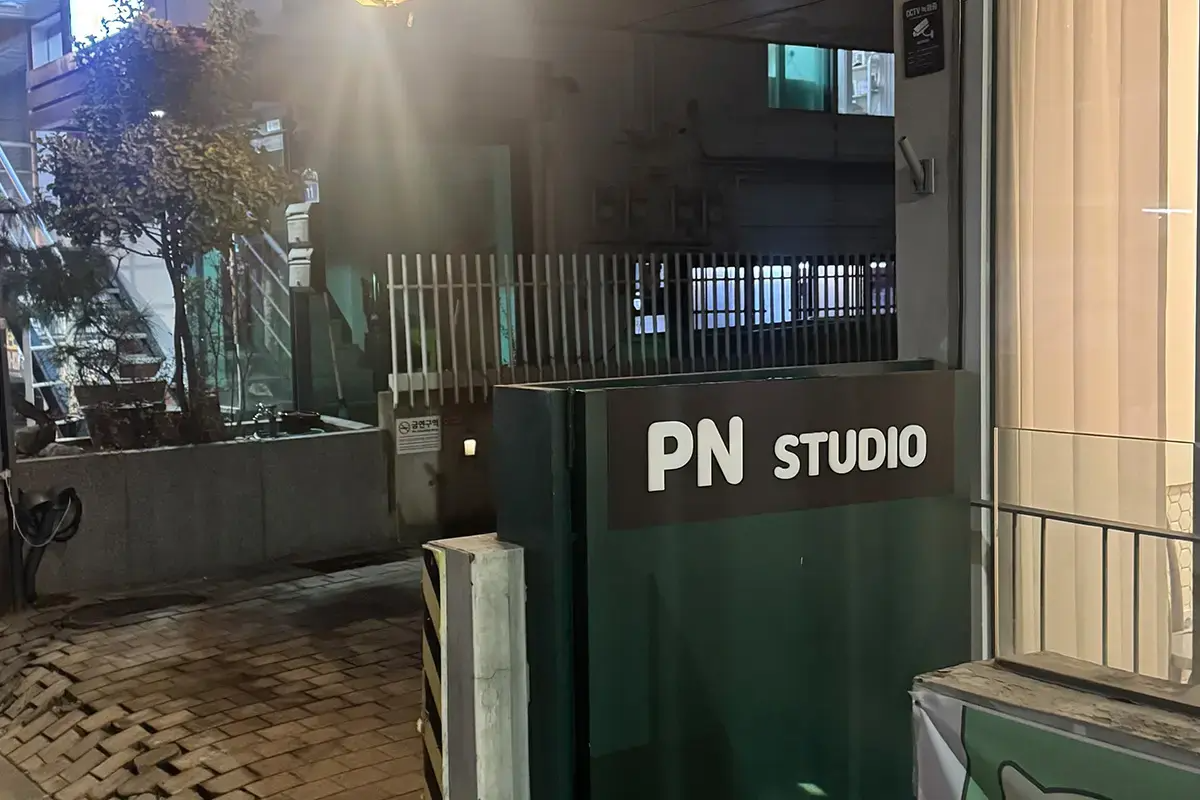
It’s located about a 6-minute walk from Hongik Univ. Station, so it was great to enjoy shopping or trying out restaurants on Hongdae Street as well.
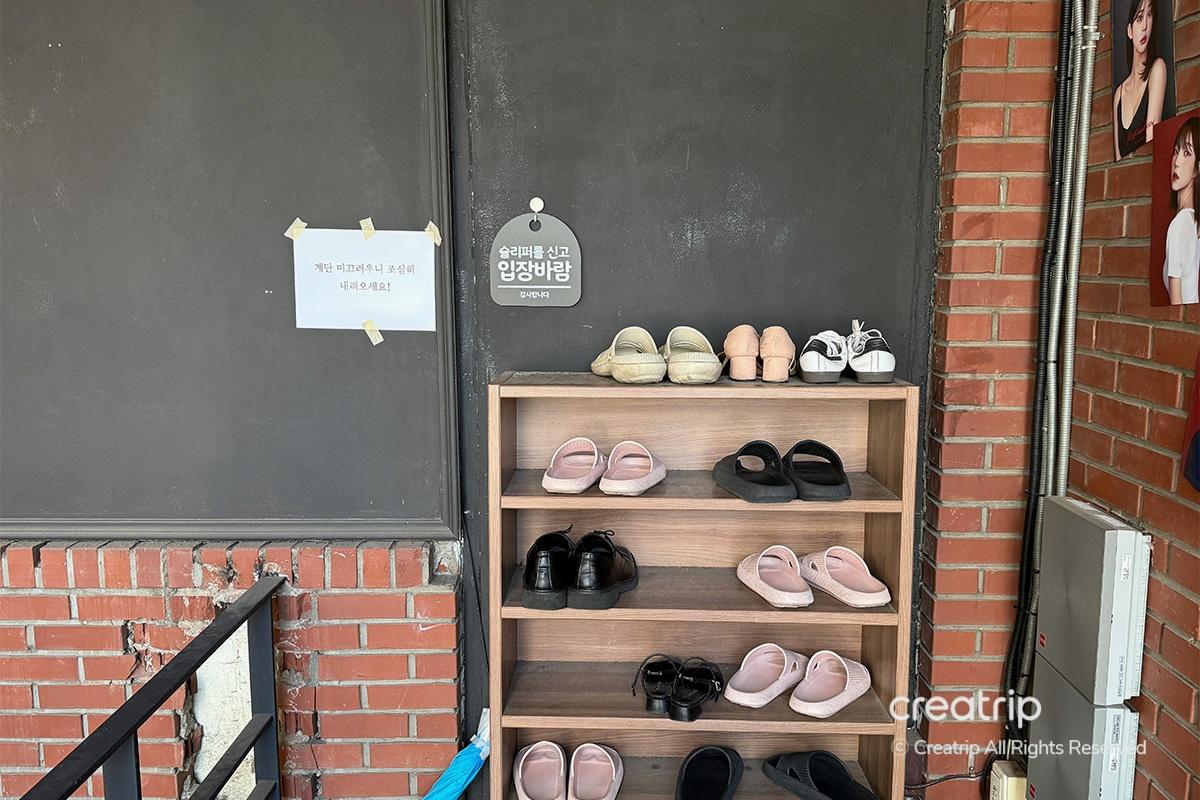
When you enter the building, there was a shoe rack prepared right in front of the entrance.
Change into the indoor slippers provided and go down to the basement.
Photos taken from in front of the shoe rack were displayed, so you could get a feel for the studio atmosphere at a glance.
Seeing other people's amazing photos makes me look forward to my own shoot even more!
[Image Slider] 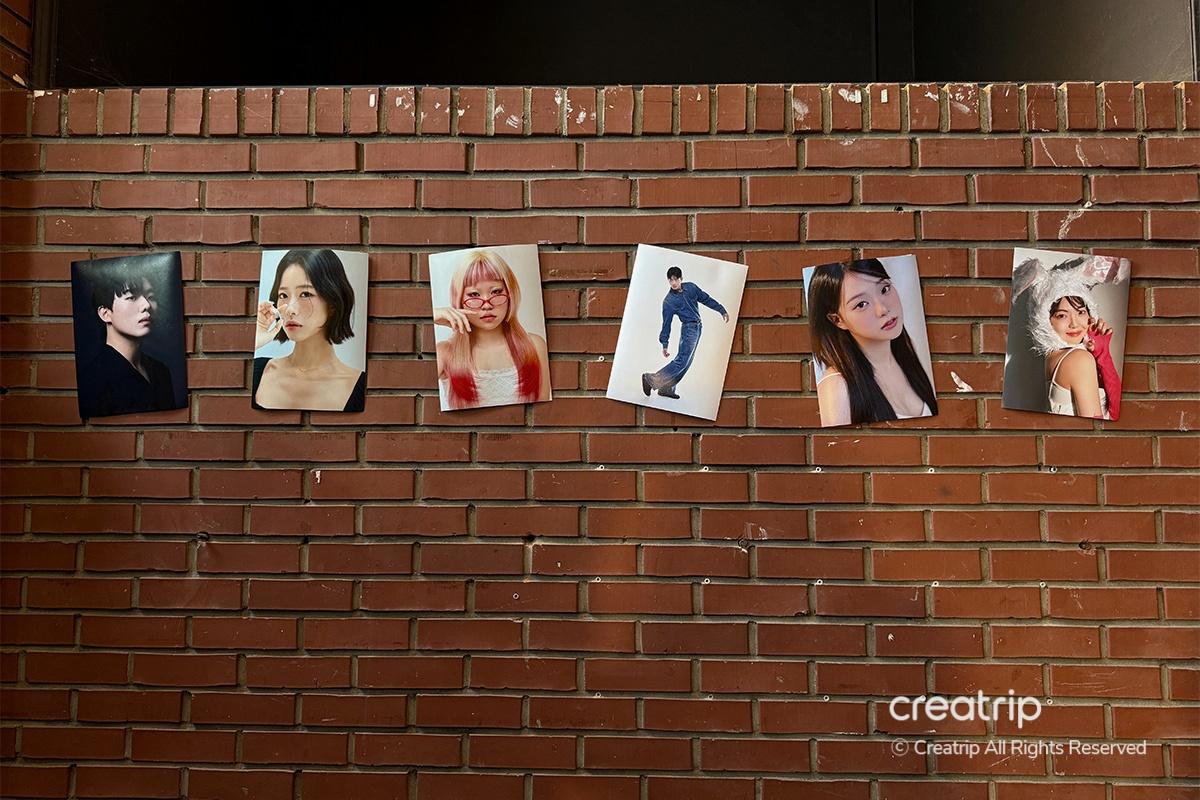
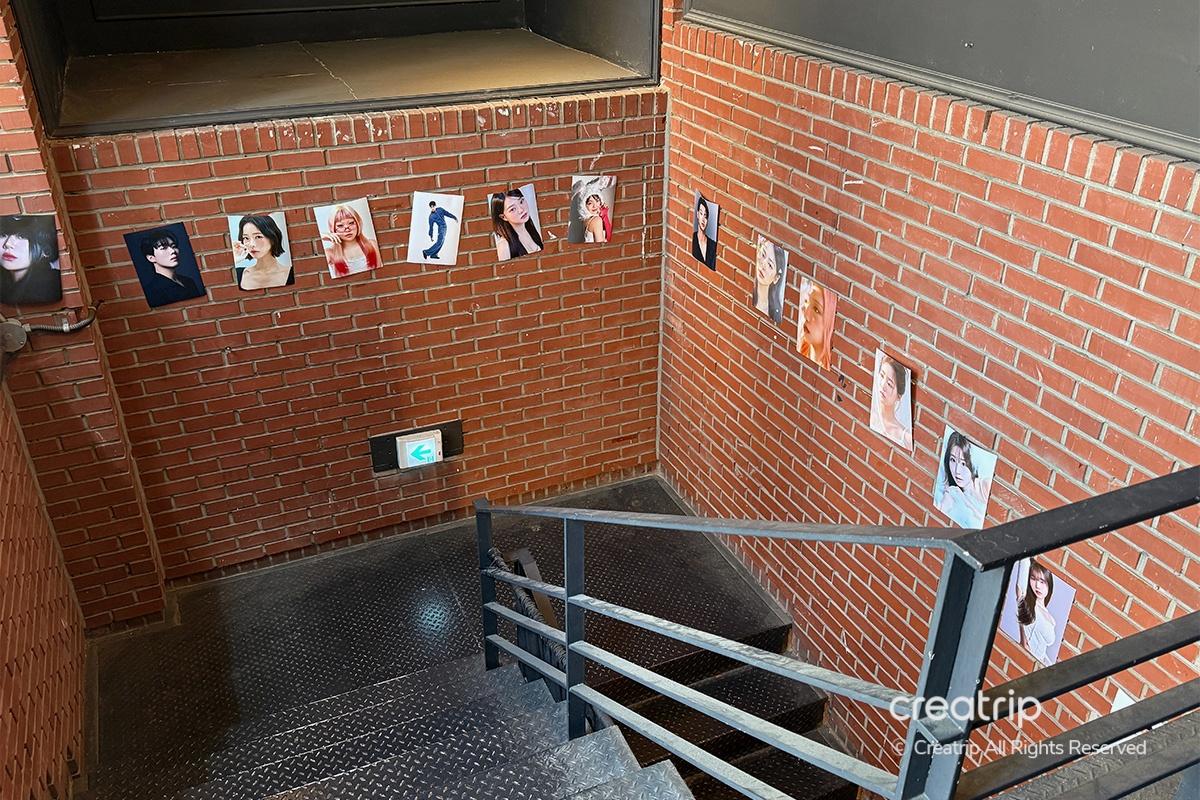
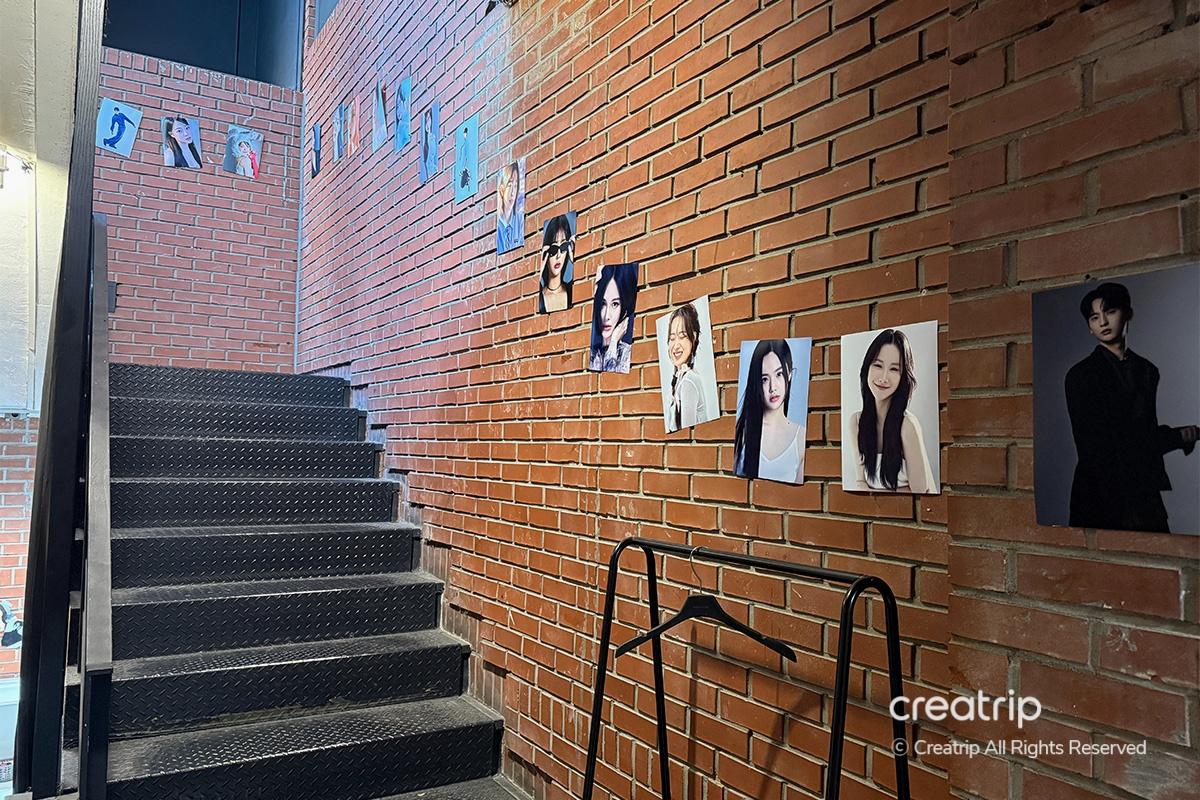
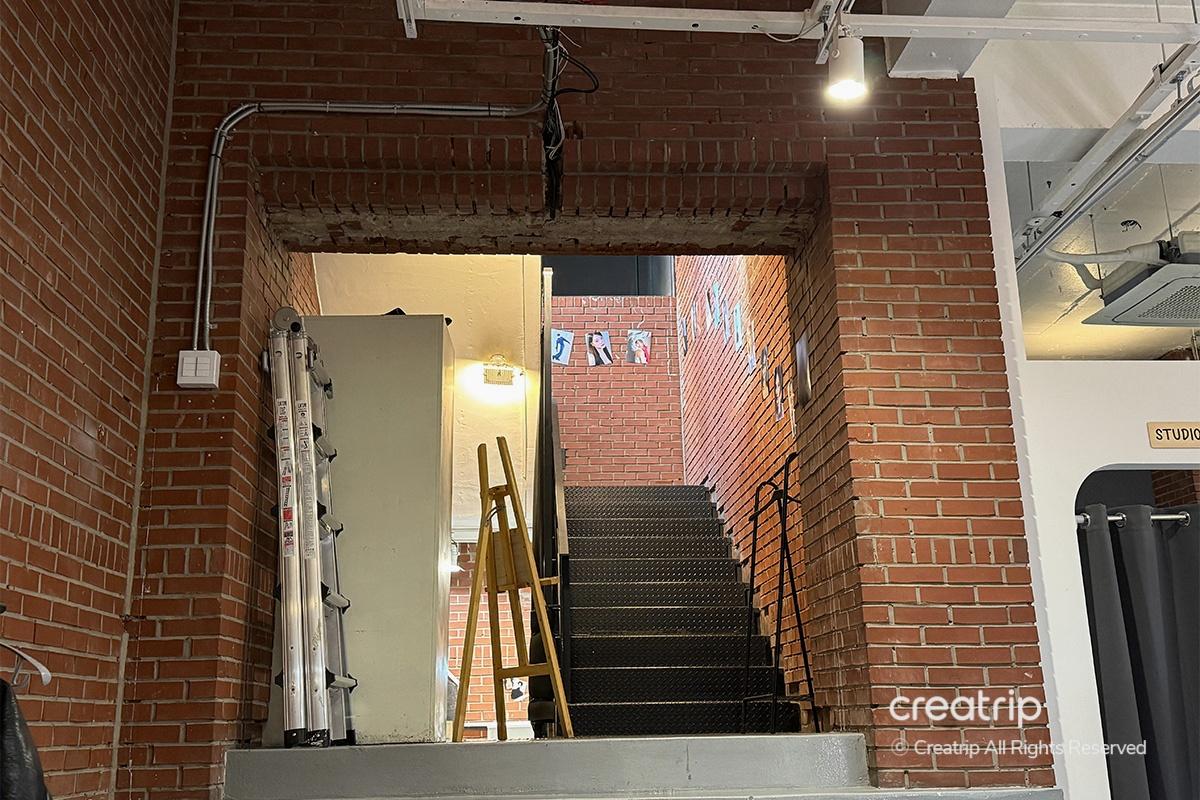
There were various photos displayed along the stairway, almost like a small exhibition, making it fun to look around.
This is the view of the studio interior you see when you come down all the stairs!
The combination of brick interior and clean white tones created a cozy yet comfortable atmosphere.
Since it's a space for taking photos, the lighting is soft, and overall it gives a warm feeling, so my first impression was really good.
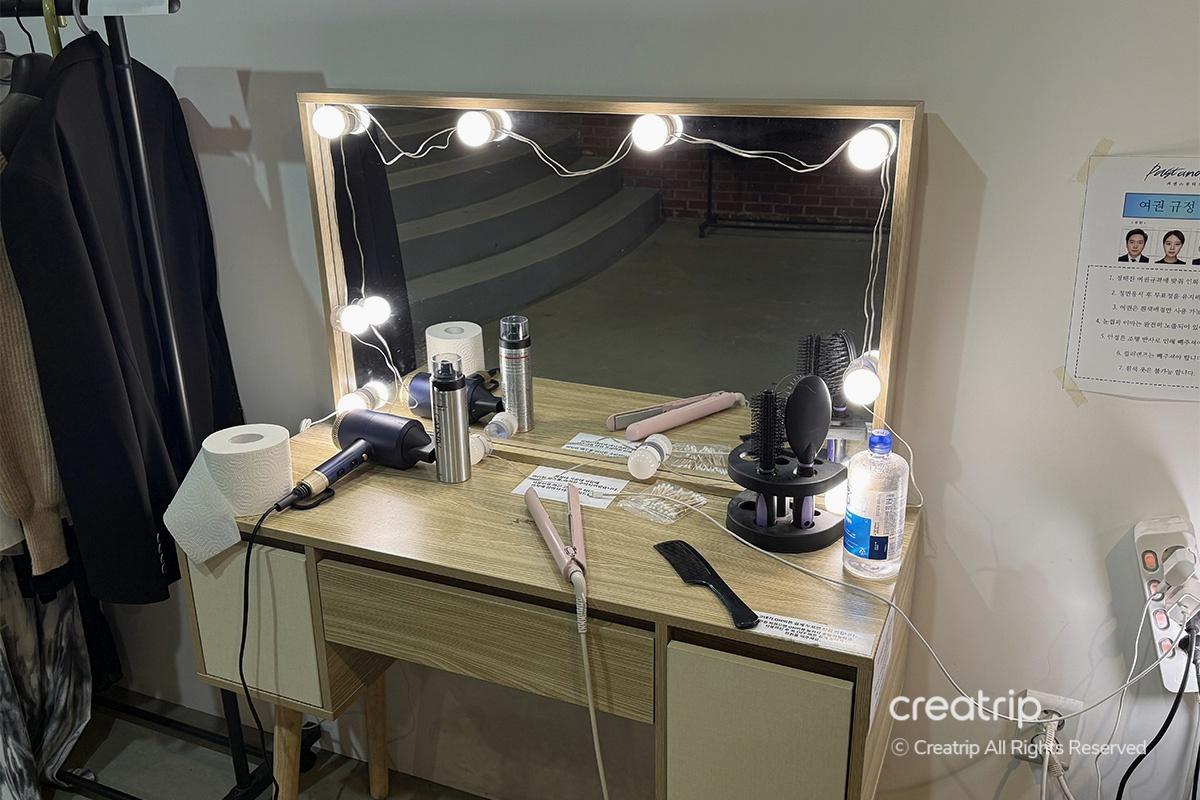
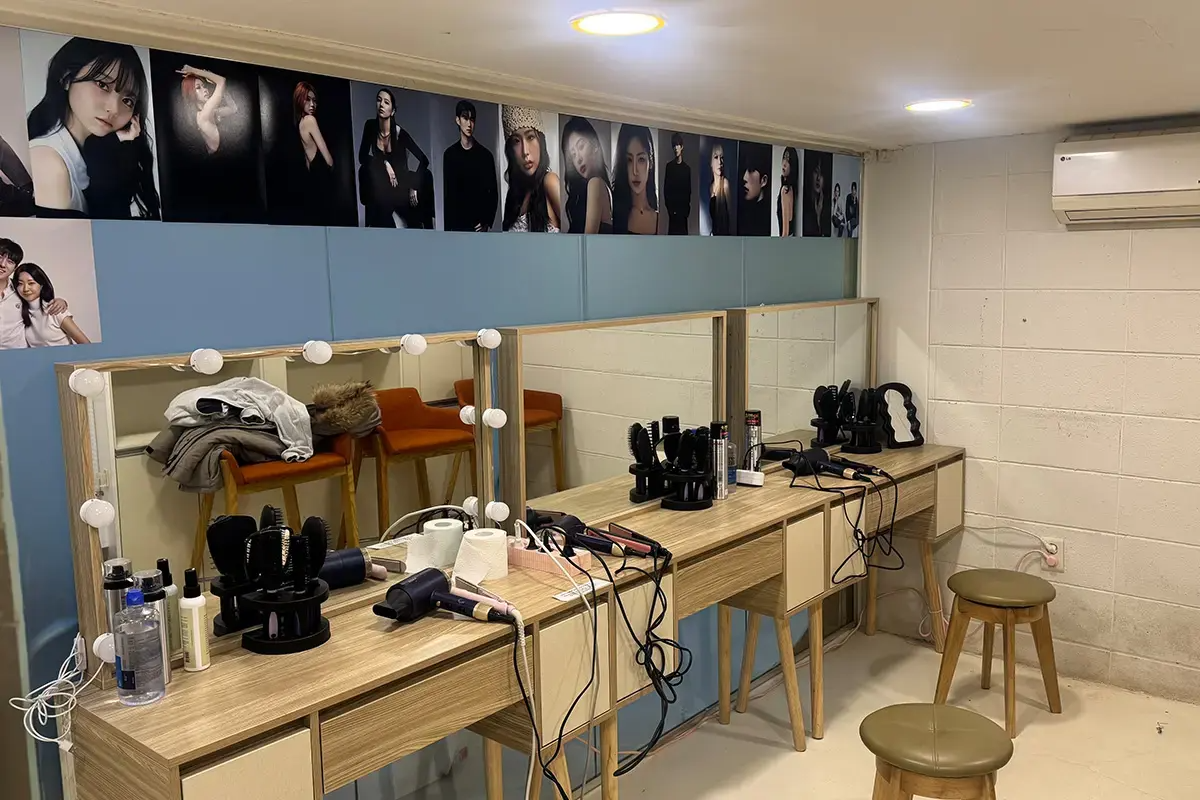
The first space you see as soon as you enter the studio is the powder room.
Of course, there was mirror lighting, and I really liked that everything needed for makeup or hair styling—such as a curling iron, hair dryer, and brush—was thoroughly prepared.
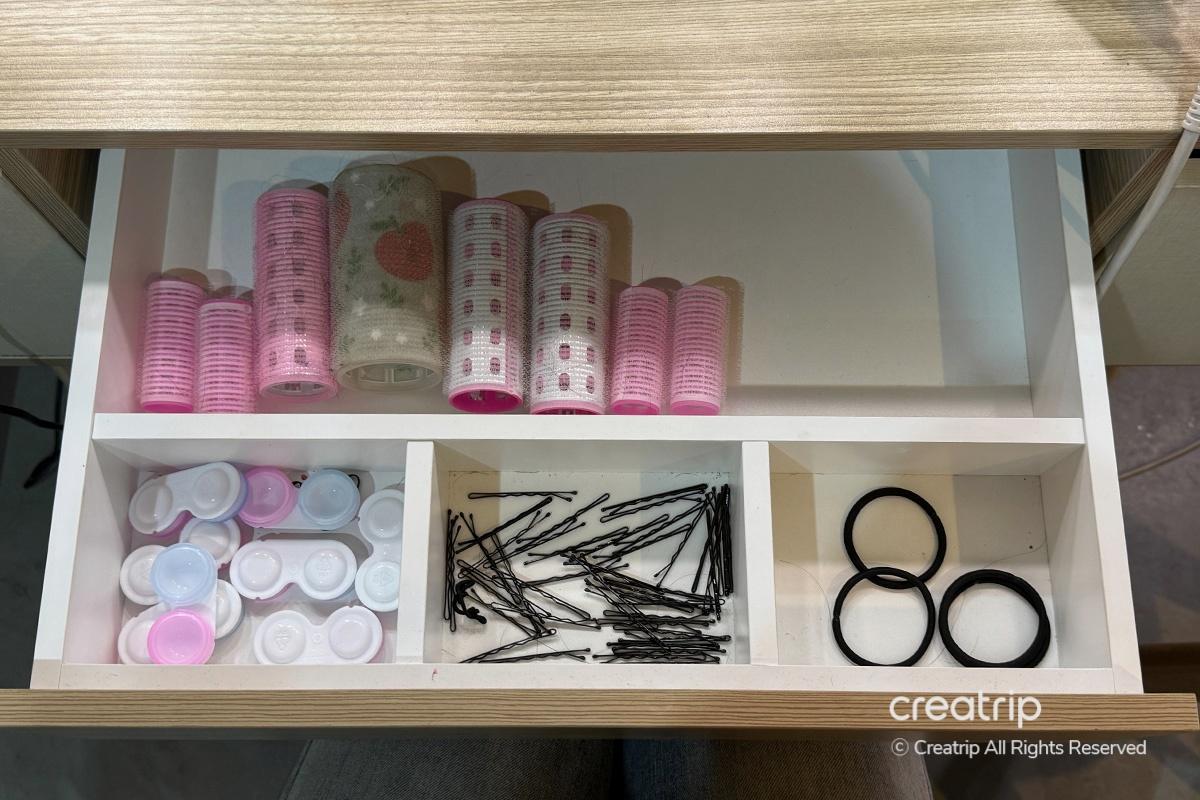
Moreover, when I opened the table drawer, I found that even things like a hair roller, lens case, hairpins, and hair ties were all carefully arranged one by one, making me think, 'Wow, that's really thoughtful!'

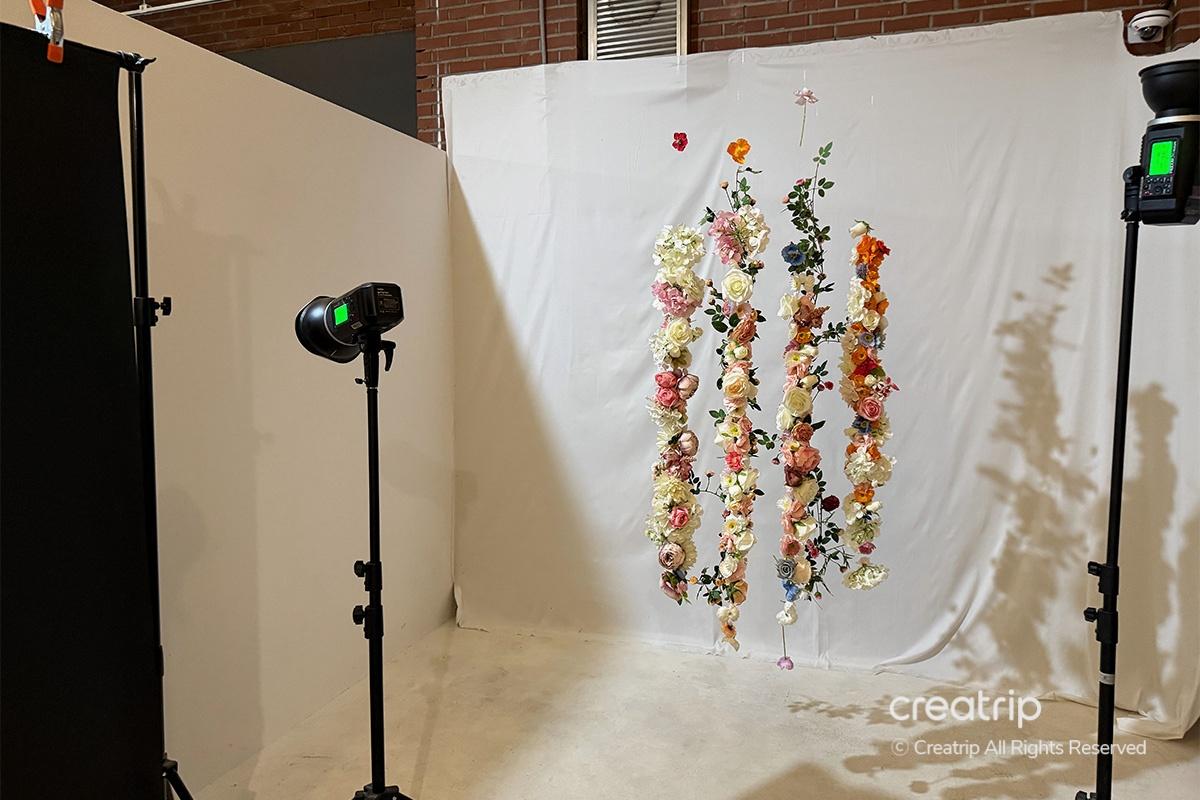
The studio, where the filming takes place, was divided into A and B.
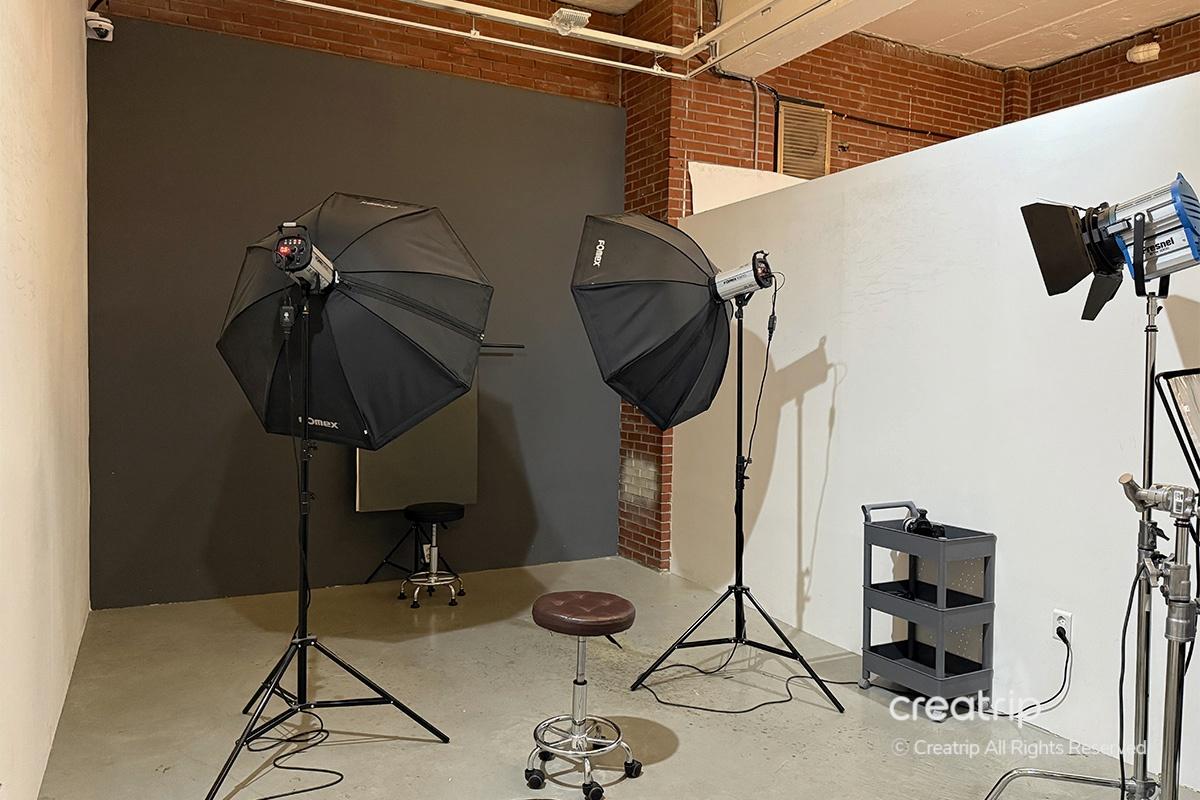
This is the inside of Studio A, where I'll be filming today.
Overall, it had a clean and organized atmosphere, and the professional filming equipment was well prepared, which made it feel trustworthy.
Also, you can make the space private with curtains, so I was able to fully focus on the shoot.
[Image Slider] 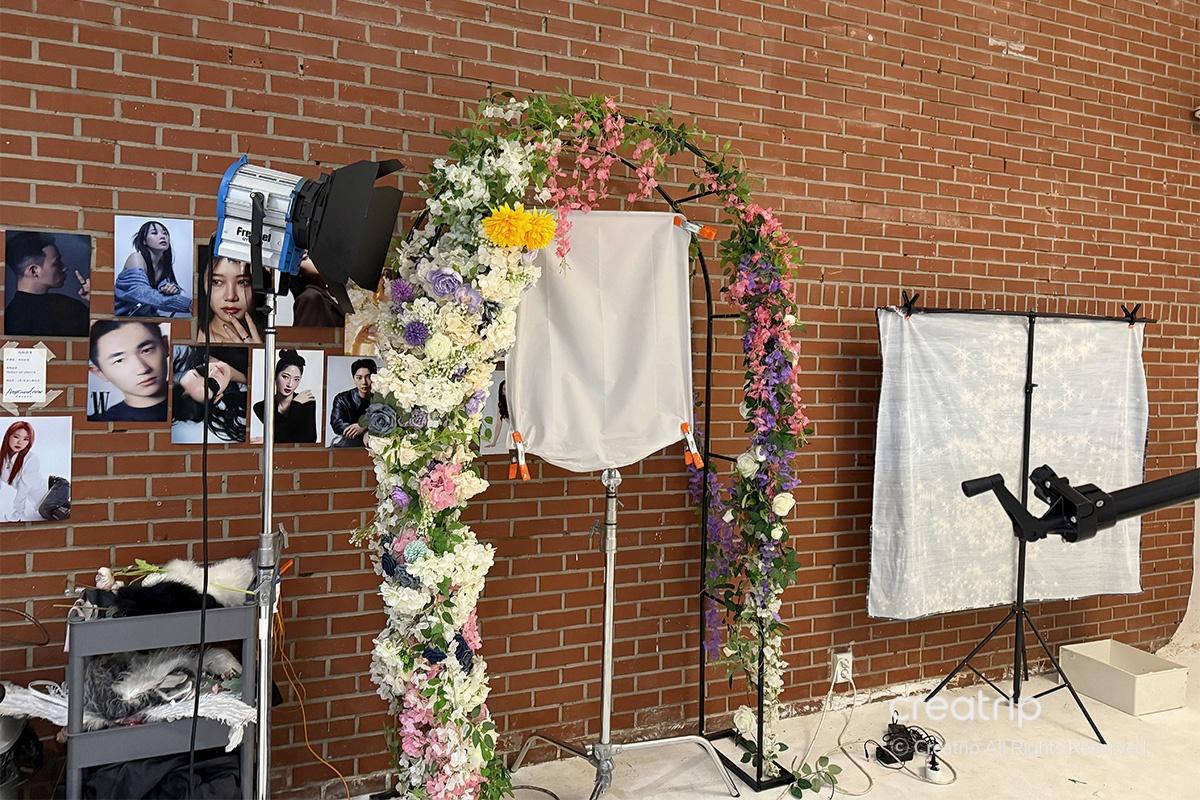

We didn't shoot today, but we did take a quick look inside Studio B,
Each shooting space is decorated with a different atmosphere, so it seems like you'll get great results no matter what concept you choose.
Studio B is arranged with a more spacious and different mood, so if I get the chance next time, I’d like to visit with my friends or family.
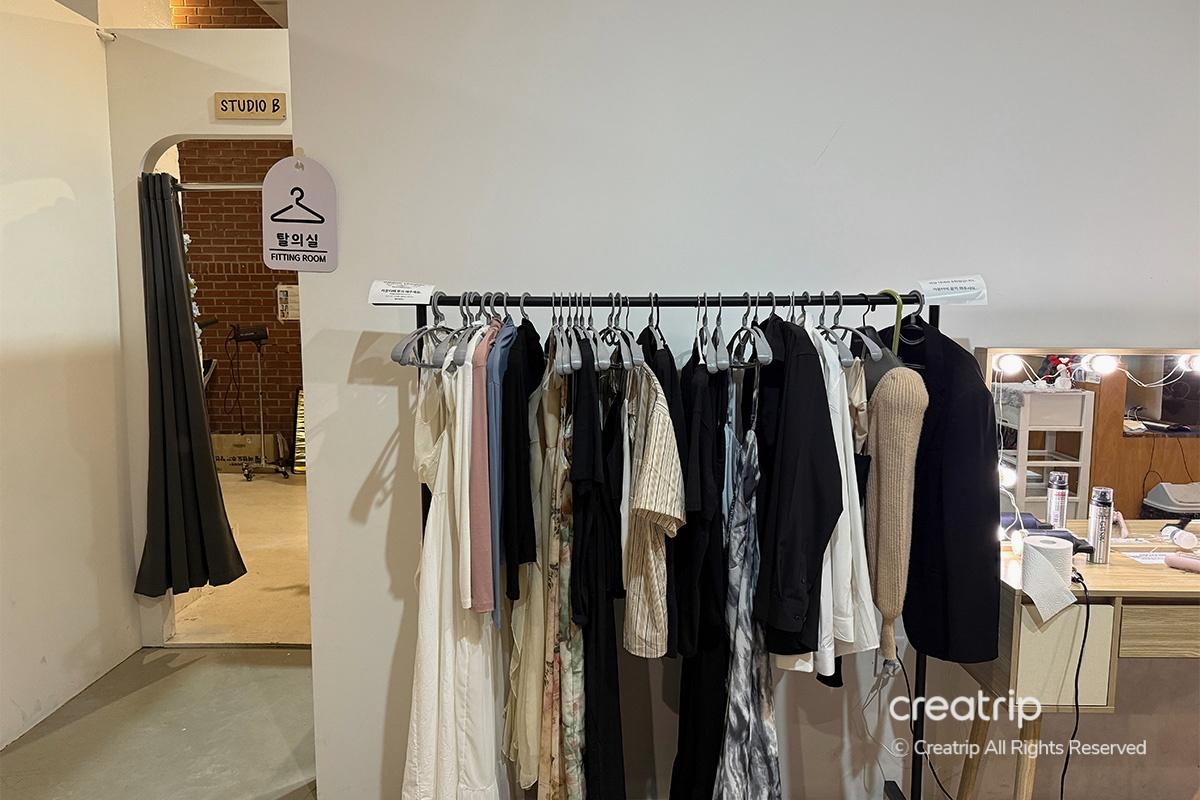
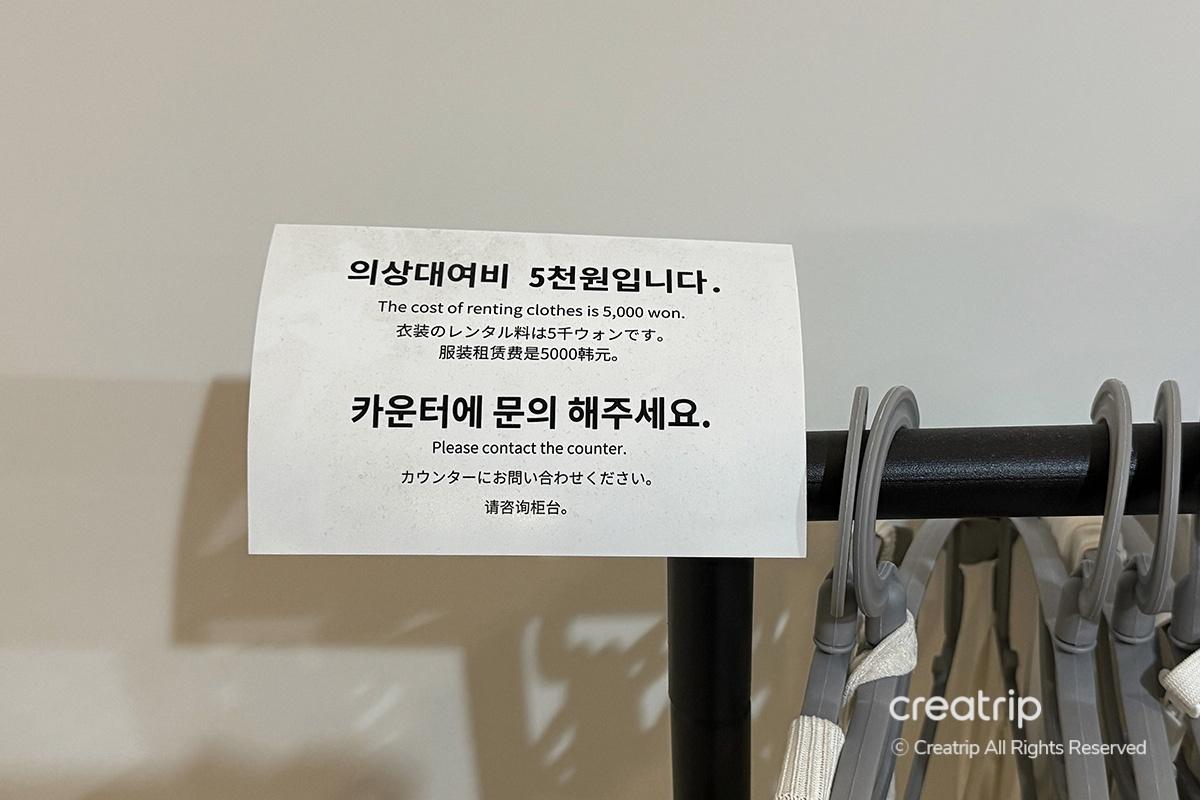
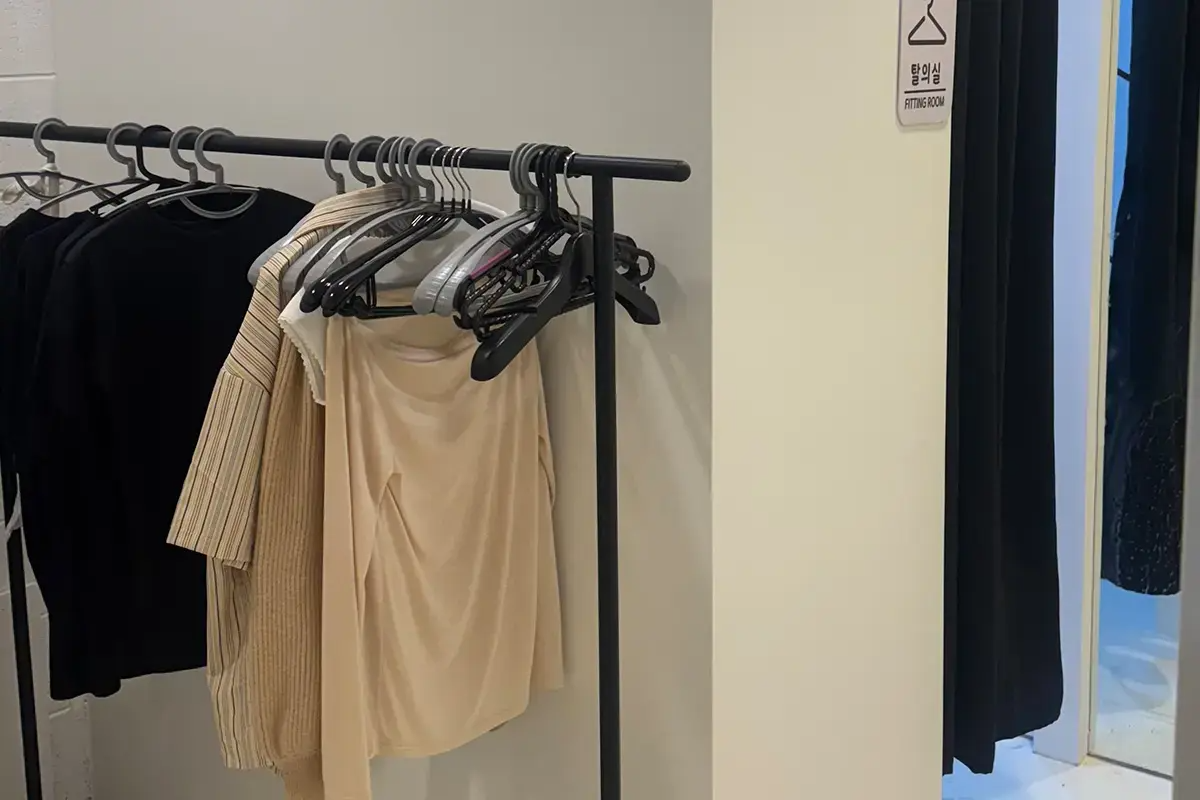
Rental costumes were also prepared next to the powder room.
The costume rental fee is 5,000 won, and if needed, you can easily use the service by asking at the counter.
Of course, you can also bring your own clothes for the shoot, so feel free to choose according to your preferences.
[Image Slider] 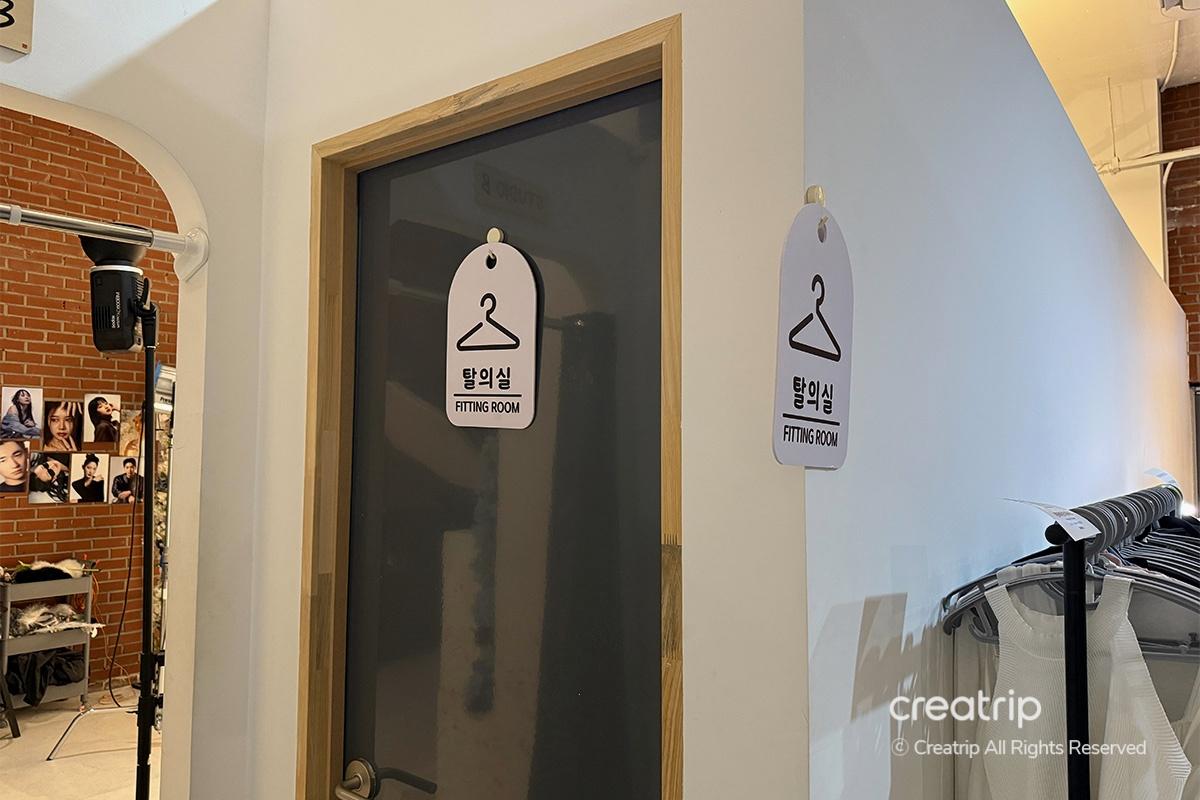
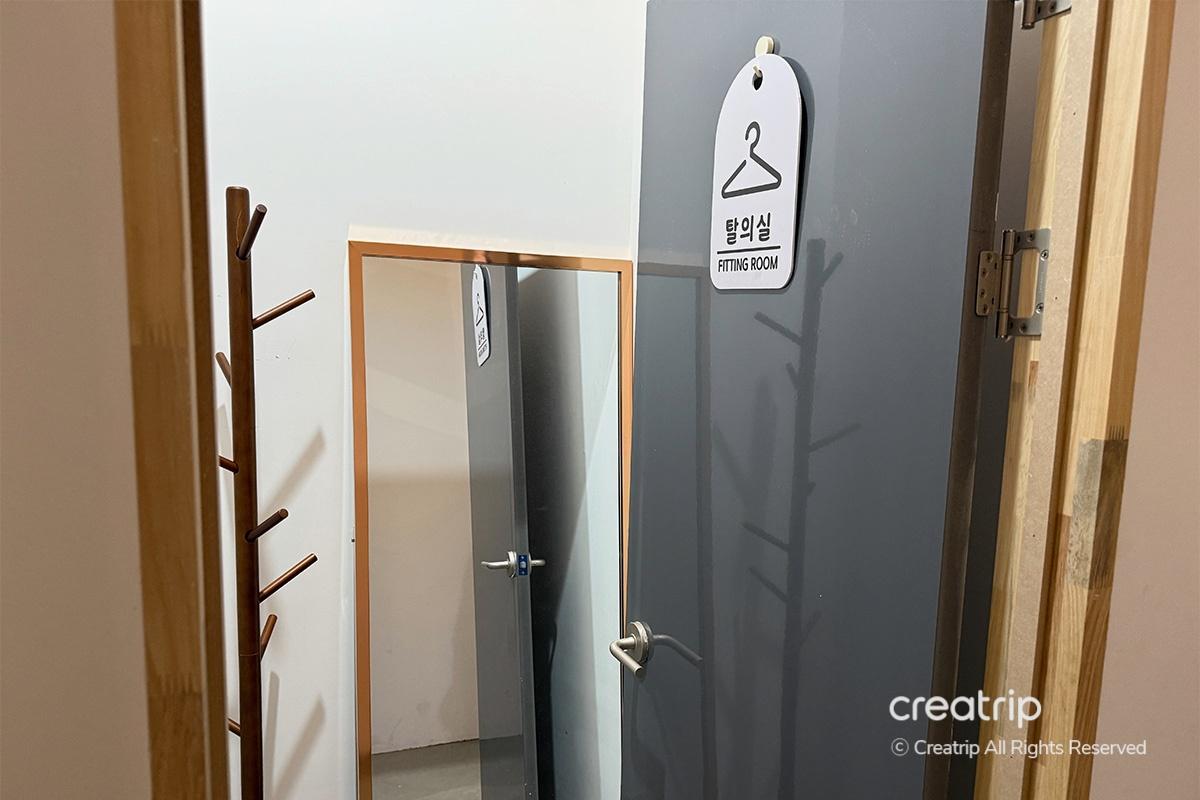
The changing room was also prepared inside the studio, so it was convenient to use.
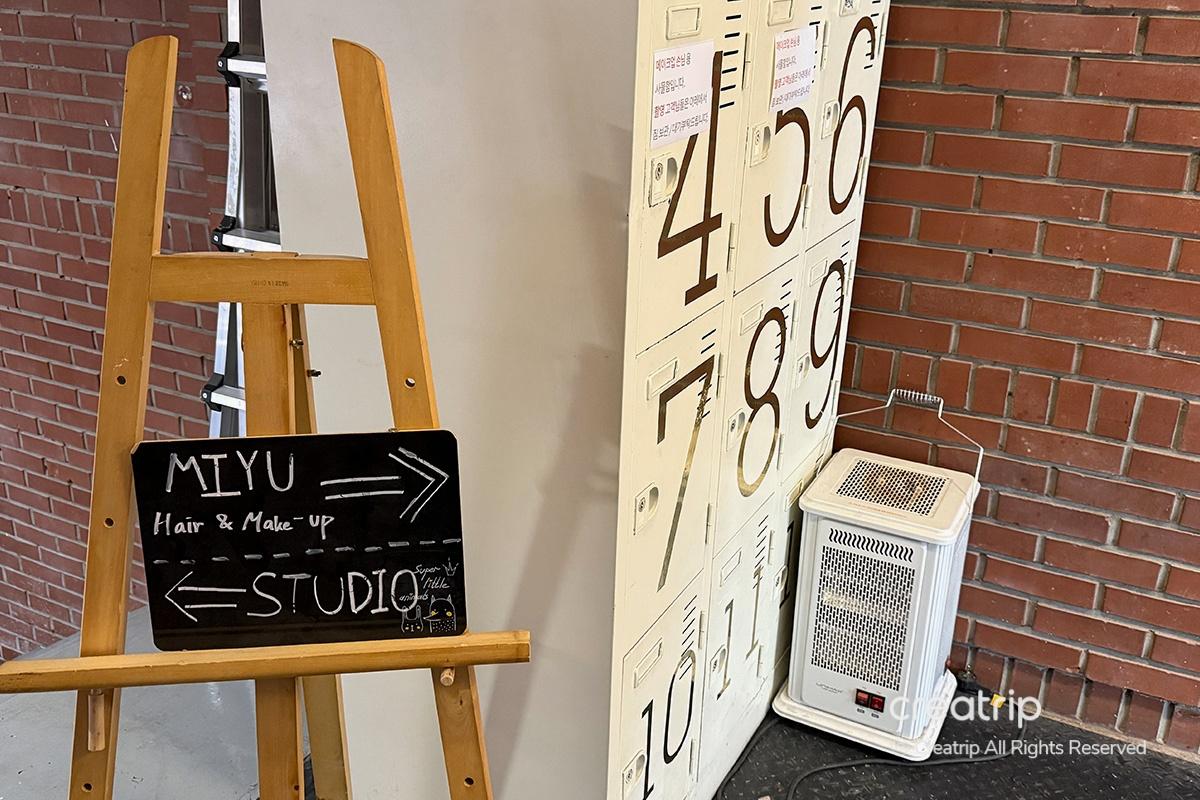
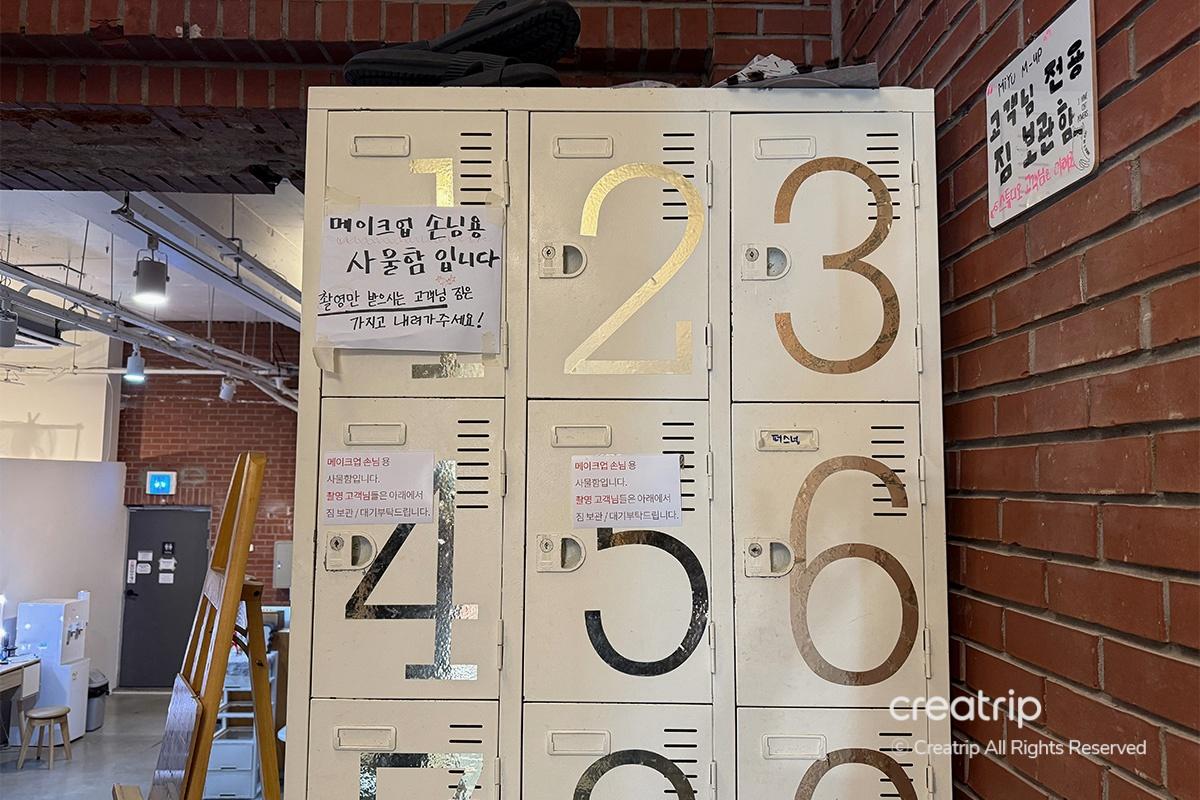
There was a dedicated area for makeup clients in the space to the right after coming down the stairs.
I especially liked that there are separate lockers prepared exclusively for makeup clients, so you can store your belongings safely.

If you go down the small stairs behind the lockers, there was a makeup room that felt like a secret space.
I was impressed by how efficiently the space was used, and it was also quite fun to look around.
It's fine to come with your usual makeup, but since you're capturing a special moment, we also recommend trying out the makeup service at the studio!
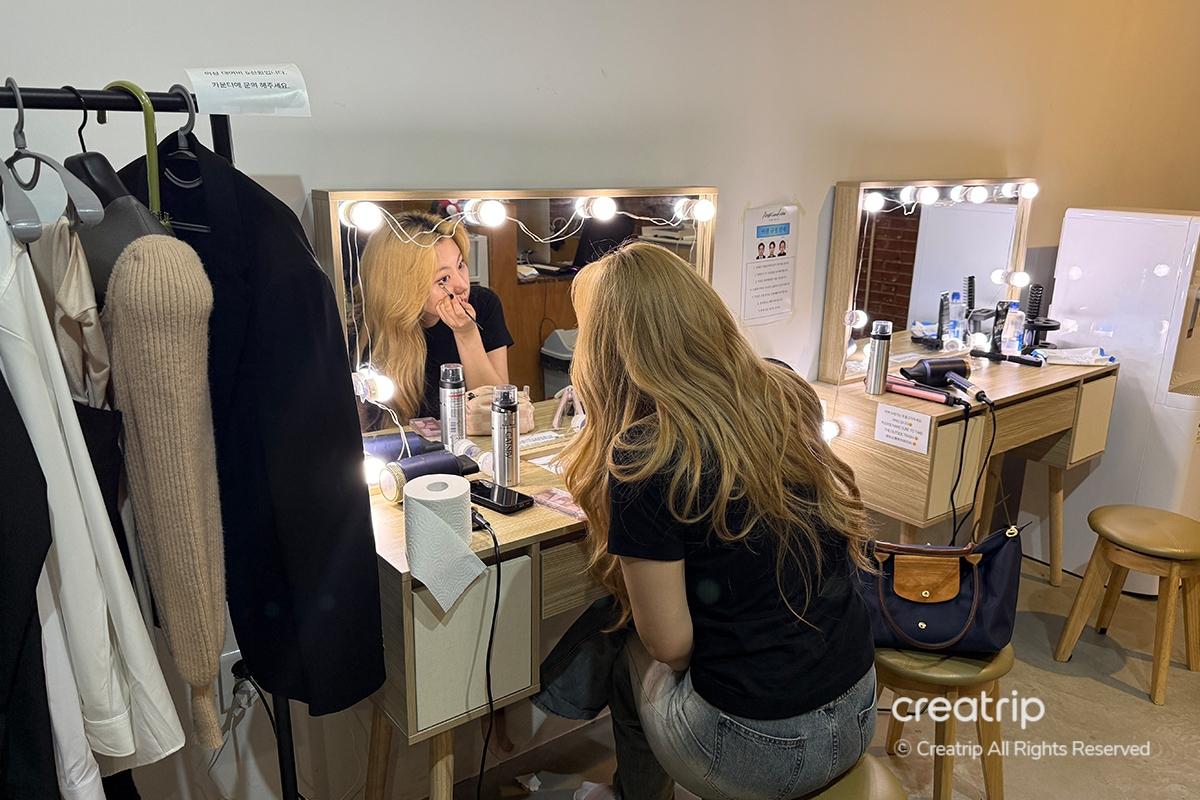
Before starting the shoot, I did a quick touch-up at the vanity.
There are two dressing tables, so you can use them comfortably even if there are other guests.
[Image Slider] 
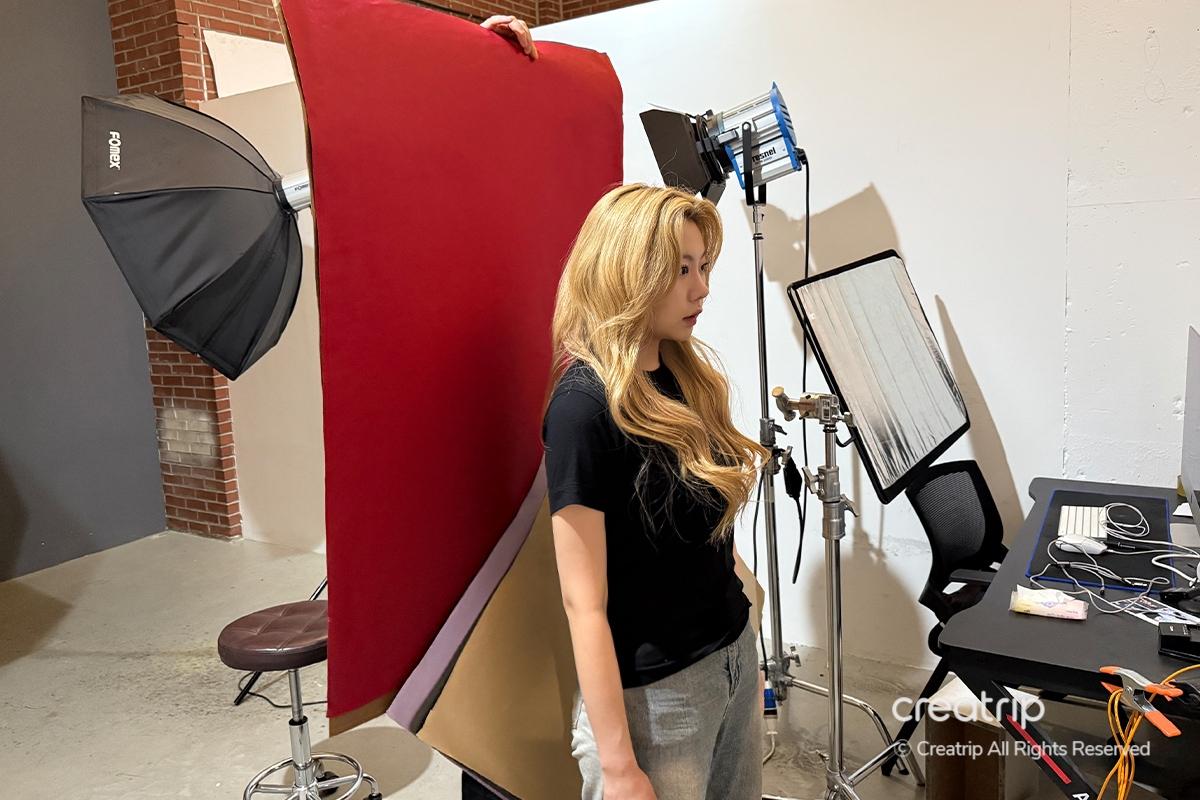
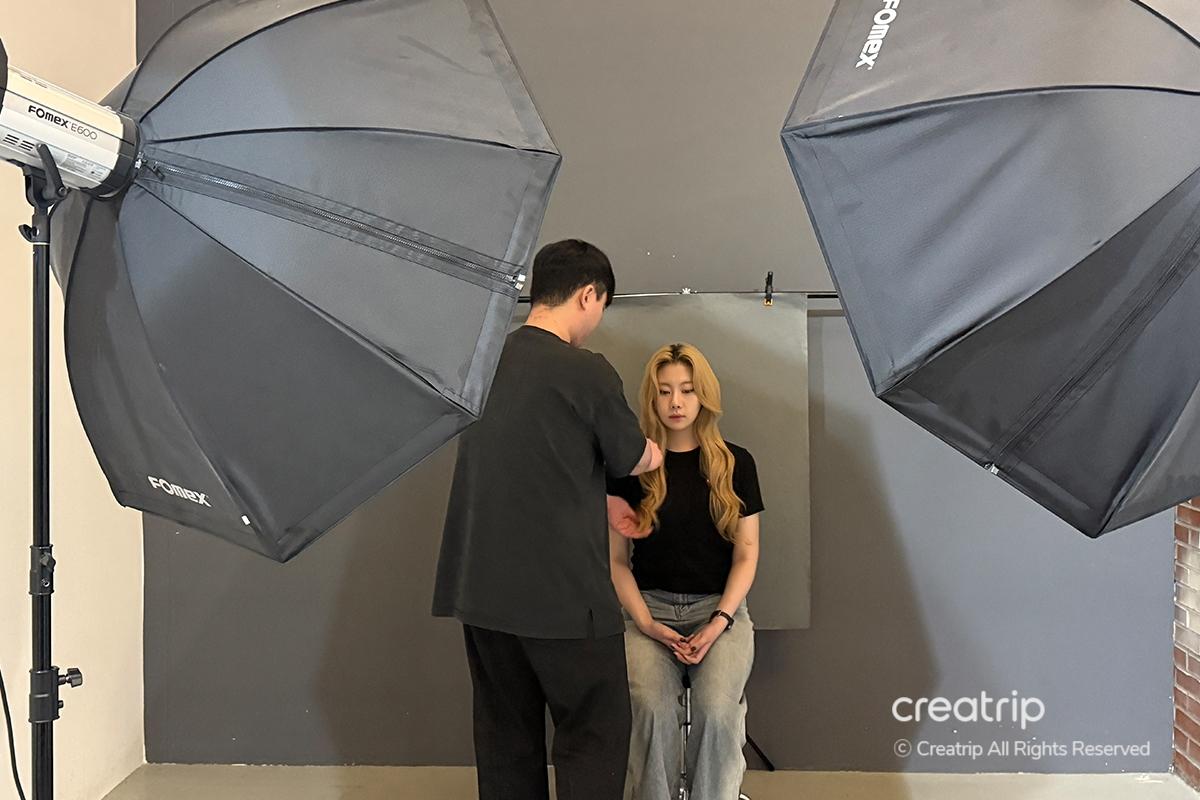
After finishing touch-up makeup, we moved to Studio A to start getting ready for the main shoot. The first thing to do was choose the backdrop!
The studio had a variety of colored backdrops prepared, and the tone could be adjusted to be either bright or dark.
The editor chose the gray color based on the photographer's recommendation. It was a satisfying choice because it's a subtle color that flatters the face.
[Image Slider] 
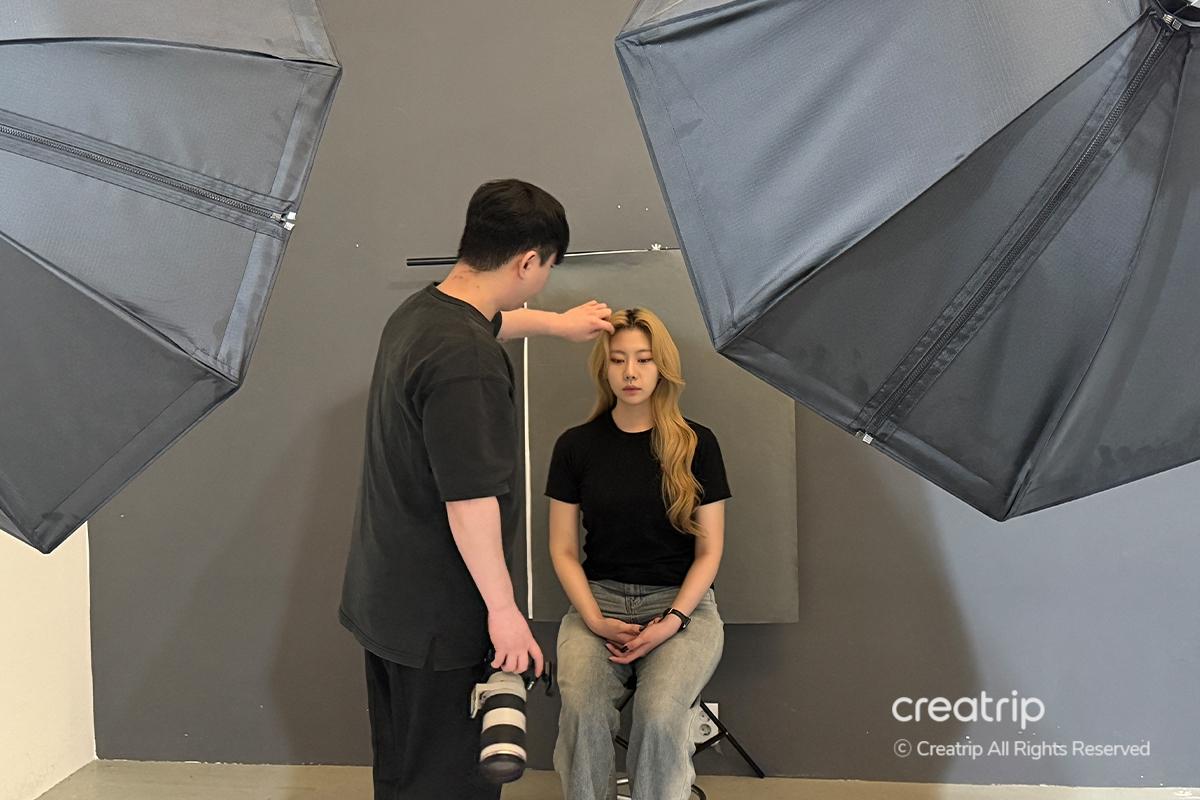
After finishing the photo shoot setup, the artist also fixed my hair.
I was really touched by how carefully you made sure even the smallest strands of hair looked pretty in the photos.
Thanks to the thoughtful consideration, I was able to participate in the shoot with a more comfortable mind.
[Image Slider] 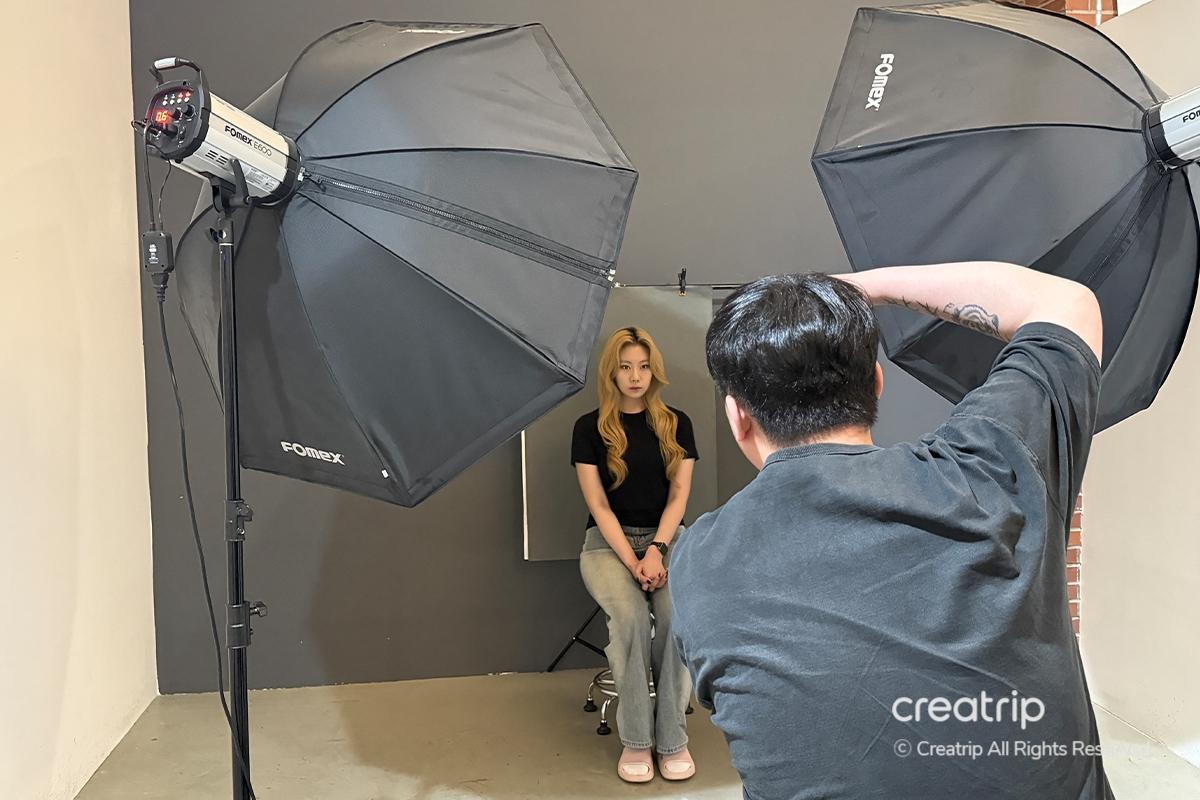
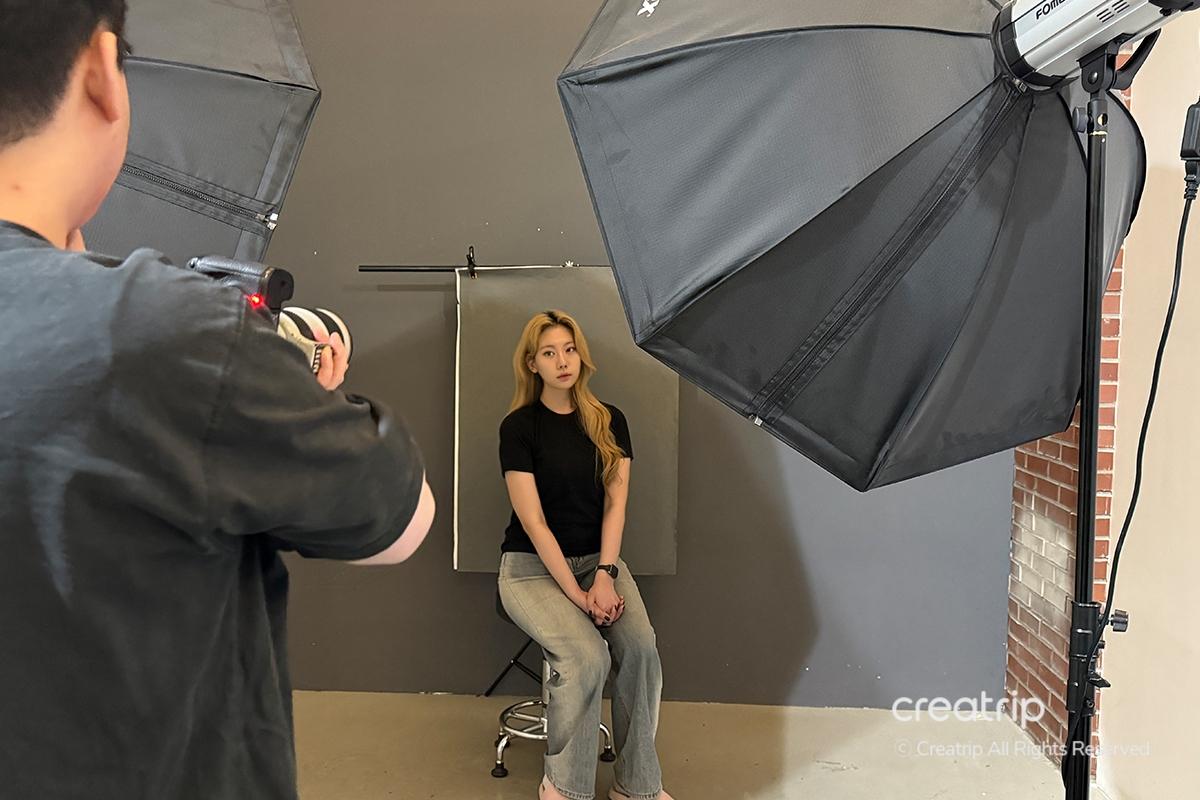
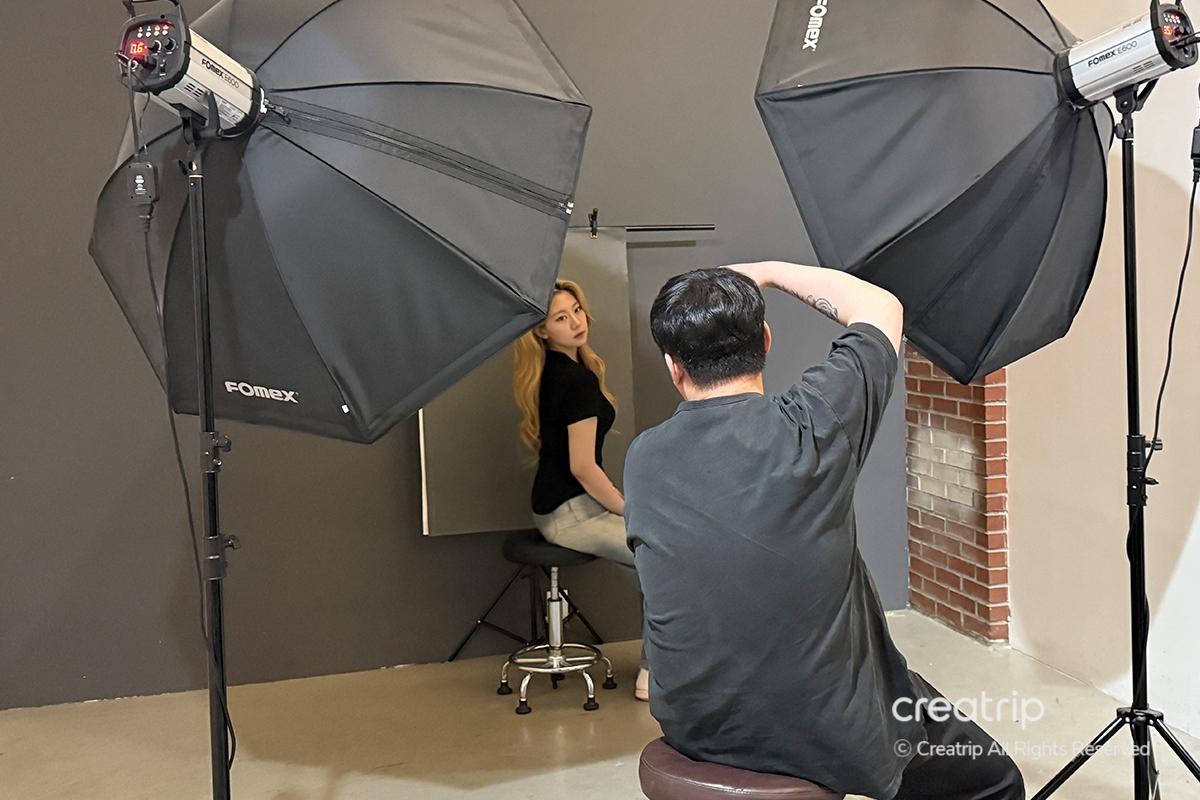
The shoot took place in a very relaxed atmosphere overall.
The photographer personally taught me how to pose well for photos, so although I was nervous at first, I was able to get more comfortable as the shoot went on.
The artist carefully checked my hairstyle every time I changed poses.
Not only did you take care of the lighting and angles, but you also paid attention to hair details, so I was able to get high-quality shots throughout the entire shoot.
[Image Slider] 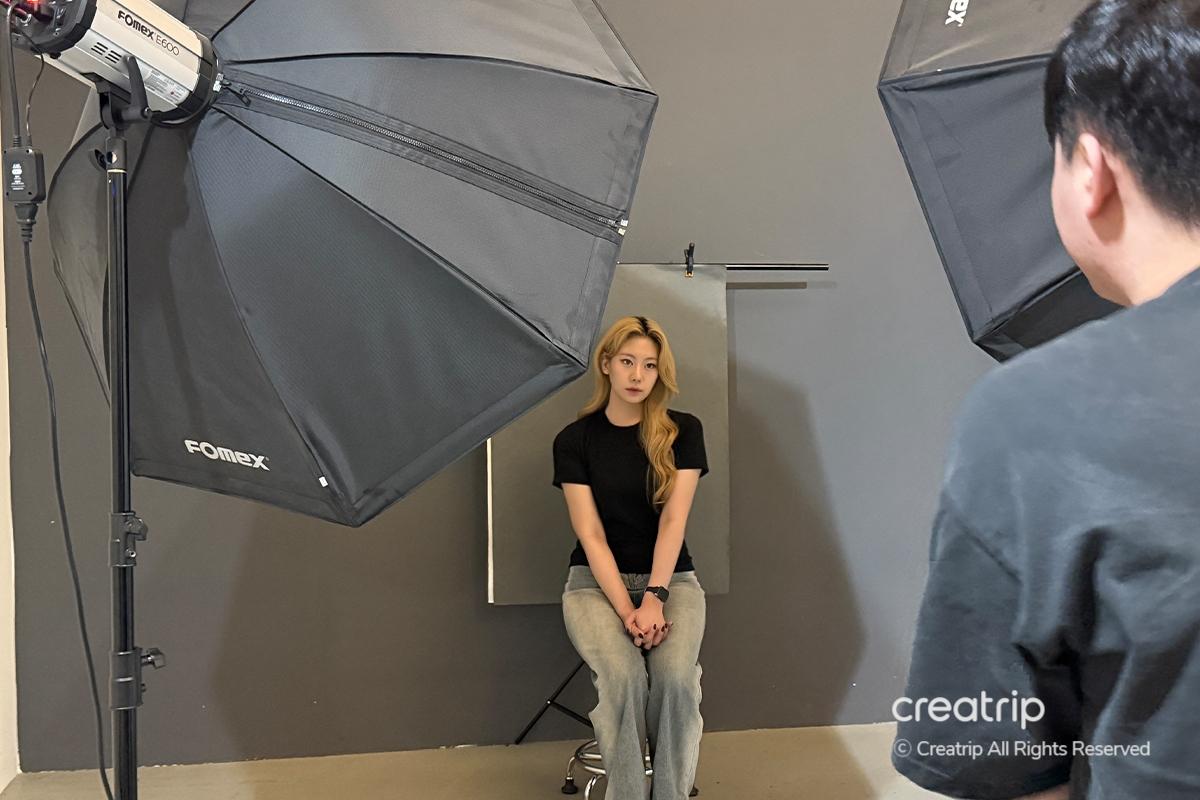
This time, I tried taking a photo with one side of my hair tucked behind my ear.
At first, it felt a bit awkward because it's a style I'm not usually used to, but I decided to try it thanks to the author's suggestion.
When I actually tried shooting, it turned out to have a much better vibe than I expected, and I got a shot that I absolutely loved!
I liked it better than the photo taken with my hair down!
[Image Slider] 
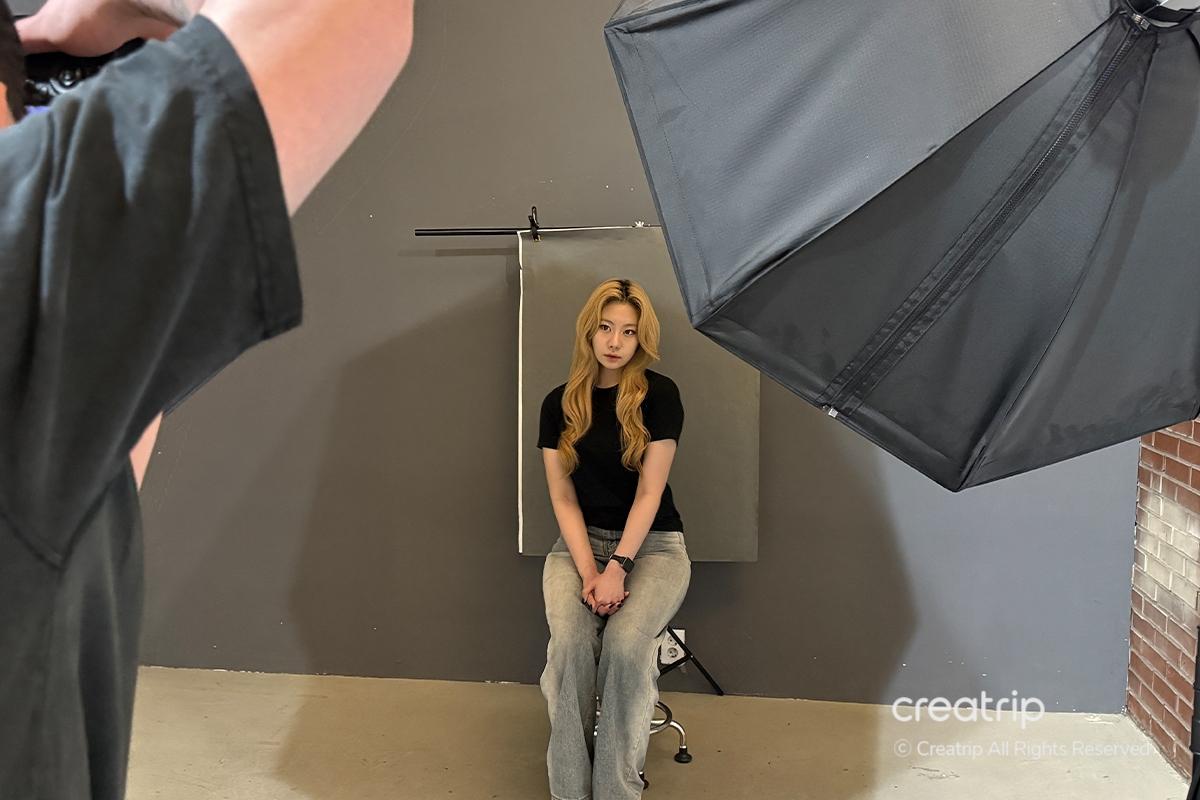
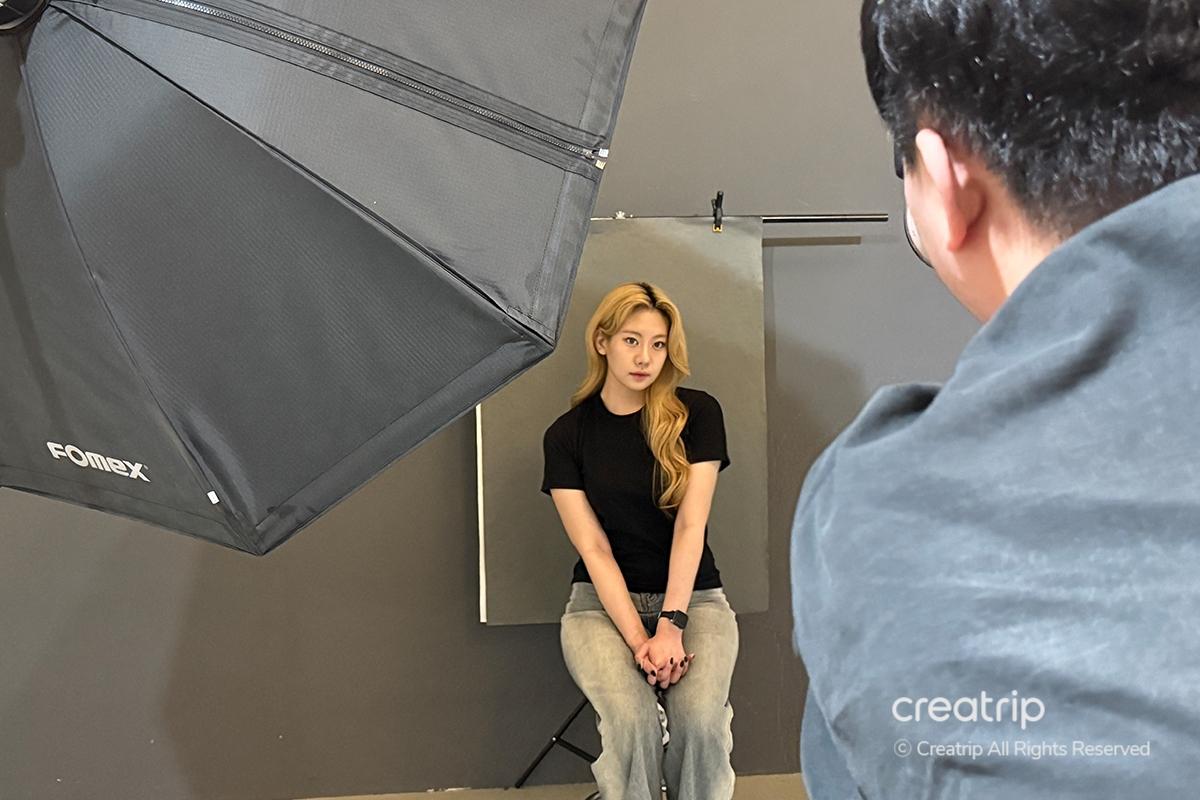
Next, I took a photo in a pose looking slightly to the side.
The artist asked me which side of my face I preferred, and adjusted the composition so that my right side would be more visible in the photo.
Thanks to these small but thoughtful considerations, I could feel the quality of the photos improve even more!
[Image Slider] 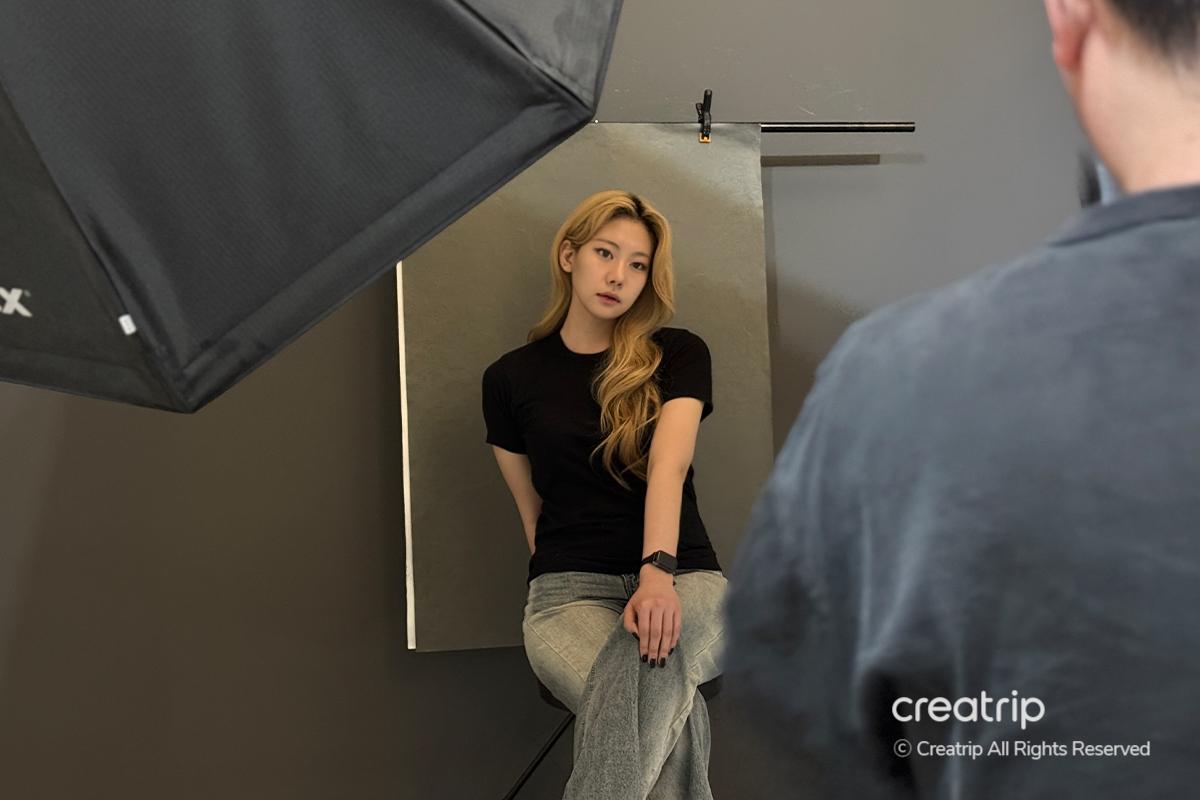
Finally, after taking photos from various poses and angles, we finished the shoot.
By taking photos from various angles, I got natural and satisfying pictures!

After finishing the shoot, I started editing right away.
There were so many photos I liked, it was really hard to choose one. It was harder to decide than ever before!
In the end, the editor decided on the photo taken from the side.
[Image Slider] 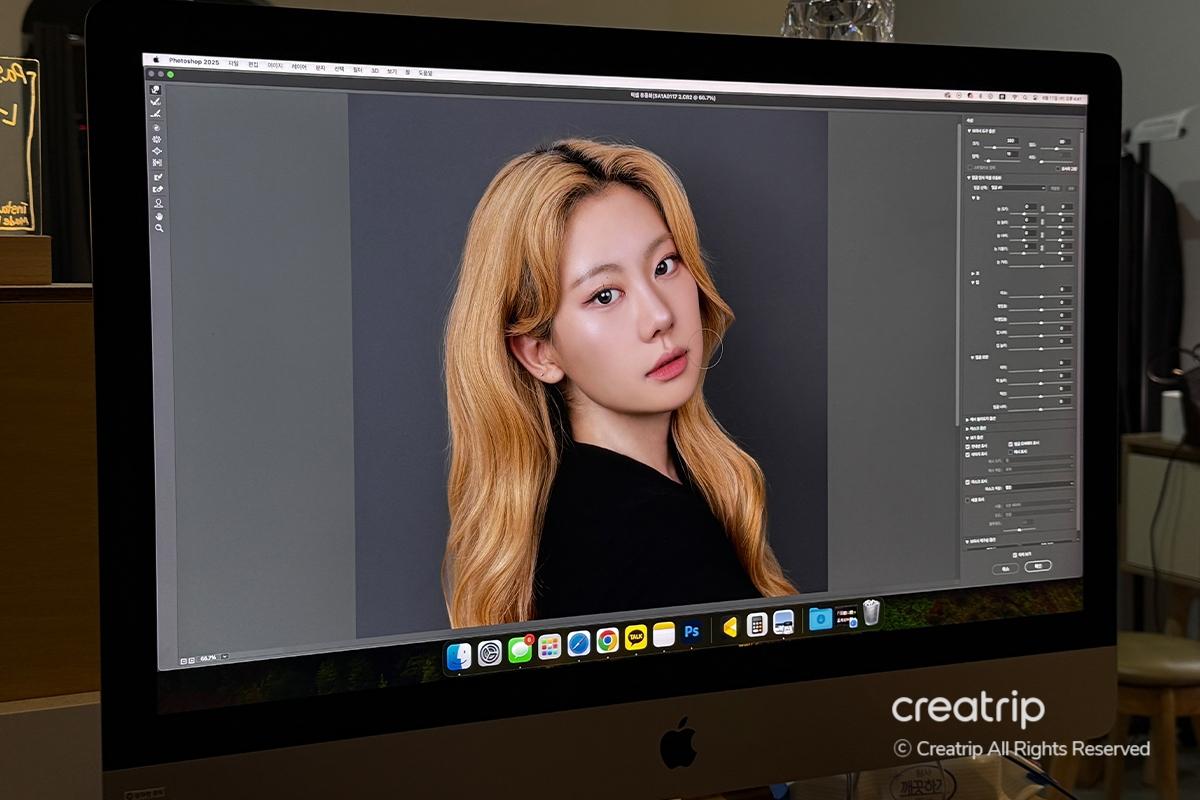
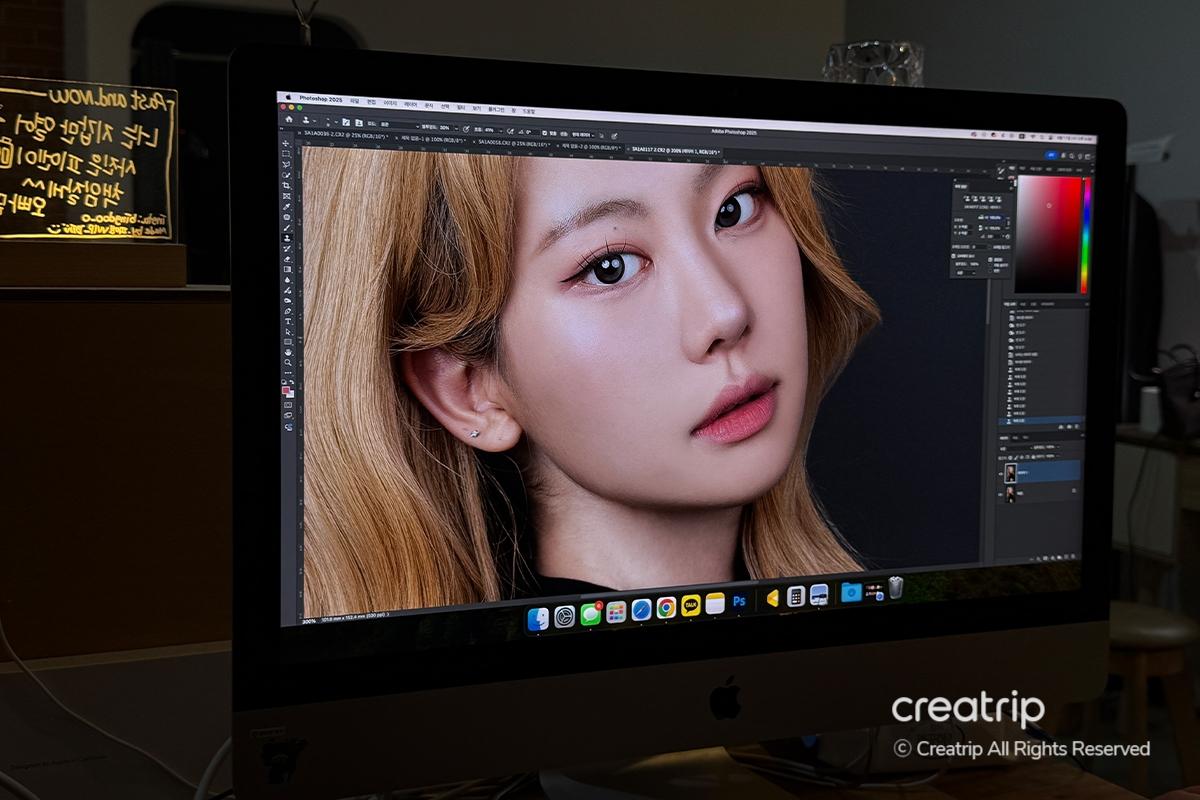
It was really great to be able to discuss what I wanted right away while editing photos together with the artist.
Actually, even before I said anything, the author had already edited it perfectly on their own.
I was really satisfied because not only did they correct my skin tone and face, but they also carefully retouched each strand of hair and even my body shape.
And I was surprised at how fast your hands were. Even though your hands were so fast, you worked so meticulously, it was amazing!
[Image Slider] 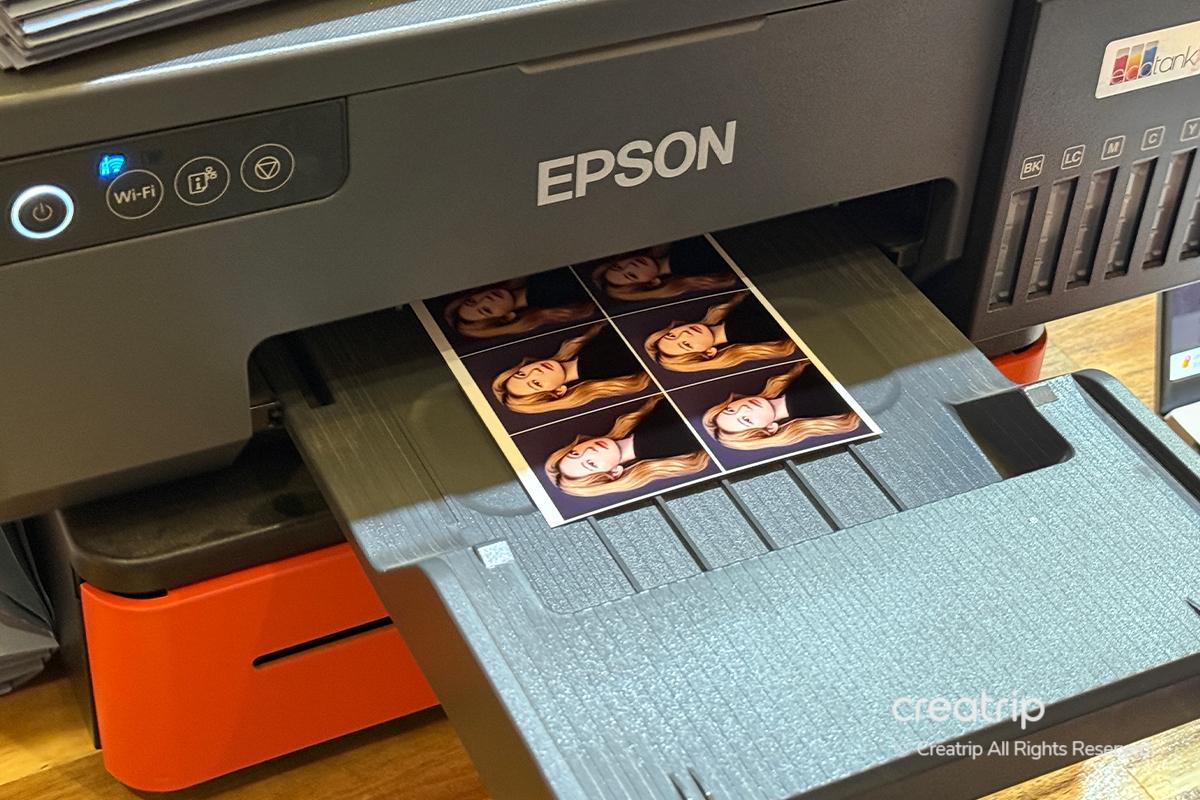
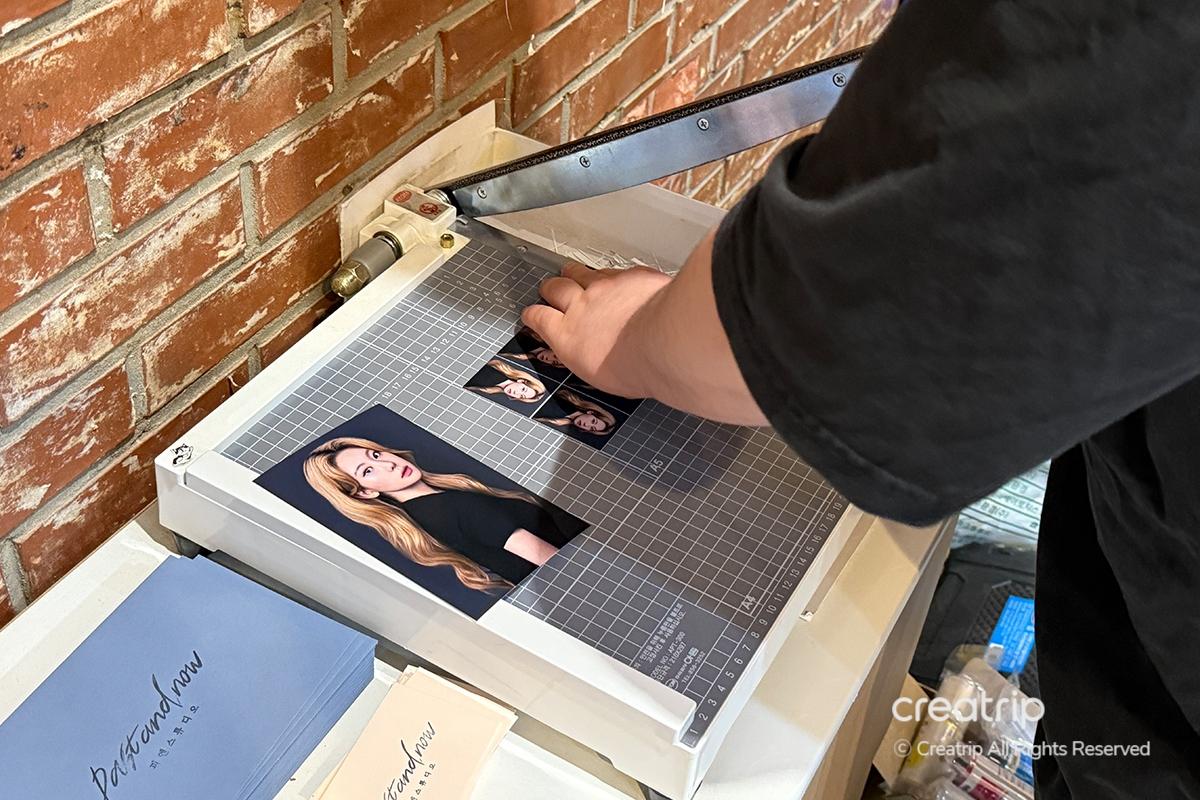
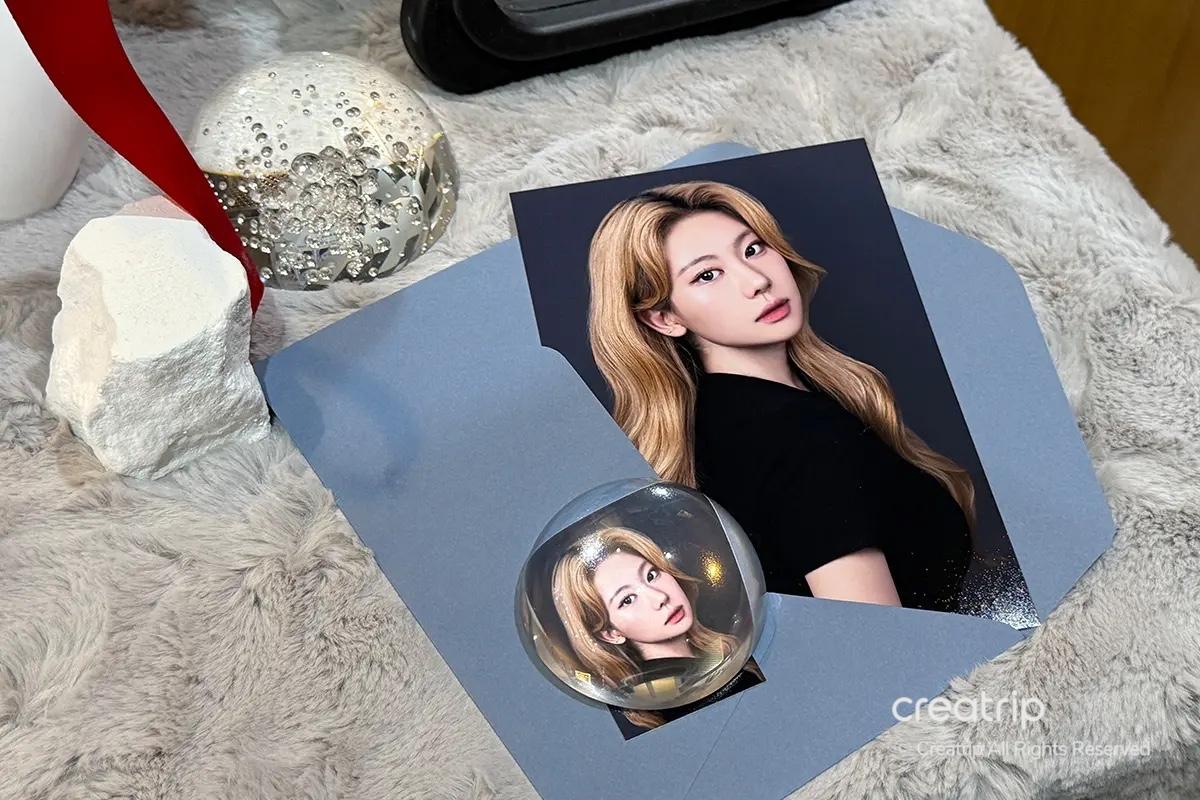
Thanks to the speedy artist, the editing was finished quickly, and they printed the ID photo and a larger-sized photo for me.
I liked the printed photo much more than when I saw it on the monitor.
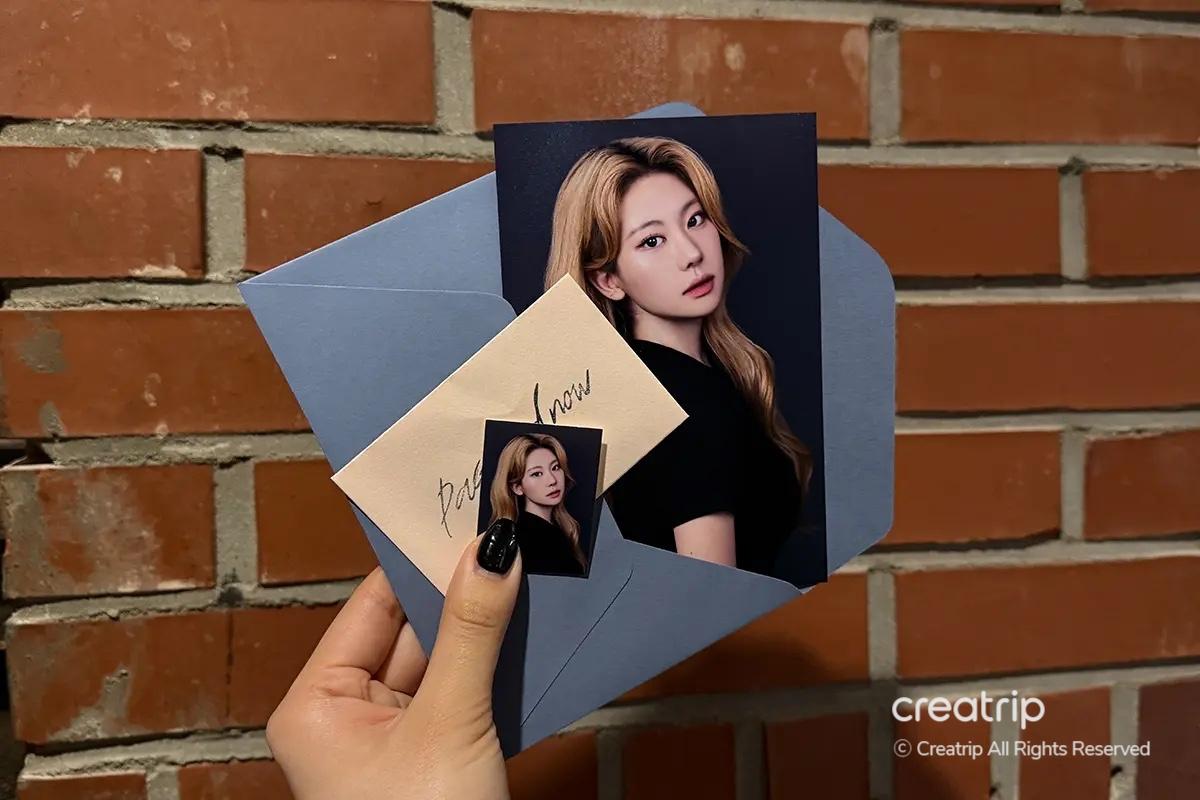
This is the finished version! Doesn't it look really good?
I was very satisfied because the editing wasn’t overdone and the editor captured the unique vibe really well.
The editor cannot select a profile photo from a side view to use as an ID photo, but
If you take the photo facing forward, you may be able to use it as an ID photo, so please check carefully!
For those who want to capture special photos with various poses and your own vibe, we highly recommend 'PN Studio Hongdae'!
With a professional photographer, you can bring out your unique charm to the fullest and capture special memories here.
If you want to capture special moments during your trip to Korea, make sure to preserve those memories perfectly at PN Studio.
[스팟] PN Studio | Hongdae Branch
If you have any questions or concerns, please leave a comment below or send us an email at help@creatrip.com! You can follow us on Instagram, TikTok, Threads, and Youtube to stay updated on all things Korea!
Book all things trending in Korea on Creatrip! If you have any questions or concerns, please leave a comment below or send us an email at help@creatrip.com! You can follow us on Instagram, TikTok, Threads, and Youtube to stay updated on all things Korea!